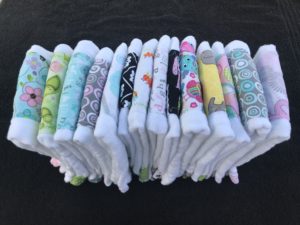
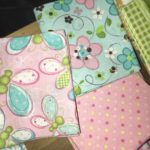
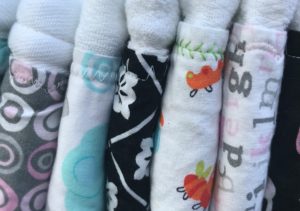
This is such a fun and simple project! We made a group project out it (the mom-to-be and two grandmothers)… It was a fun way for the three of us to spend the afternoon, bonding in common anticipation of the impending birth! We talked about plans for the baby, the grandmothers shared stories of their own newborns and their young motherhood experiences, and the new mother-to-be listened to stories of her own babyhood… absorbing some sage wisdom (and learning to sew at the same time!).
We manned two sewing machines and an iron/ironing board. The three of us took turns cutting, pinning, pressing, and sewing. We listened to a lullaby playlist that I had previously created for the baby shower, which set the stage for three women to revel in baby-land for the afternoon!
Supplies:
- Cloth diapers
- Fat Quarters
- Thread
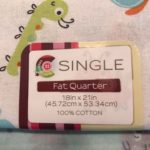
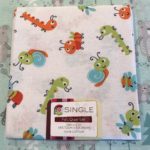
Fat Quarters are small scraps of fabric (18” x 21”) that may be purchased in a single fabric or in packs with multiple, coordinating fabric themes. Fat quarters may be found a any fabric store, Hobby Lobby, Walmart, or on-line.
Instructions:
Middle Section of Diaper:
- Cut strips of fat quarters to fit the middle section of the cloth diapers (cut so that each strip is ¼ – ½ inch wider on each side of the middle section and ¼ – ½ inch longer on each end of the middle section).
- Fold (wrong sides together) raw edges of strip length (finished vertical edges along sides of finished middle strip); press.
- Fold (wrong sides together) raw edges of strip width (finished horizontal edges at top and bottom of finished middle strip); press.
- Pin to center of cloth diaper and sew.
Bottom Border of Diaper:
- Cut strips of fat quarters to fit across the bottom border of the cloth diapers (cut so that each strip is ¼ – ½ inch wider on each side of the bottom edge and ¼ – ½ inch longer on each end of the bottom edge).
- Fold raw edges of strip length (finished horizontal edges along top and bottom of border strip); press.
- Fold raw edges of strip width (finished vertical edges at both ends of border strip); press.
- Pin to bottom of cloth diaper and sew.
I like to use l large, decorative stitch!
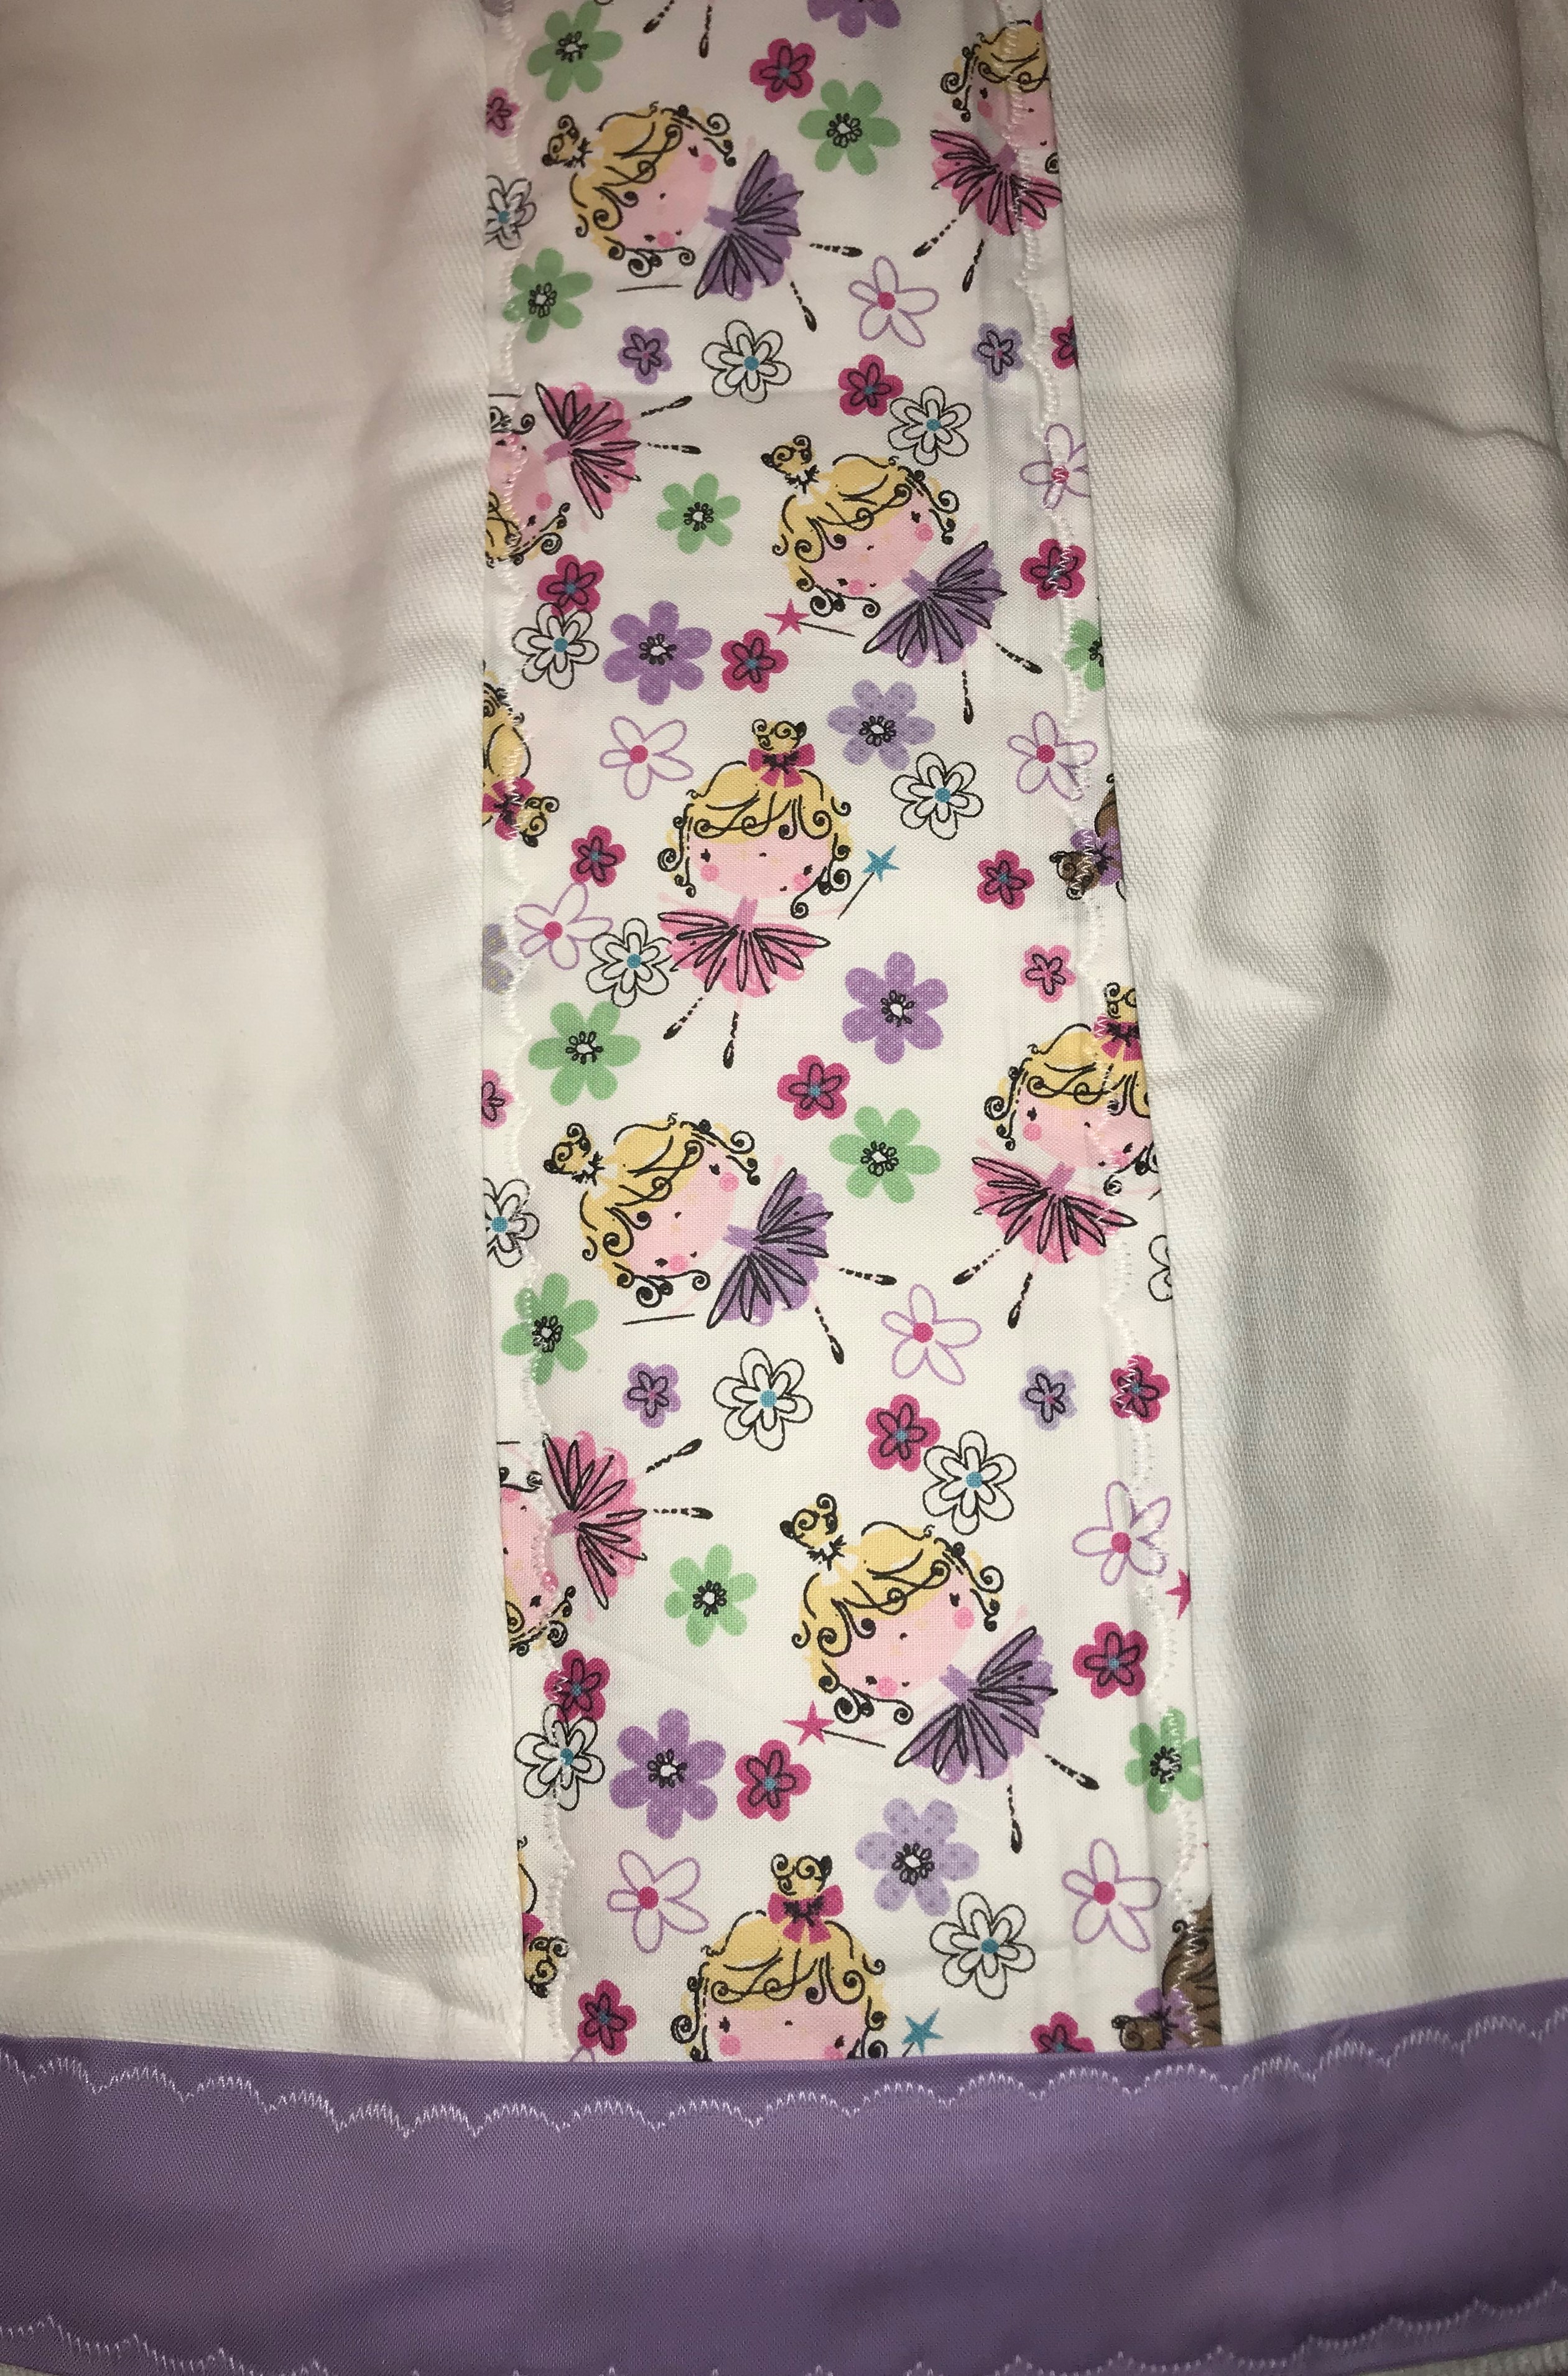
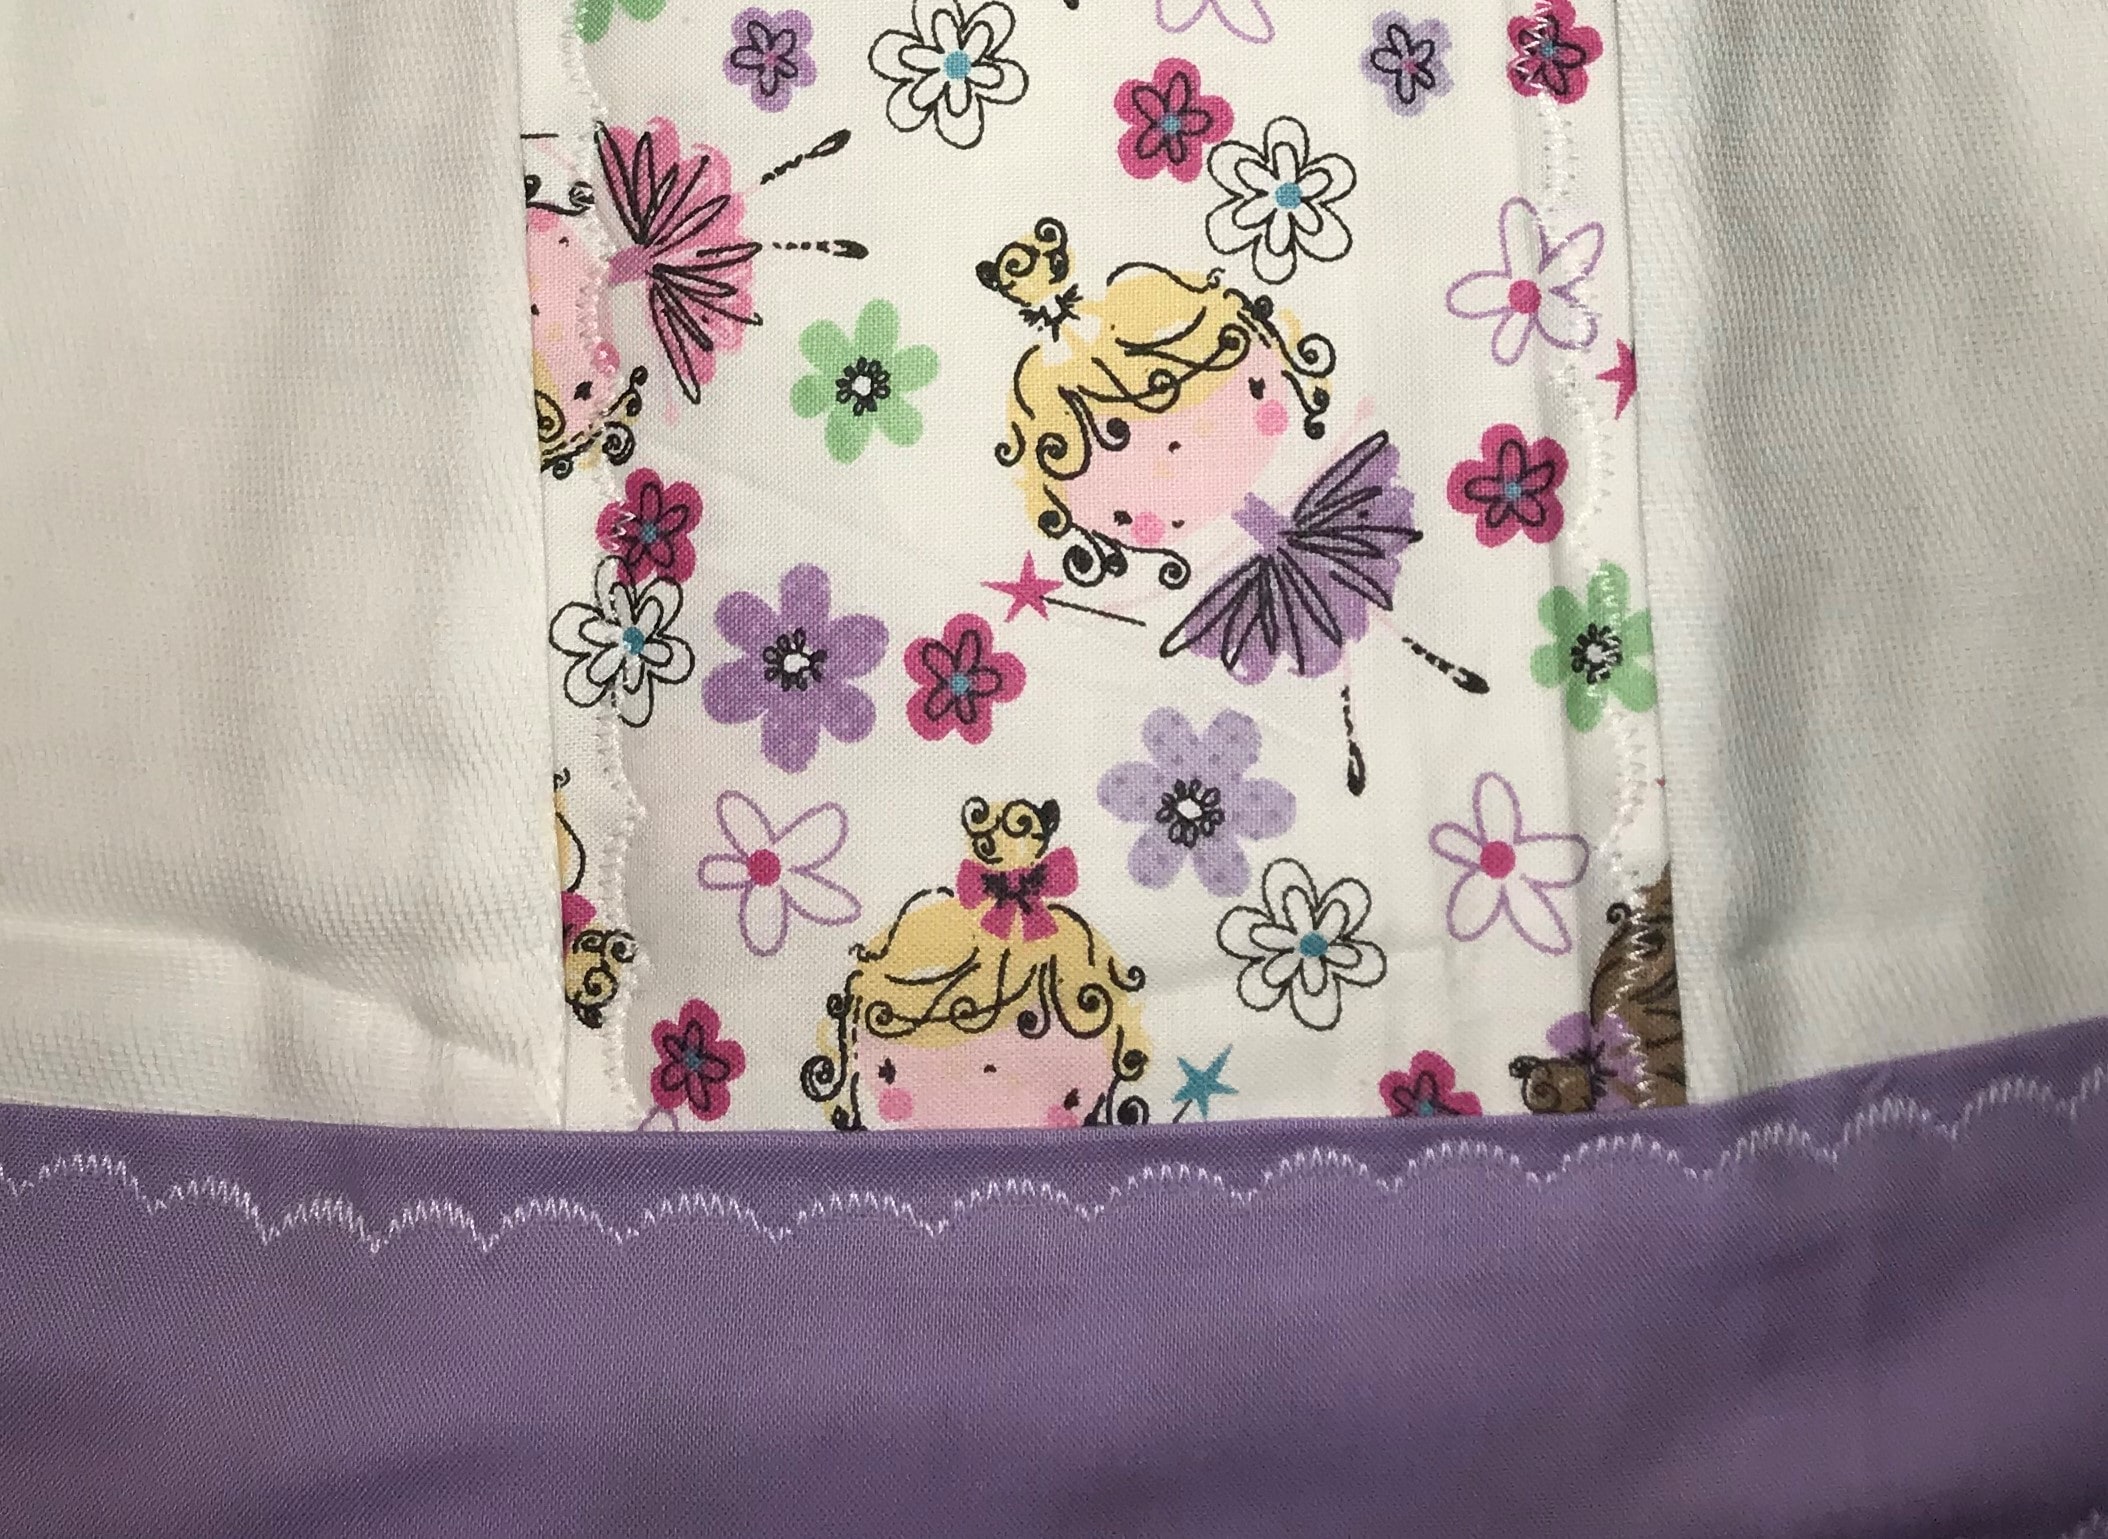
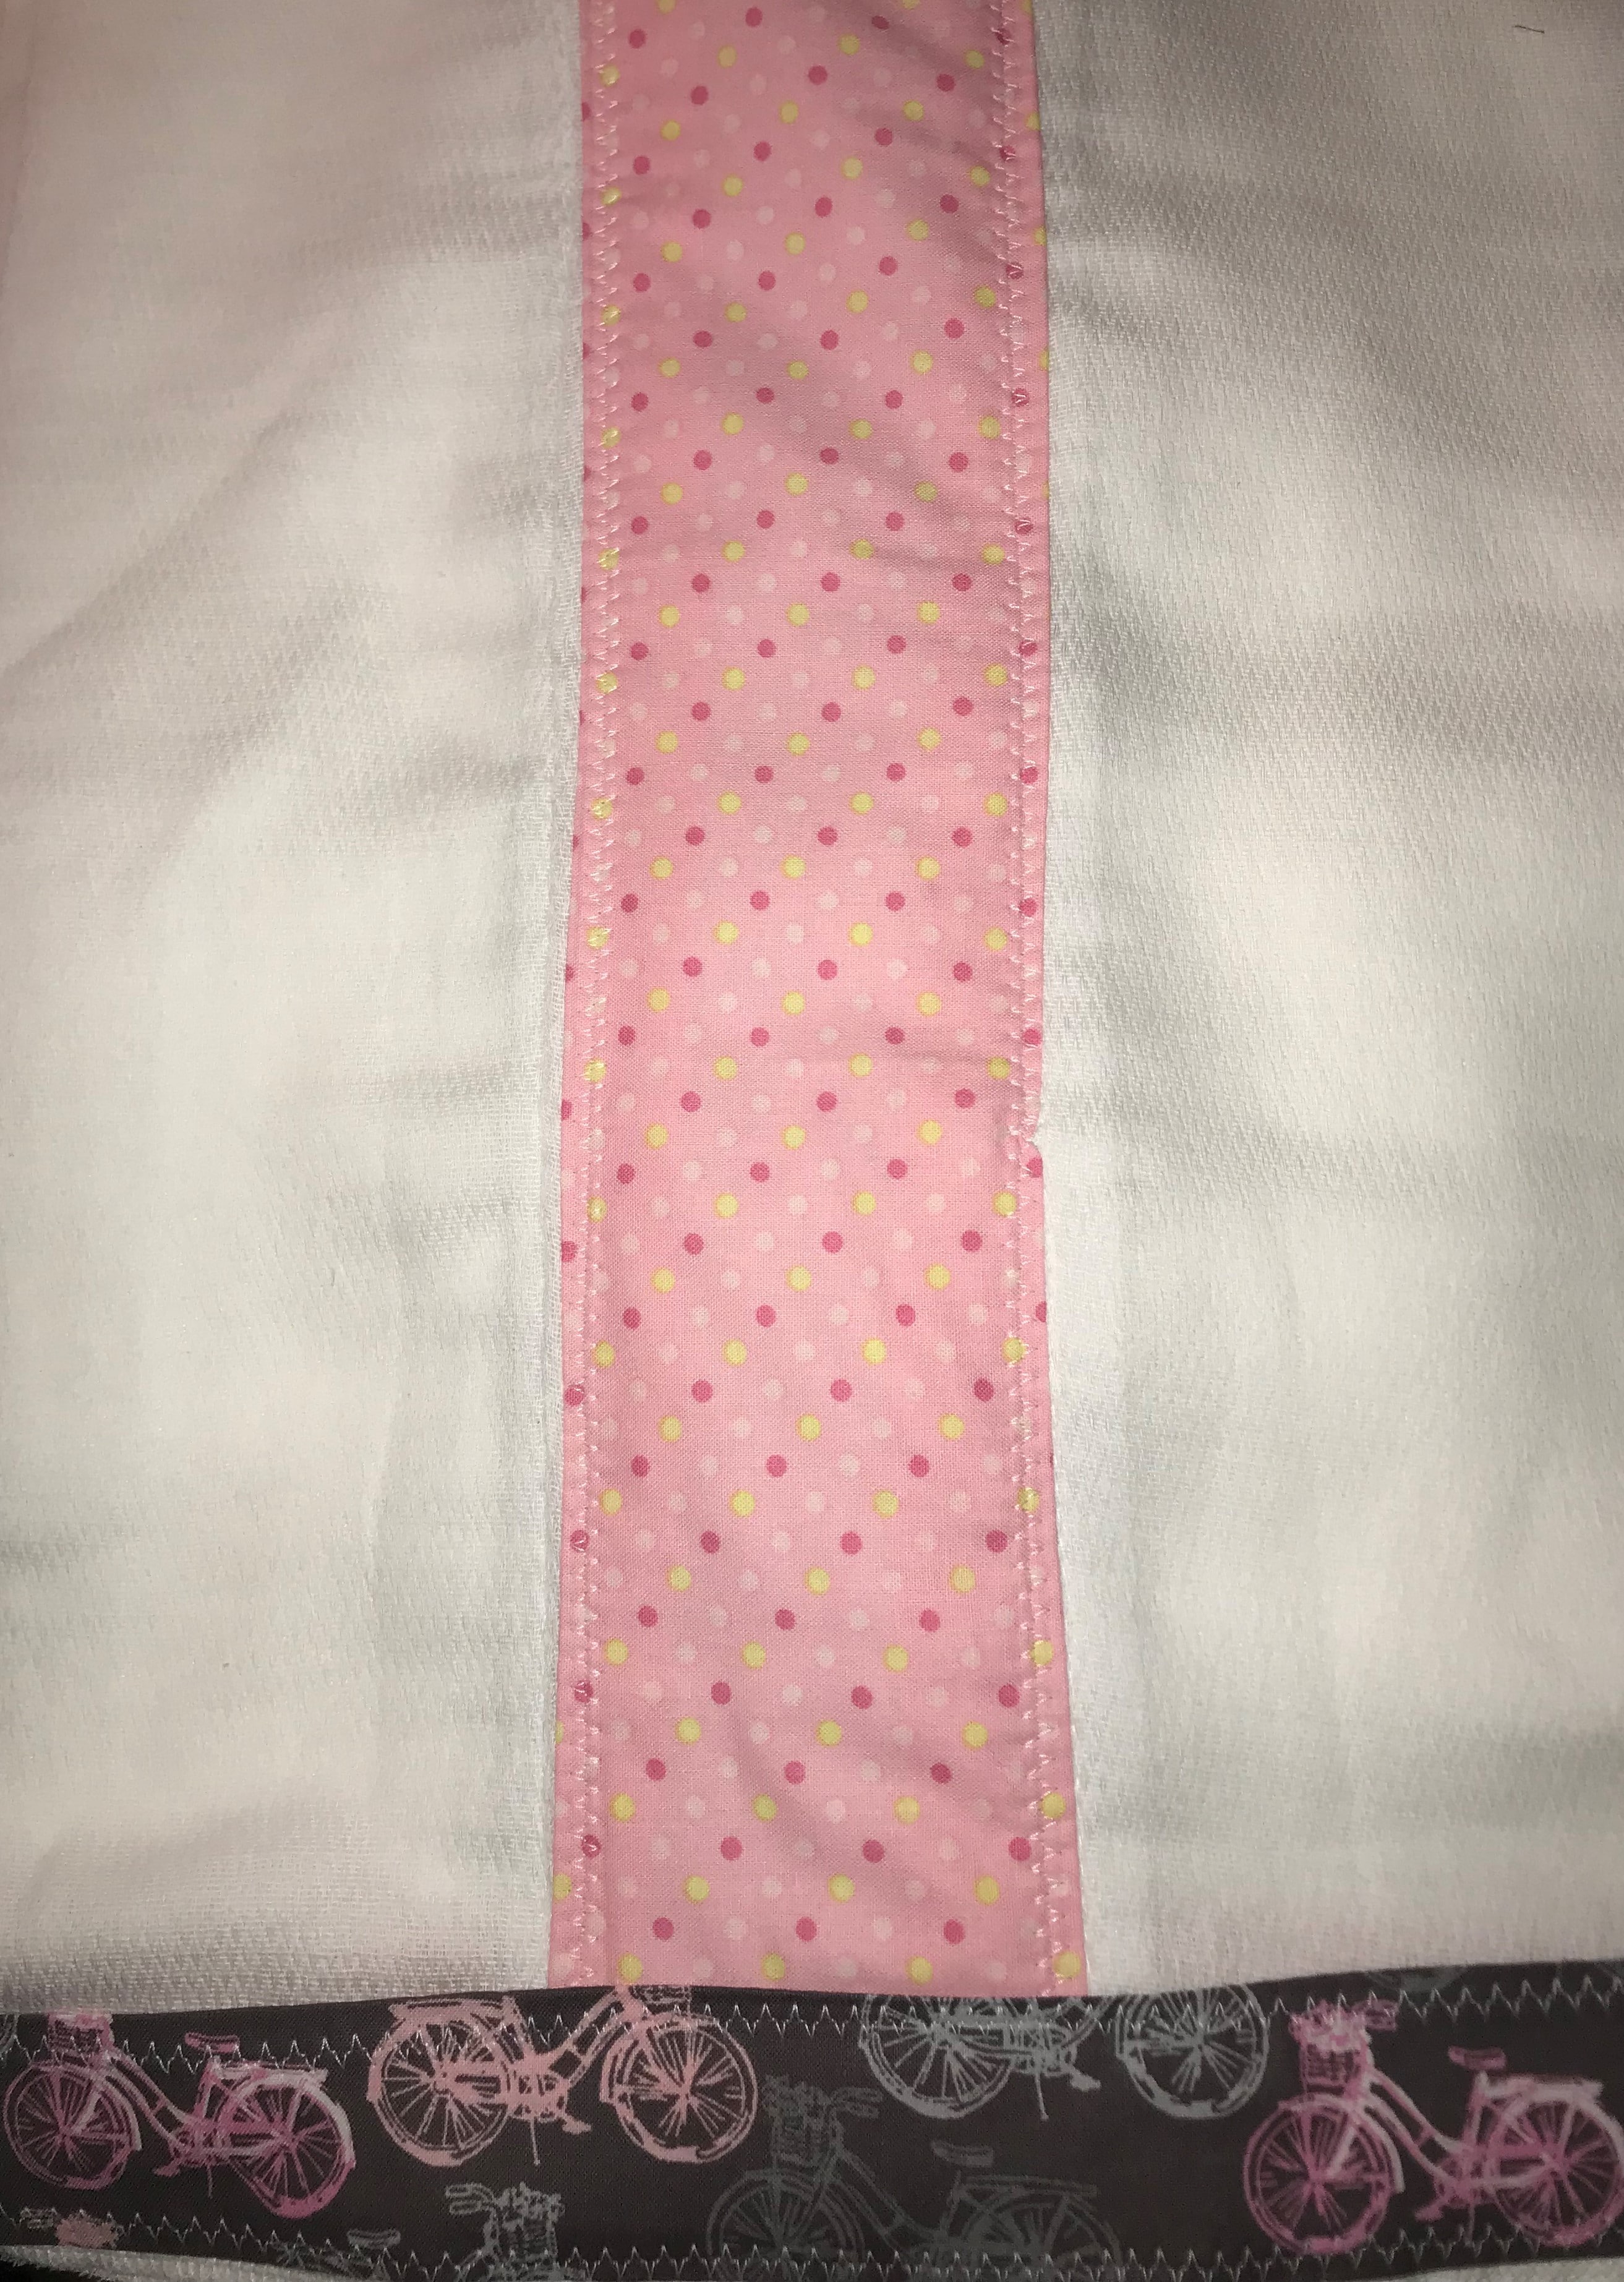
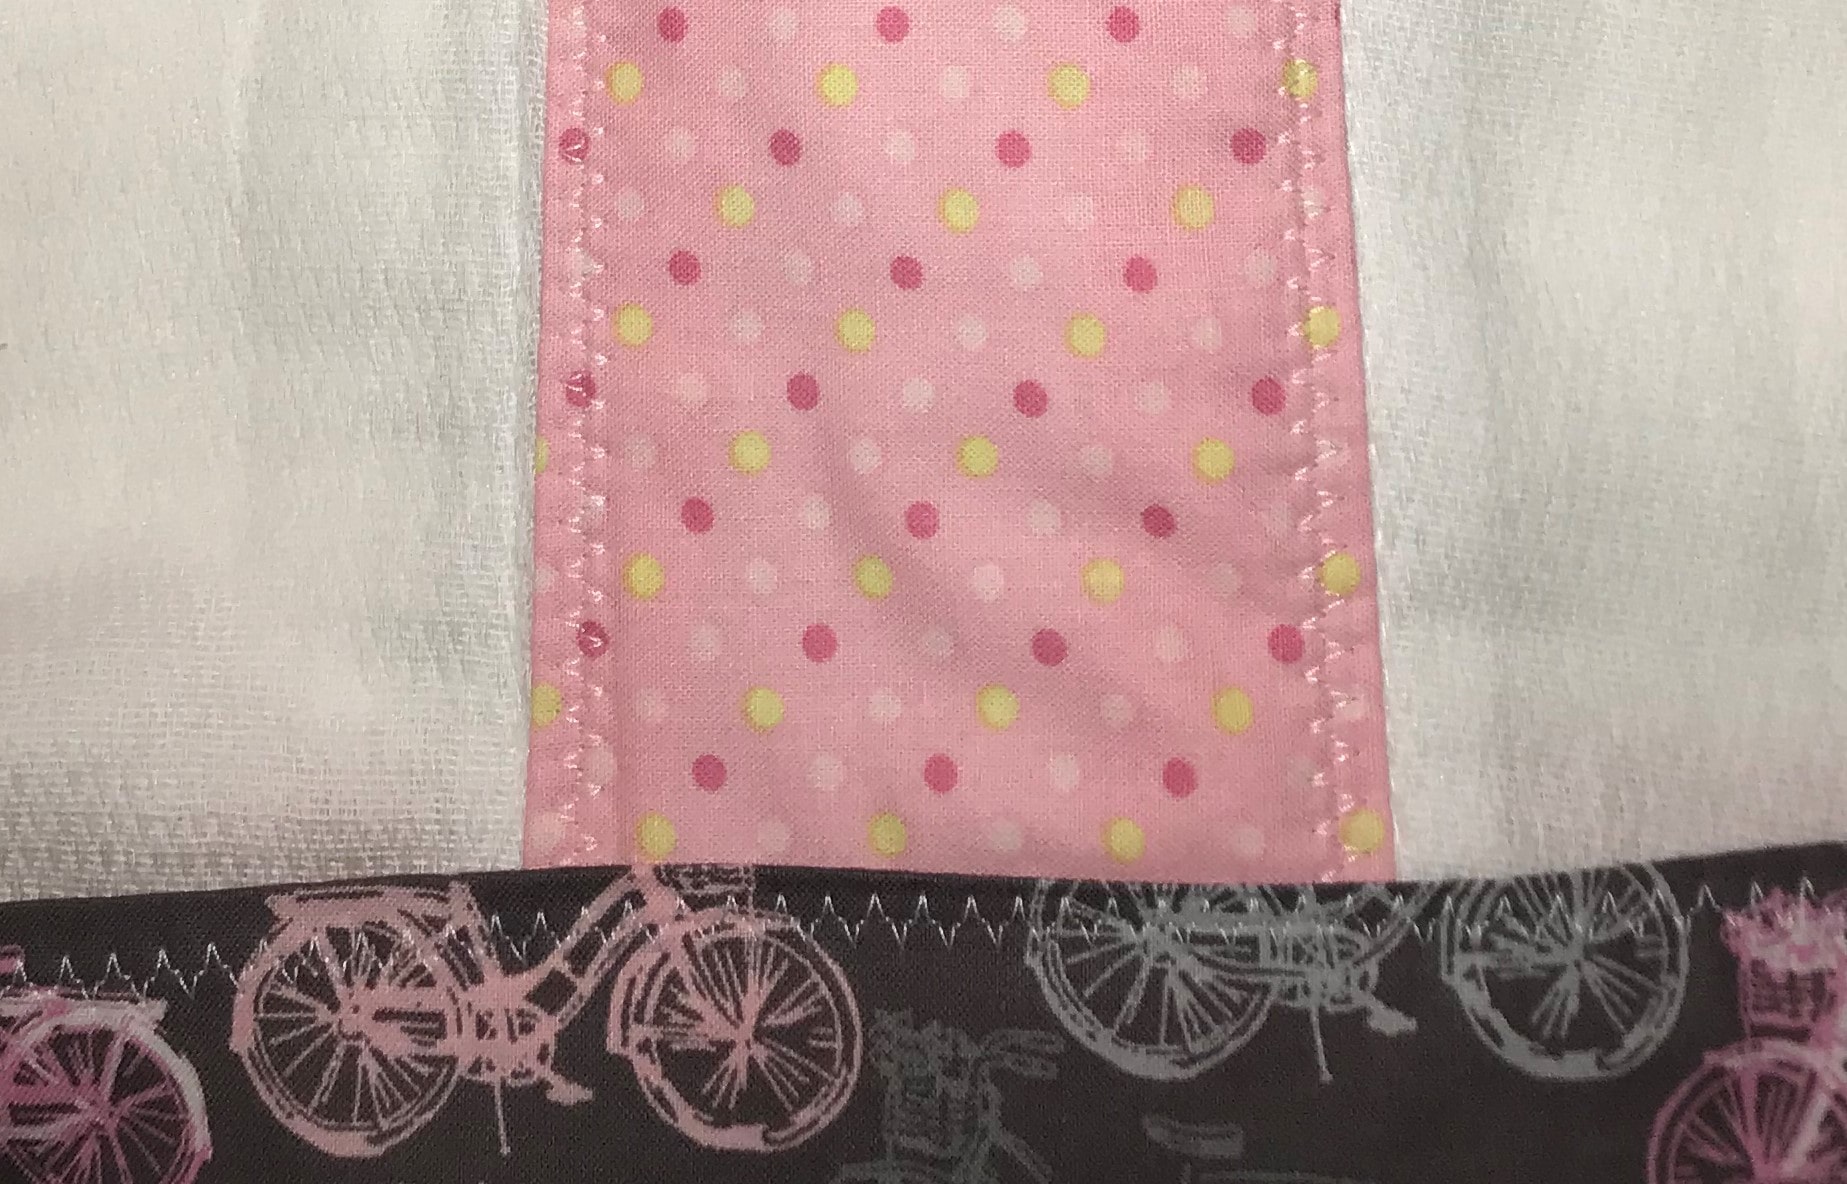
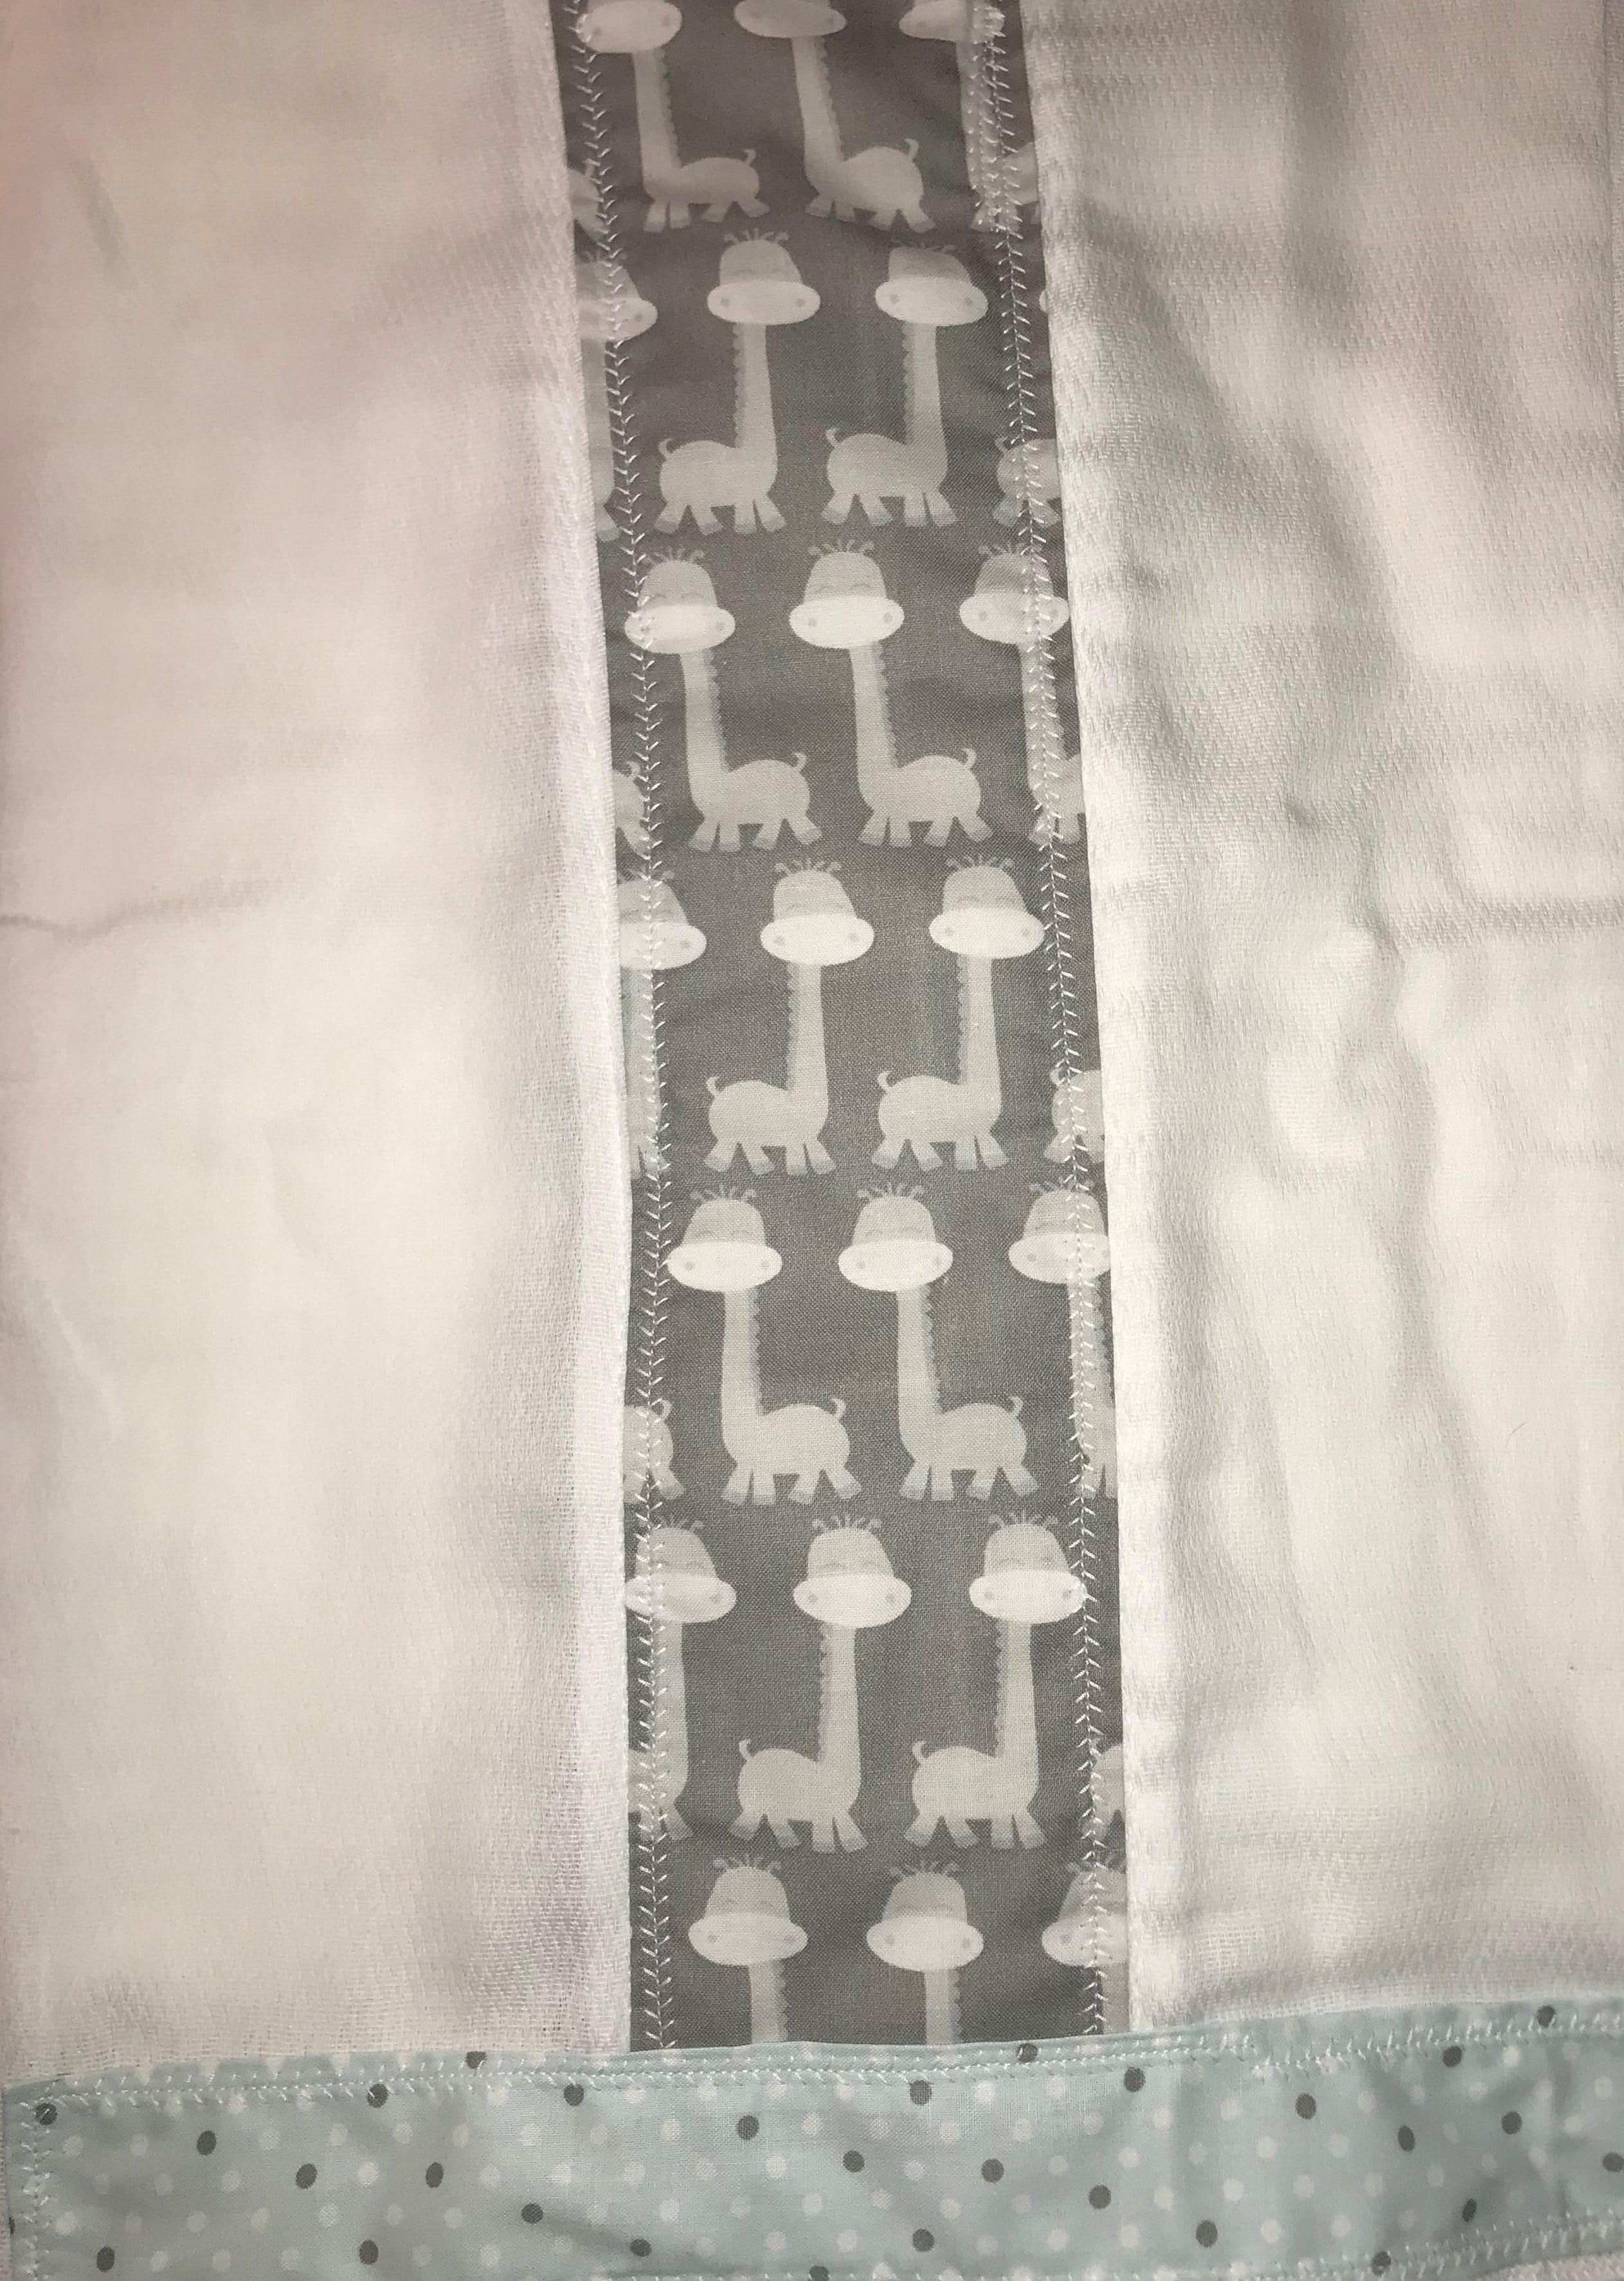
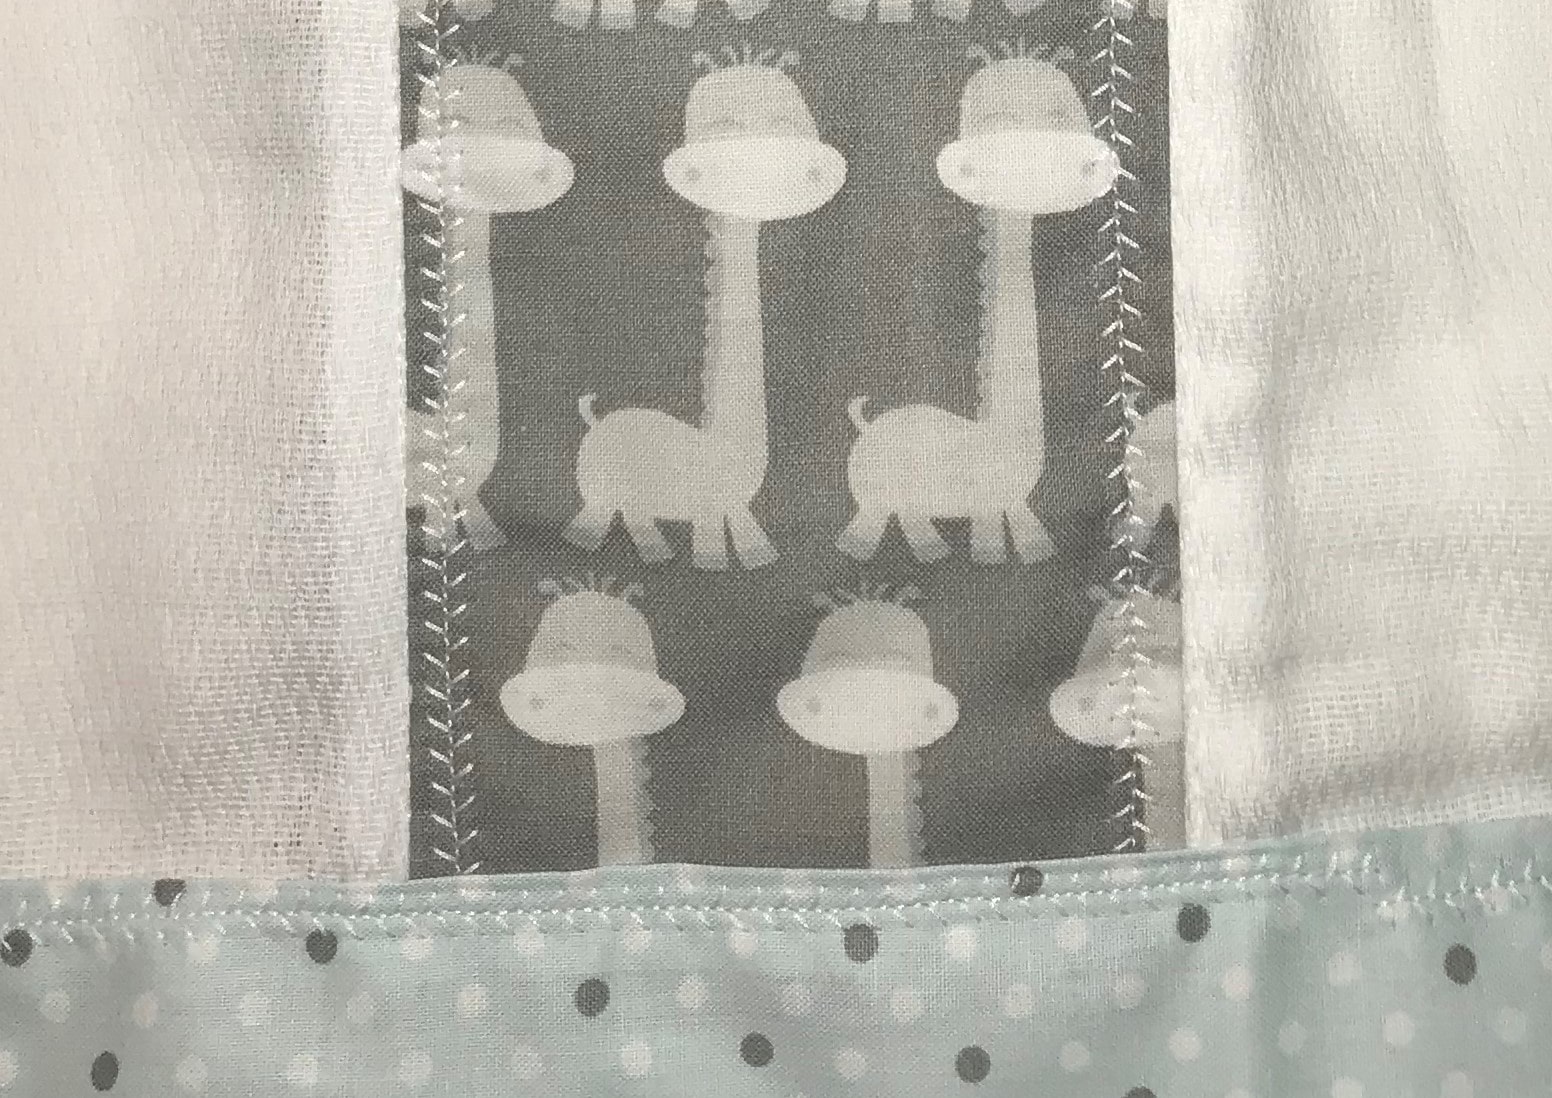
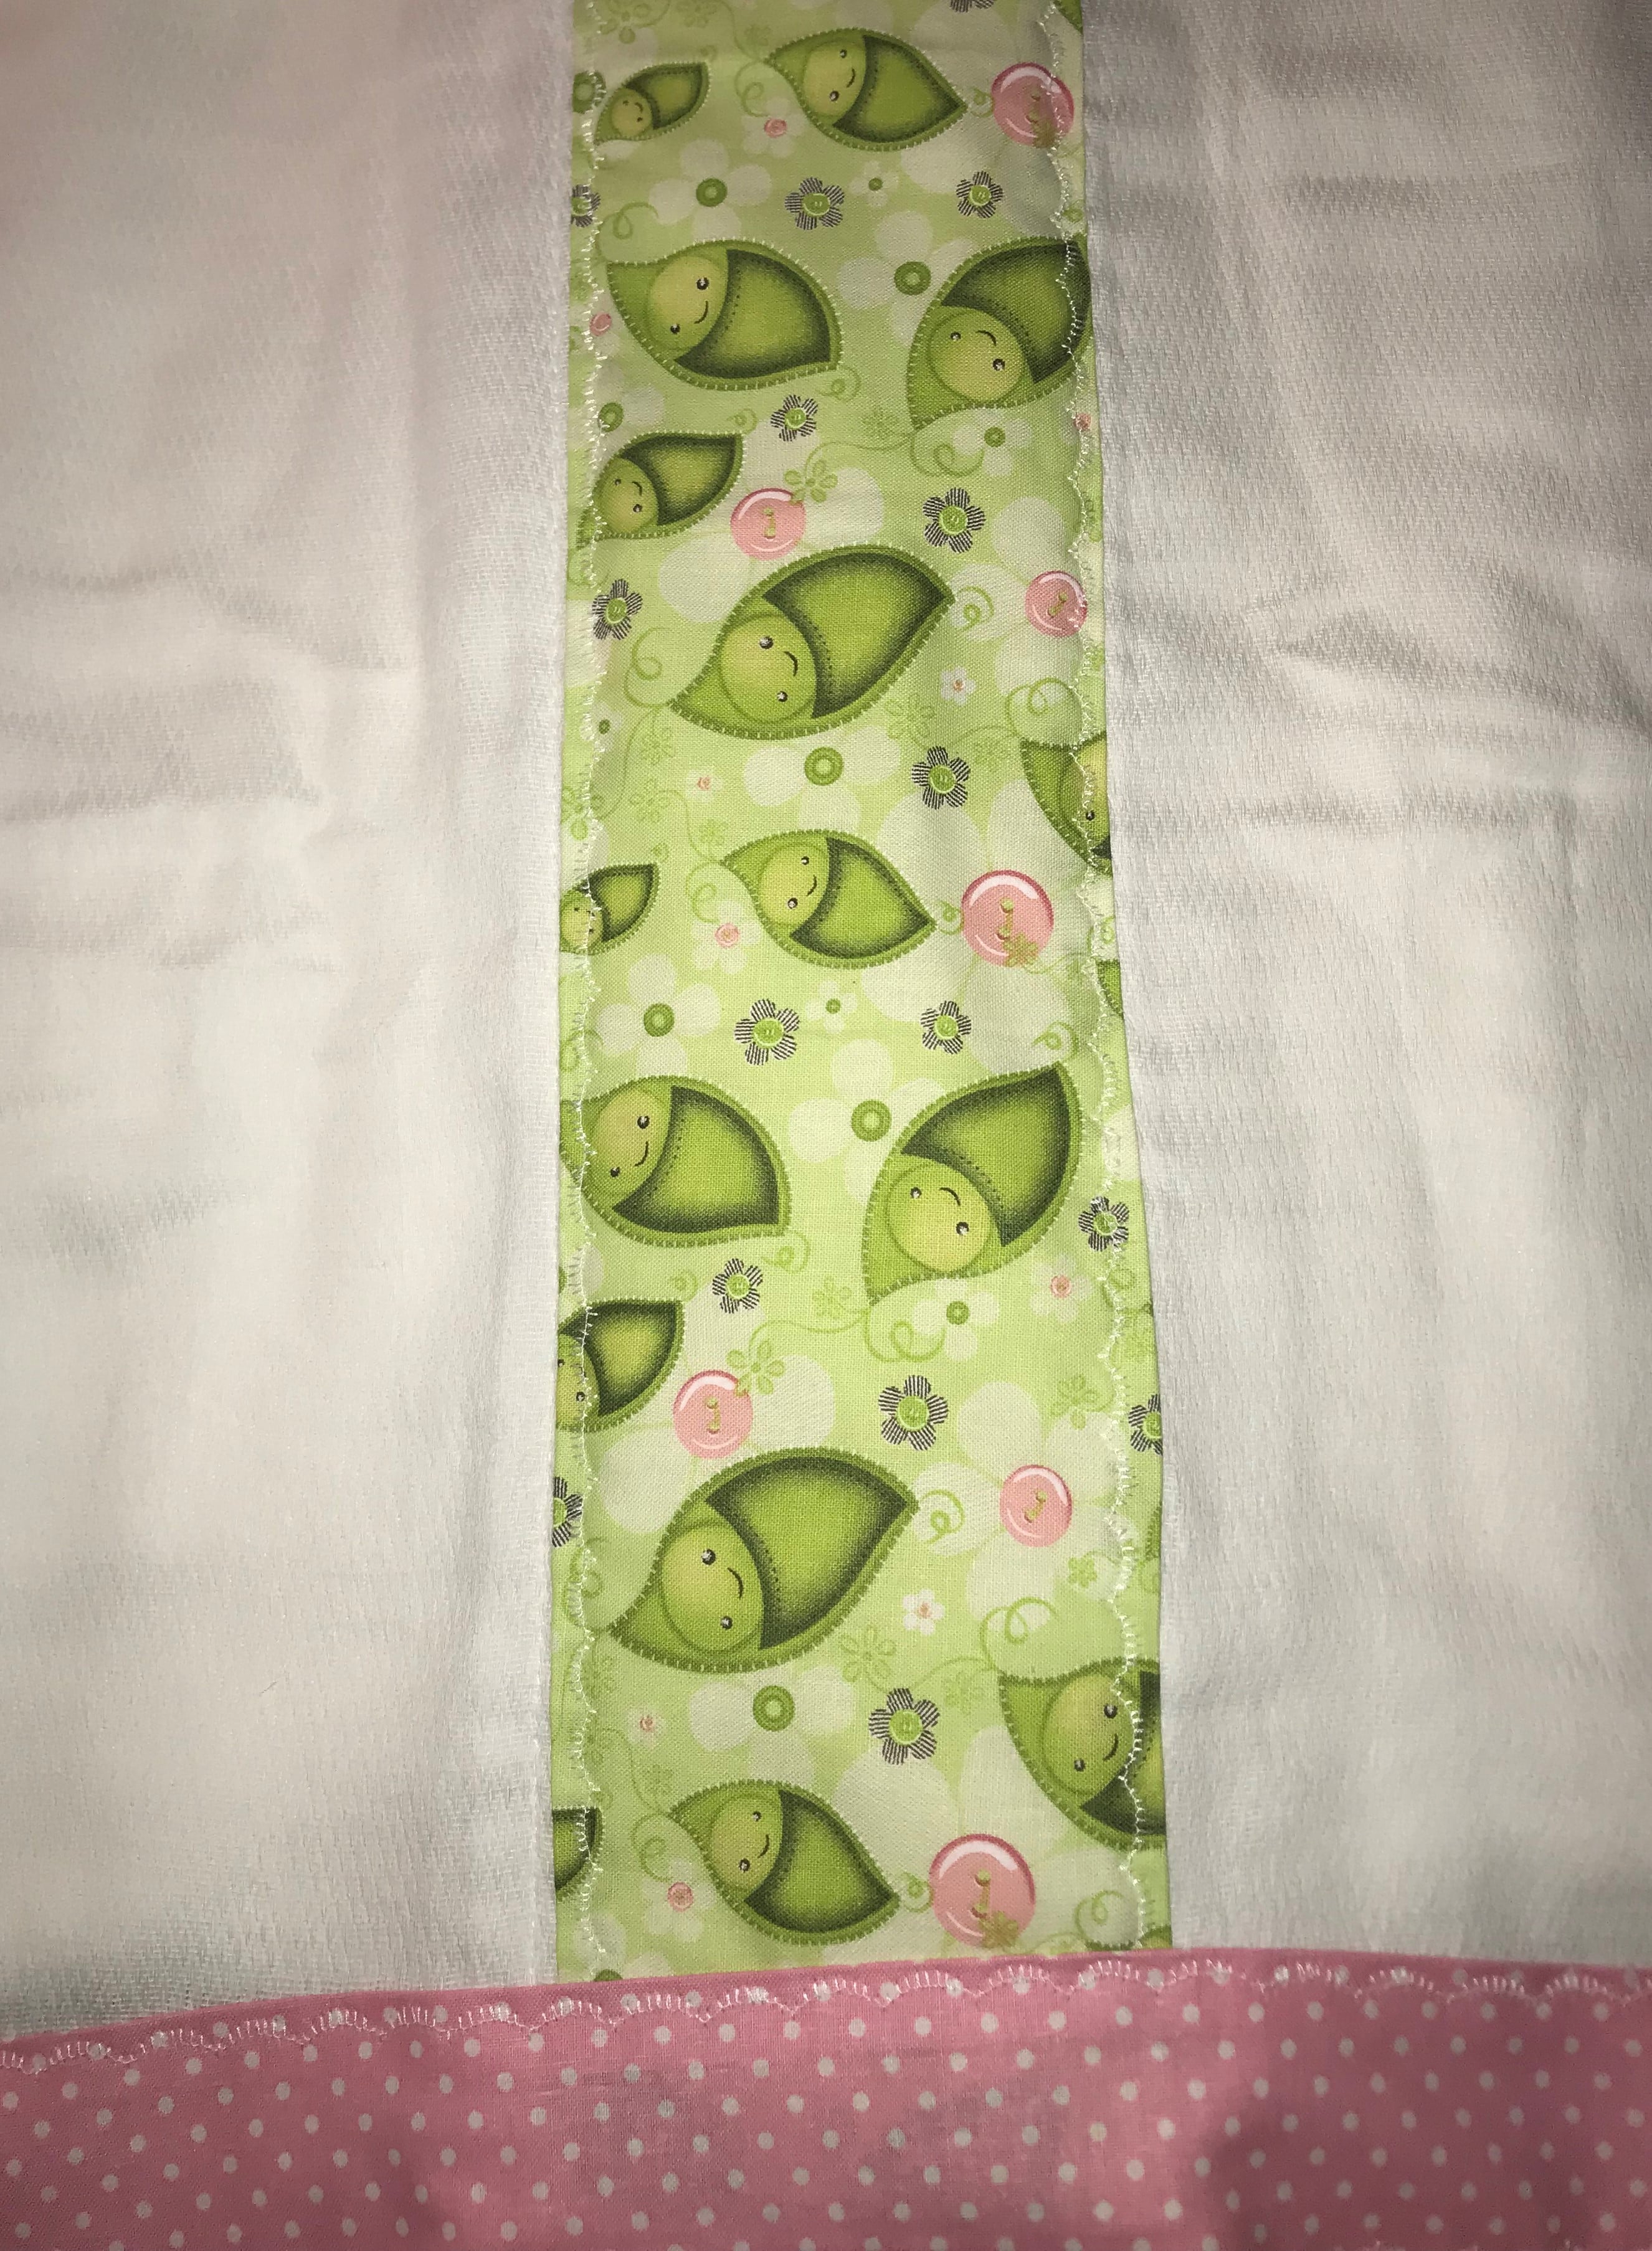
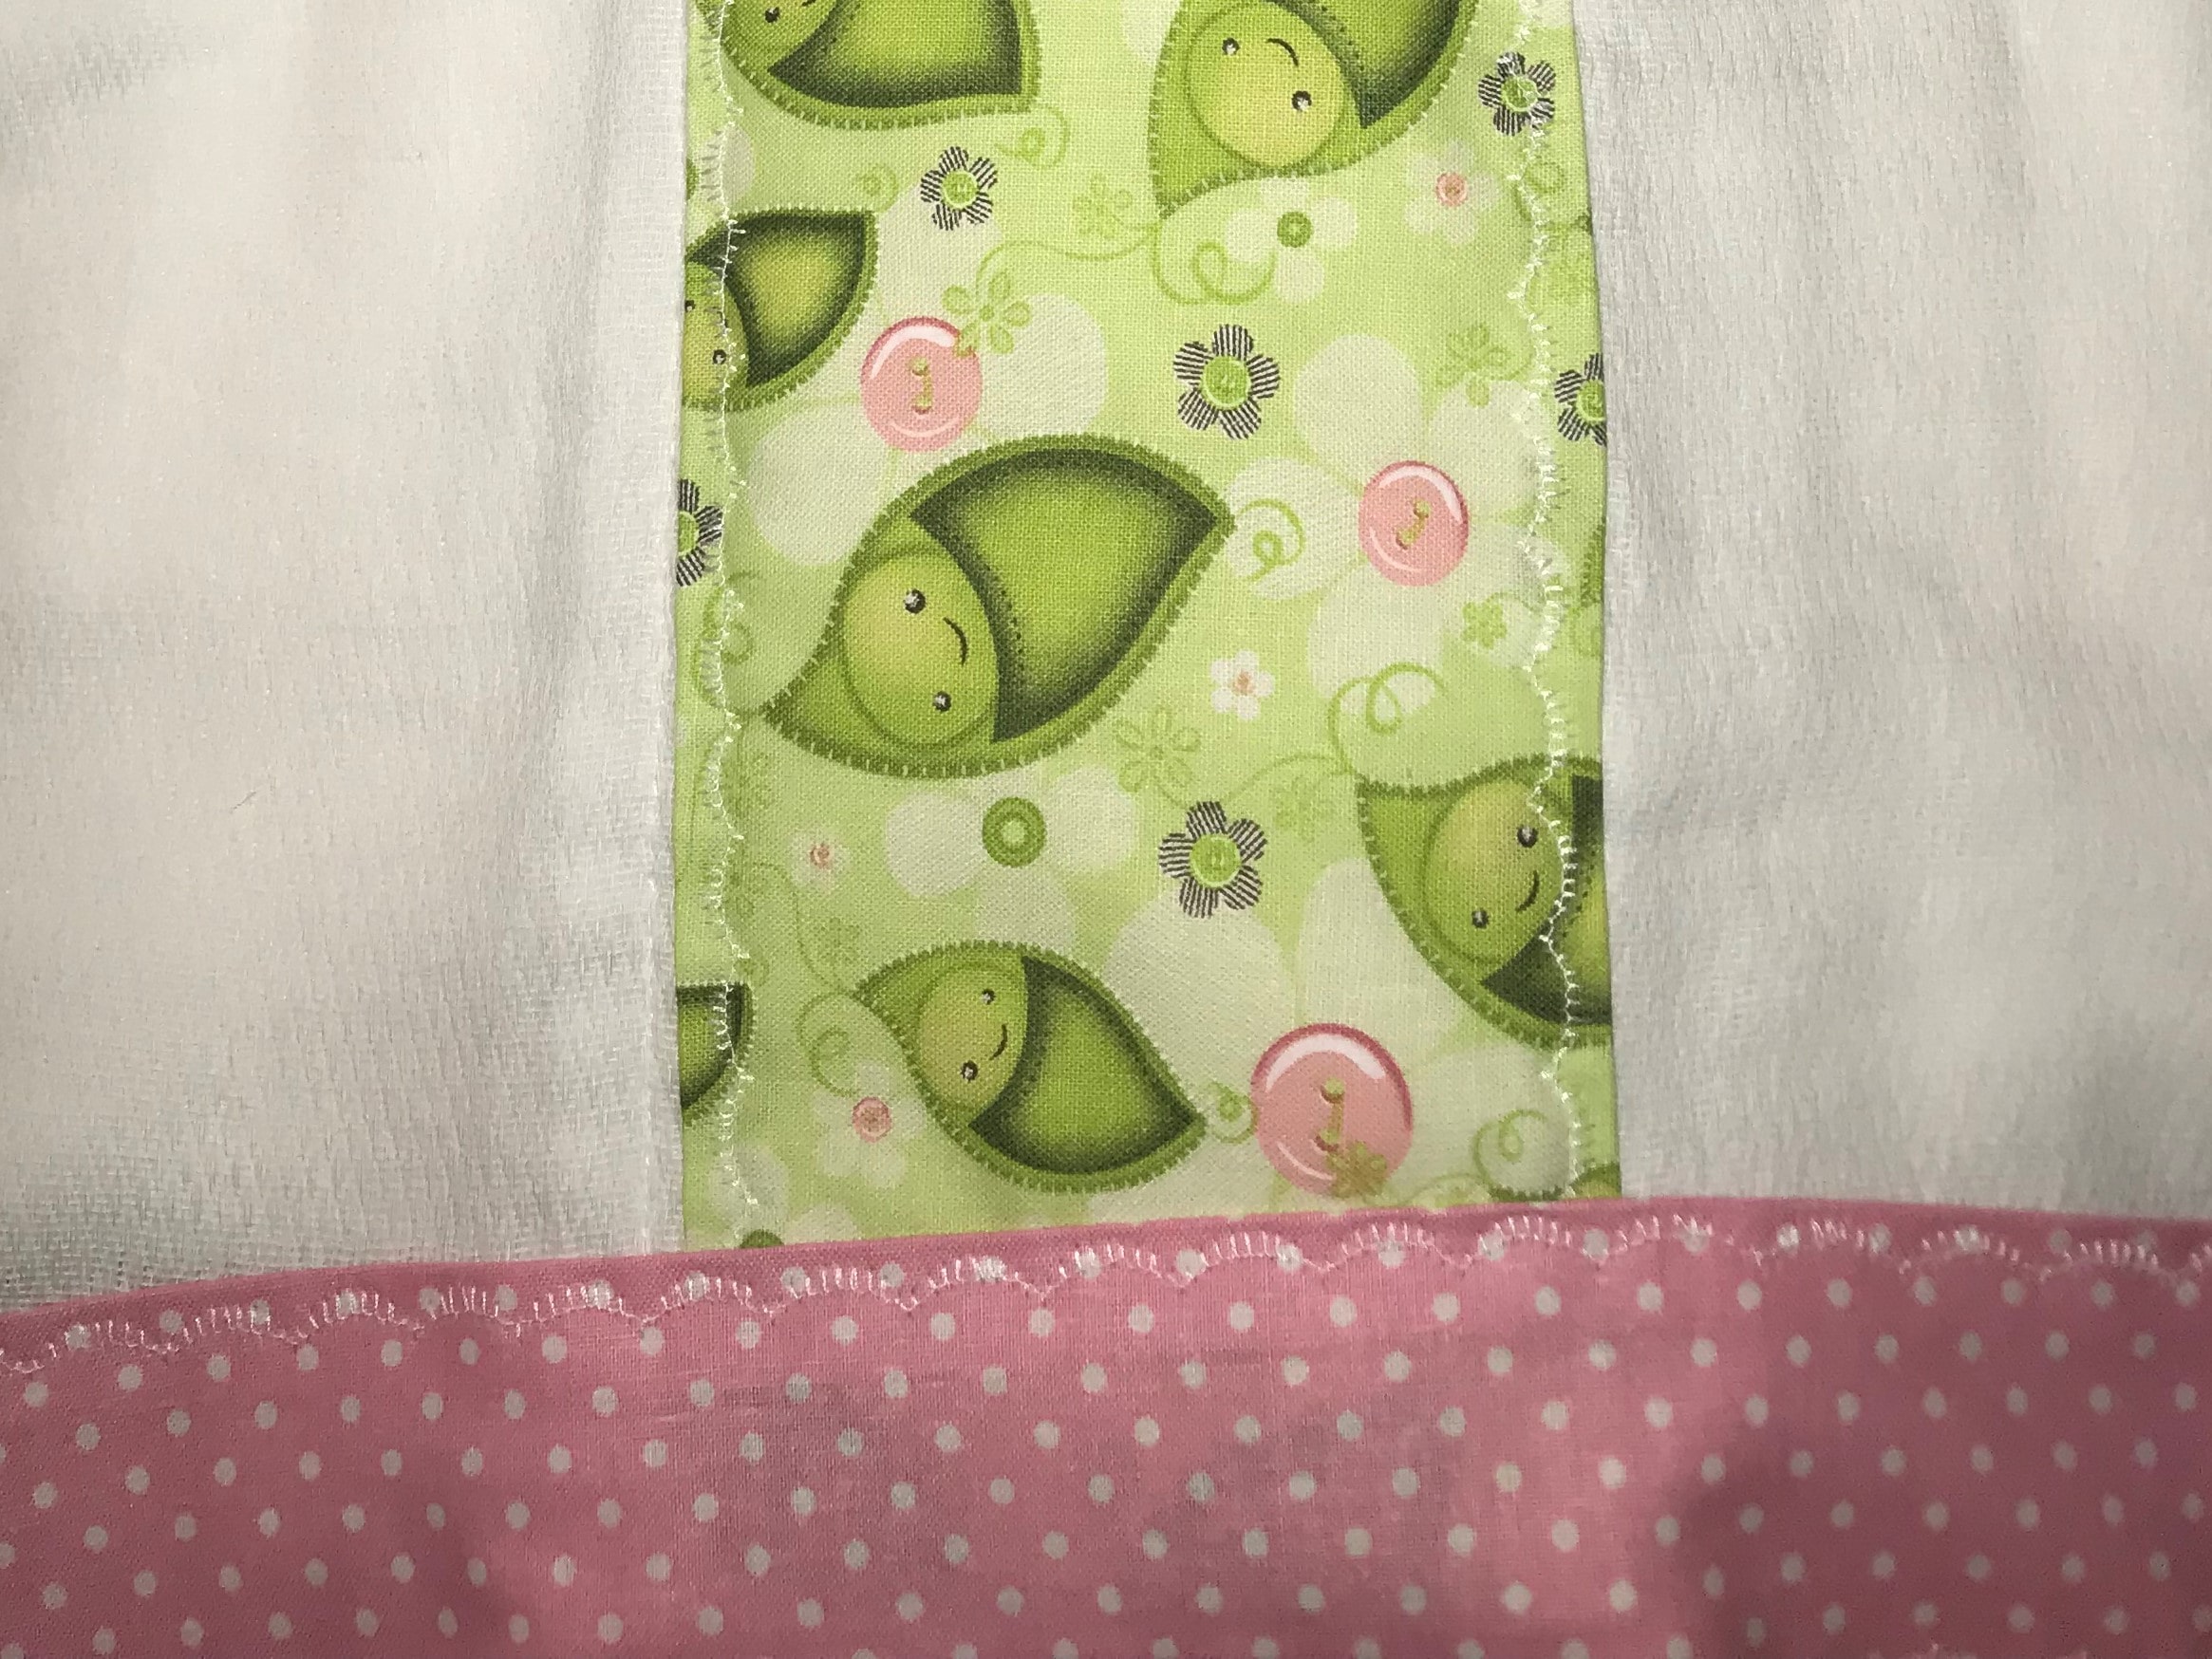
Helpful Hint: Don’t make yourself crazy… cloth diapers are not symmetrical! They do not have perfect 90-degree corners and straight lines! When you begin to pin your first strips to the cloth diapers you will feel frustrated that you can’t get the strips pinned on “straight…” Well, you’ll have to accept that the project will not have a crisp-corner feel, but will be somewhat wavy and “organic…”
At the date of this post, our baby girl is 5 months old, and the burp cloths are holding up beautifully! Burp, spit-up, wash, dry, fold, put away, and repeat!

