How to Avoid the Pitfalls and Trappings,
and End Up with a Gorgeous Tree!
Okay gals, it’s that time of year again… you know you’re excited to deck the halls! Let’s take the tree from the beginning…
Pre-Trimming Prep
Allow one whole day for assembling the tree, lighting the tree, and creating the inner framework that will make it shine when it’s time to adorn with your favorite ornaments! I know, we all want to get to the finished product, but like with so many other creative projects, the framework must be done with deliberation and patience in order to achieve the finished product to which we aspire!
The actual tree trimming (where you invite family or friends to join in the hanging of the beloved, special ornaments) should be planned for the next day. The last thing you need while you are patiently and lovingly prepping the tree is an impatient audience that wants to get on with it.
Dress for summer and turn off the fireplace.
If you’re not working up a sweat, you’re doing something wrong! Girl, take off the Christmas sweater… there will be time for that later.
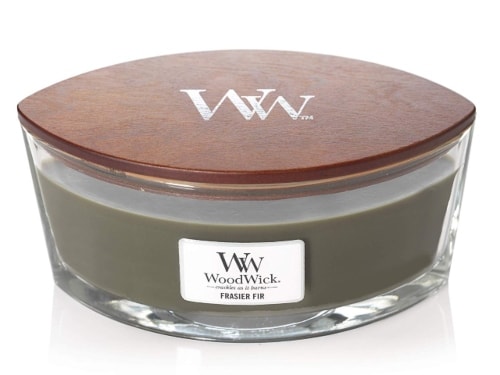
Light a candle or two that suggest pine,
or the woods, or your favorite holiday aroma!
Since my fireplace is not on during tree prep, I like to burn WoodWick crackle candles! They not only smell wonderful, but the wick crackles like a fire.
Turn on soothing holiday music, preferably acoustic.
Choose something soothing to keep the impending frustrations at bay! Even Perry Como admits putting up the tree can be stressful, so you don’t need over-active carols at this moment!
Santa Claus Is Coming To Town
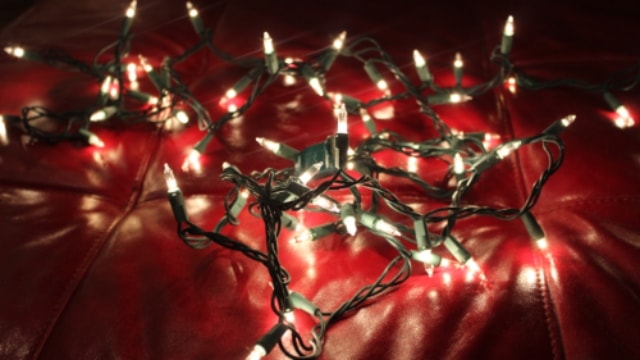
Have extra strings of twinkle lights on hand.
Your tree may be pre-lit, until it’s not!
Caution: Adding independent strings of lights to your pre-lit tree is tricky. Gone are the days when there were only two choices of twinkle lights: clear and multi-colored. Now there are warm-clear and cool-clear, both in LED and non-LED. After a few missteps, I finally figured out that my pre-lit tree contains warm-clear, non-LED light. Also, be sure the wire for the string of lights is green and not white, unless your tree is flocked with artificial snow!
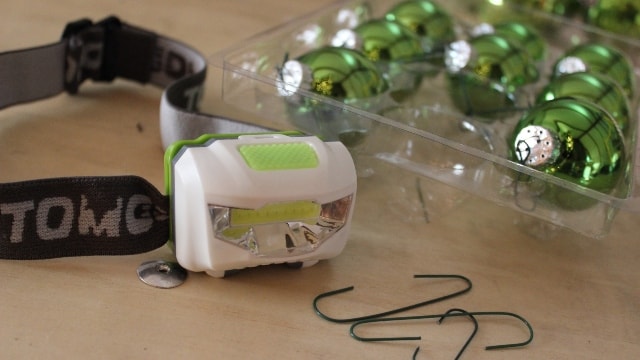
Use a headlamp.
For Real! This may be my best tip of all! Have you noticed how difficult is can be to see amidst the green branches? Especially if the light strand is green, the ornament hooks are green, and the floral wire is green? Of course this is all by design, but it makes it difficult to distinguish between all of these green materials when you are adorning and un-adorning! Last year I found myself holding a miniature flashlight in mouth so I could see and be hands-free! At that point I decided that it was to be the last time I struggled with inner-tree-visibility! I picked up my phone and ordered some small head lamps from Amazon, and voila! I can see this year! It makes the job so much easier! Coal Miner’s Daughter, that’s me! Get’cha some!

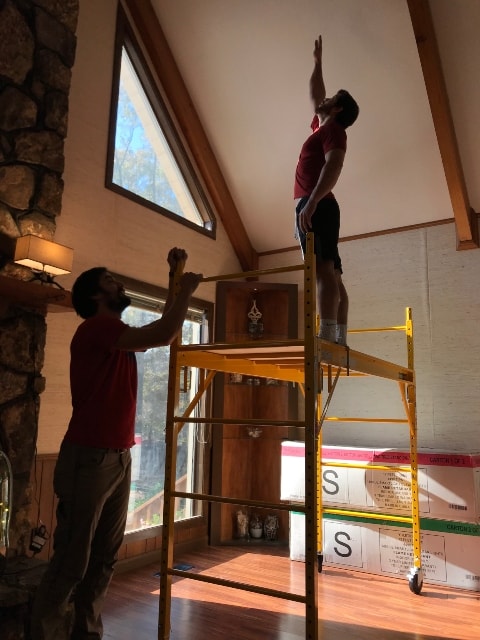
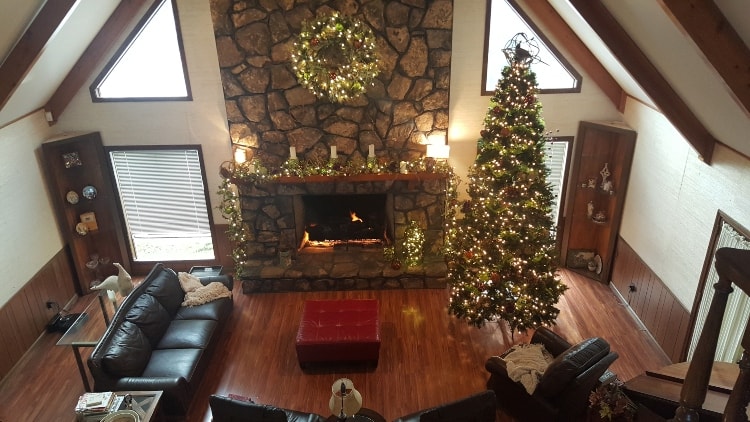
If you have a really tall tree, save yourself the struggle and falling risk of decorating while atop a ladder! Get yourself a scaffold! This was my husband’s idea, and I thought he was crazy at first, but is a much easer and safer alternative to the top of a narrow ladder. You can lock the wheels so it won’t move, and have both feet flat on the standing surface for better balance while you affix the ornaments to the upper branches and attach the angel, star, bow (or in our case a pheasant) to the top of the tree! The scaffold was reasonably priced (around $200 at Lowe’s) and was easy to put together and take apart…

Pay close attention…
… to the section letters or numbers on the tree trunk or branches as you add layers to the trunk. I know, this goes without saying, but I’m saying it anyway! (I have put the pieces out of order more than once and had to go back a re-do).
Open up (feather) the individual sprigs of pine needles.
Lift up each branch and feather from underneath as well. Unless you’ve never put together an artificial tree, you know that the branches and pine needles come out of the box all squished together! Take your time and fluff each branch and sprig of needles!

An aside: One year, when my son was ten years old, I assigned him the task of fluffing the needles. It seemed pretty straight-forward, and I didn’t think he needed much in the way of supervision. I left the room for about 15 minutes, and when I returned he was finished. Only a boy would have fluffed the sprigs of pine needles in the shape of airplane propellers! Ha, ha! It was hilarious! Of course, I had to re-fluff so that the tree actually resembled something from nature, but it cracks me up to this day!
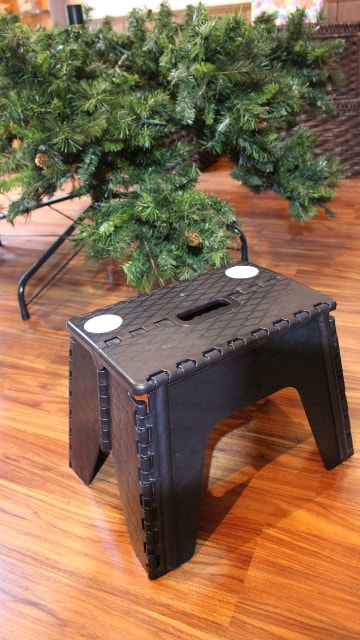
Use a small stool.
This is great to sit on as you work on the bottom of the tree (save your back!) Or you stand on it (carefully!) for something just out of reach!

Take your time and reflect.
Don’t pass up this opportunity to savor past memories. For me, nothing brings back memories like decorating the Christmas tree. Something about the exact same order of the tasks, the repetitive motions (and especially the heirloom ornaments) triggers my mind to Christmases past. Indulge in these memories.

Plug her in and test the lights!
If any sections of lights are out, try to trace down an offending burned-out bulb and replace it. If you are unable to get a large section of lights to cooperate add a string of lights to your tree, making sure you’ve got the same type of bulbs (color and LED or not).
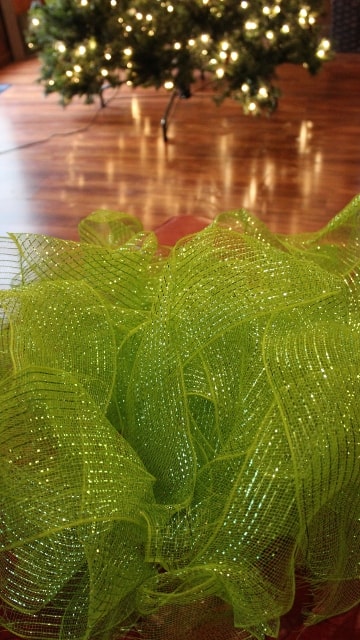
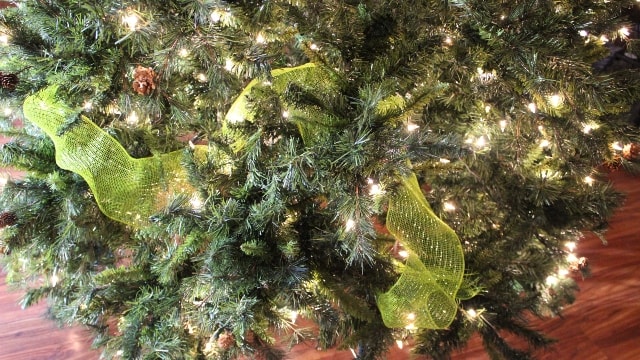
Add garland.
If you will use garland, now is the time to add it. I like to use sparkly wired garland that comes on a spool.
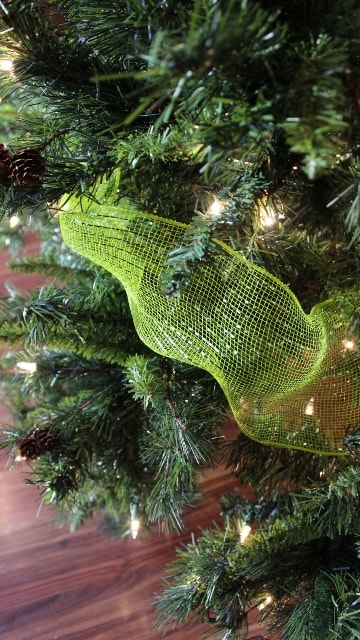
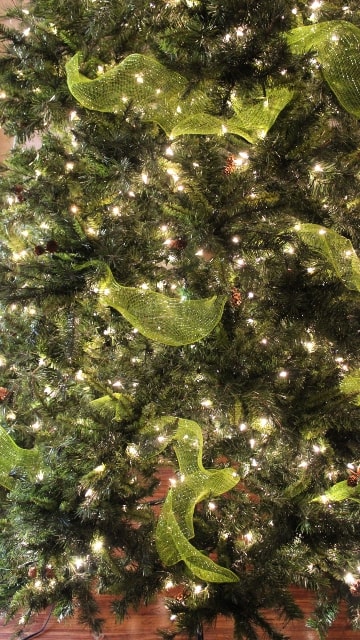
Weave the garland throughout the branches.
Work from the center of the tree to the outside edges. Avoid wrapping your tree up like a present (spooling only around the outer edges of the branches)… this will greatly limit your ability to add ornaments to the insides of the branches, Adding ornaments to the core of the tree is extremely important for depth and context… and for achieving that “glow!” The garland is an accent… it should not take on a life of its own! Think, “billow” and “tuck.” You definitely don’t want the placement of the garland to appear contrived (but of course, it is!) … It should look like little birds just tucked it in here and there!
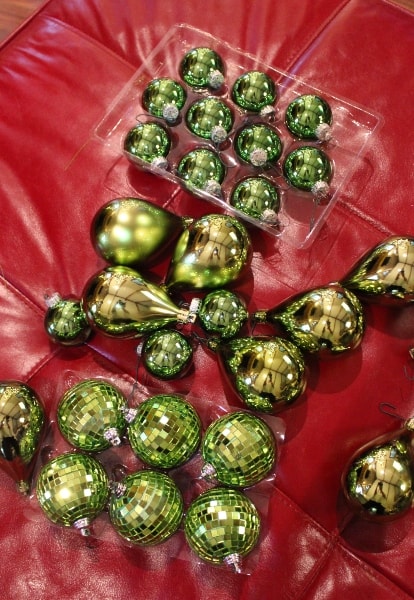
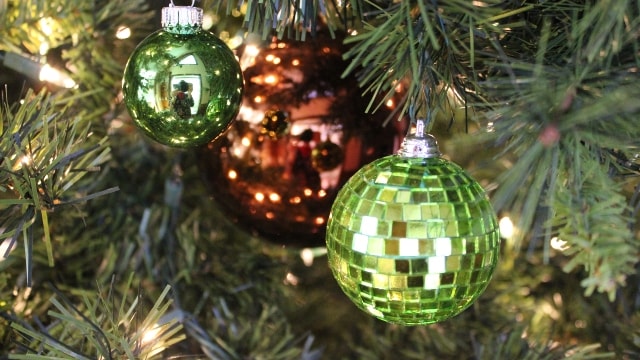
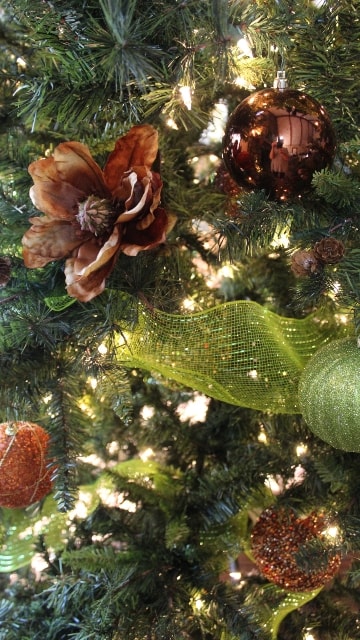
Add solid, shiny ornaments to the core of the tree.
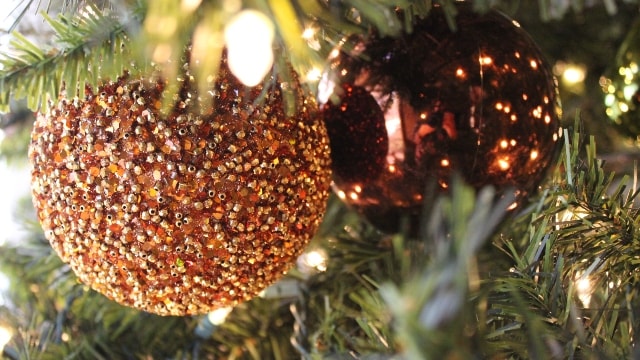
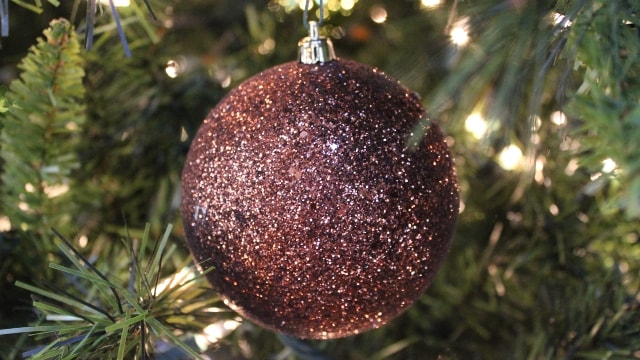
These ornaments, however humble and plain, are the key to a tree that glows! Put many, many of these solid, shiny ornaments all throughout the core of the tree… saving most of the edges of the branches for your special, show-stopper ornaments. The ornaments must hang free of impediments… do not place so as to rest on any branches below… let them dangle!


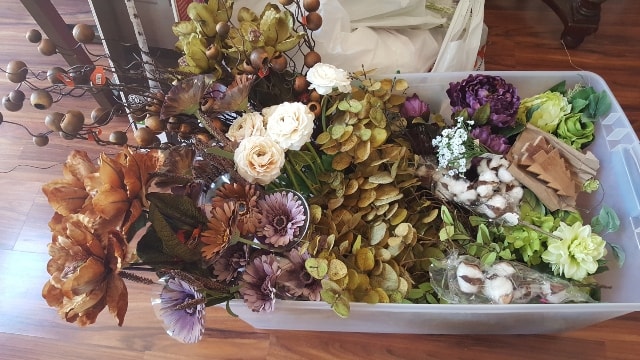
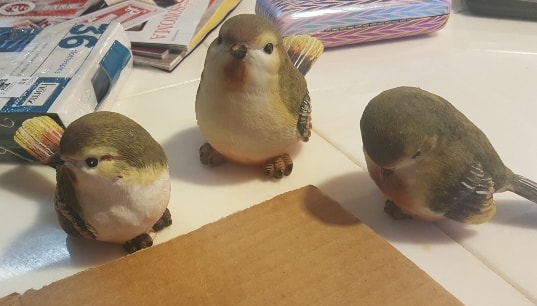
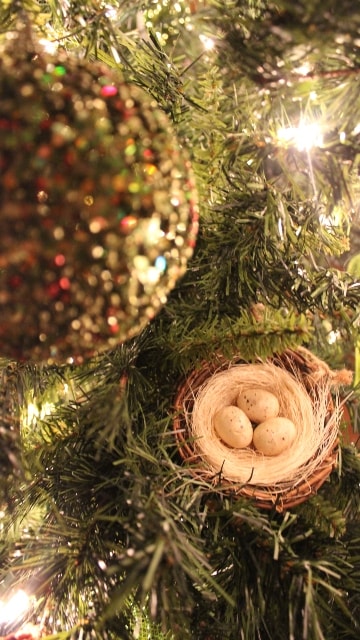
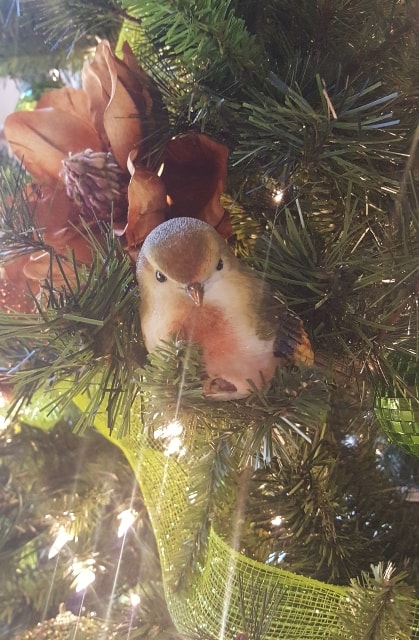
Use unique “ornaments!”
Don’t let your theme be confined to the “Christmas aisle.” Add any (non-flammable) item to your tree that strikes your fancy! I use ceramic birds (attached by their tails wrapped with floral wire) and all manner of floral sprigs!


Next day or later that evening.
Light the fireplace.
Put on that Christmas sweater.
Warm up some hot cocoa, coffee or tea.
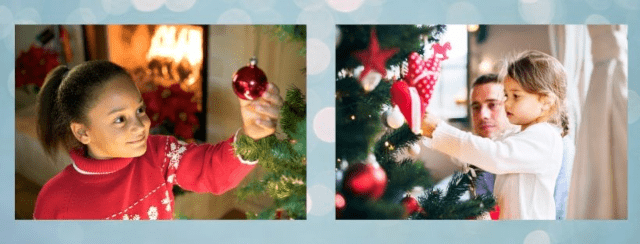
Invite others to add your featured ornaments and treasures!
Fix It.
After guests leave and everyone goes to bed, re-hang any ill-placed ornaments (when no one is looking!) … they’ll be none-the-wiser!
Happy Holidays!

If you want to purchase the Amazon products I’d really appreciate it if you launched your purchase from here, because as an Amazon Affiliate I earn a small commission (3-5%) at no extra charge to you if your purshase originates from this post!
Very nice!!! I loved this article, and my favorite part is the scaffold and getting great ideas from the “non Christmas isle”! I love the birds and the nest and the flowers!!!!
Themed trees are so fun! And the scaffold really is so much easier than teetering at the top of a ladder!
I need help so thank you for this!
ccm
Ha, ha! Don’t we all! Just remember, there’s really no “wrong” way! Have fun!
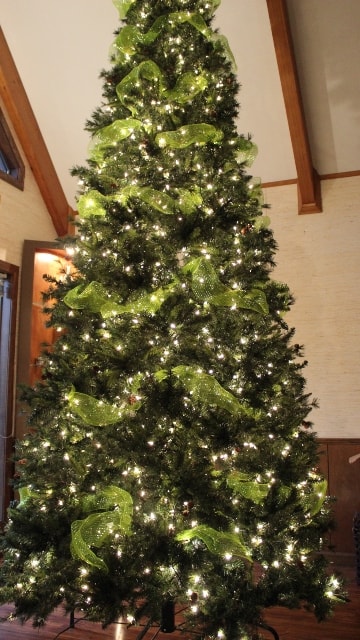
Great suggestions, Hazen! Your tree is beautiful!
Good pictures with each step.
Dana, This was a fun read. I appreciate your many helpful suggestions. The ribbon that I wind around our Christmas tree has never has looked quite right. Your tree looks beautiful with the ribbon occasionally exposed. I am going to try your suggestion this year!
So glad you enjoyed the post! Good luck with the garland!
Great article. After 50 plus years of going about this all wrong, we’ll follow your steps this time!