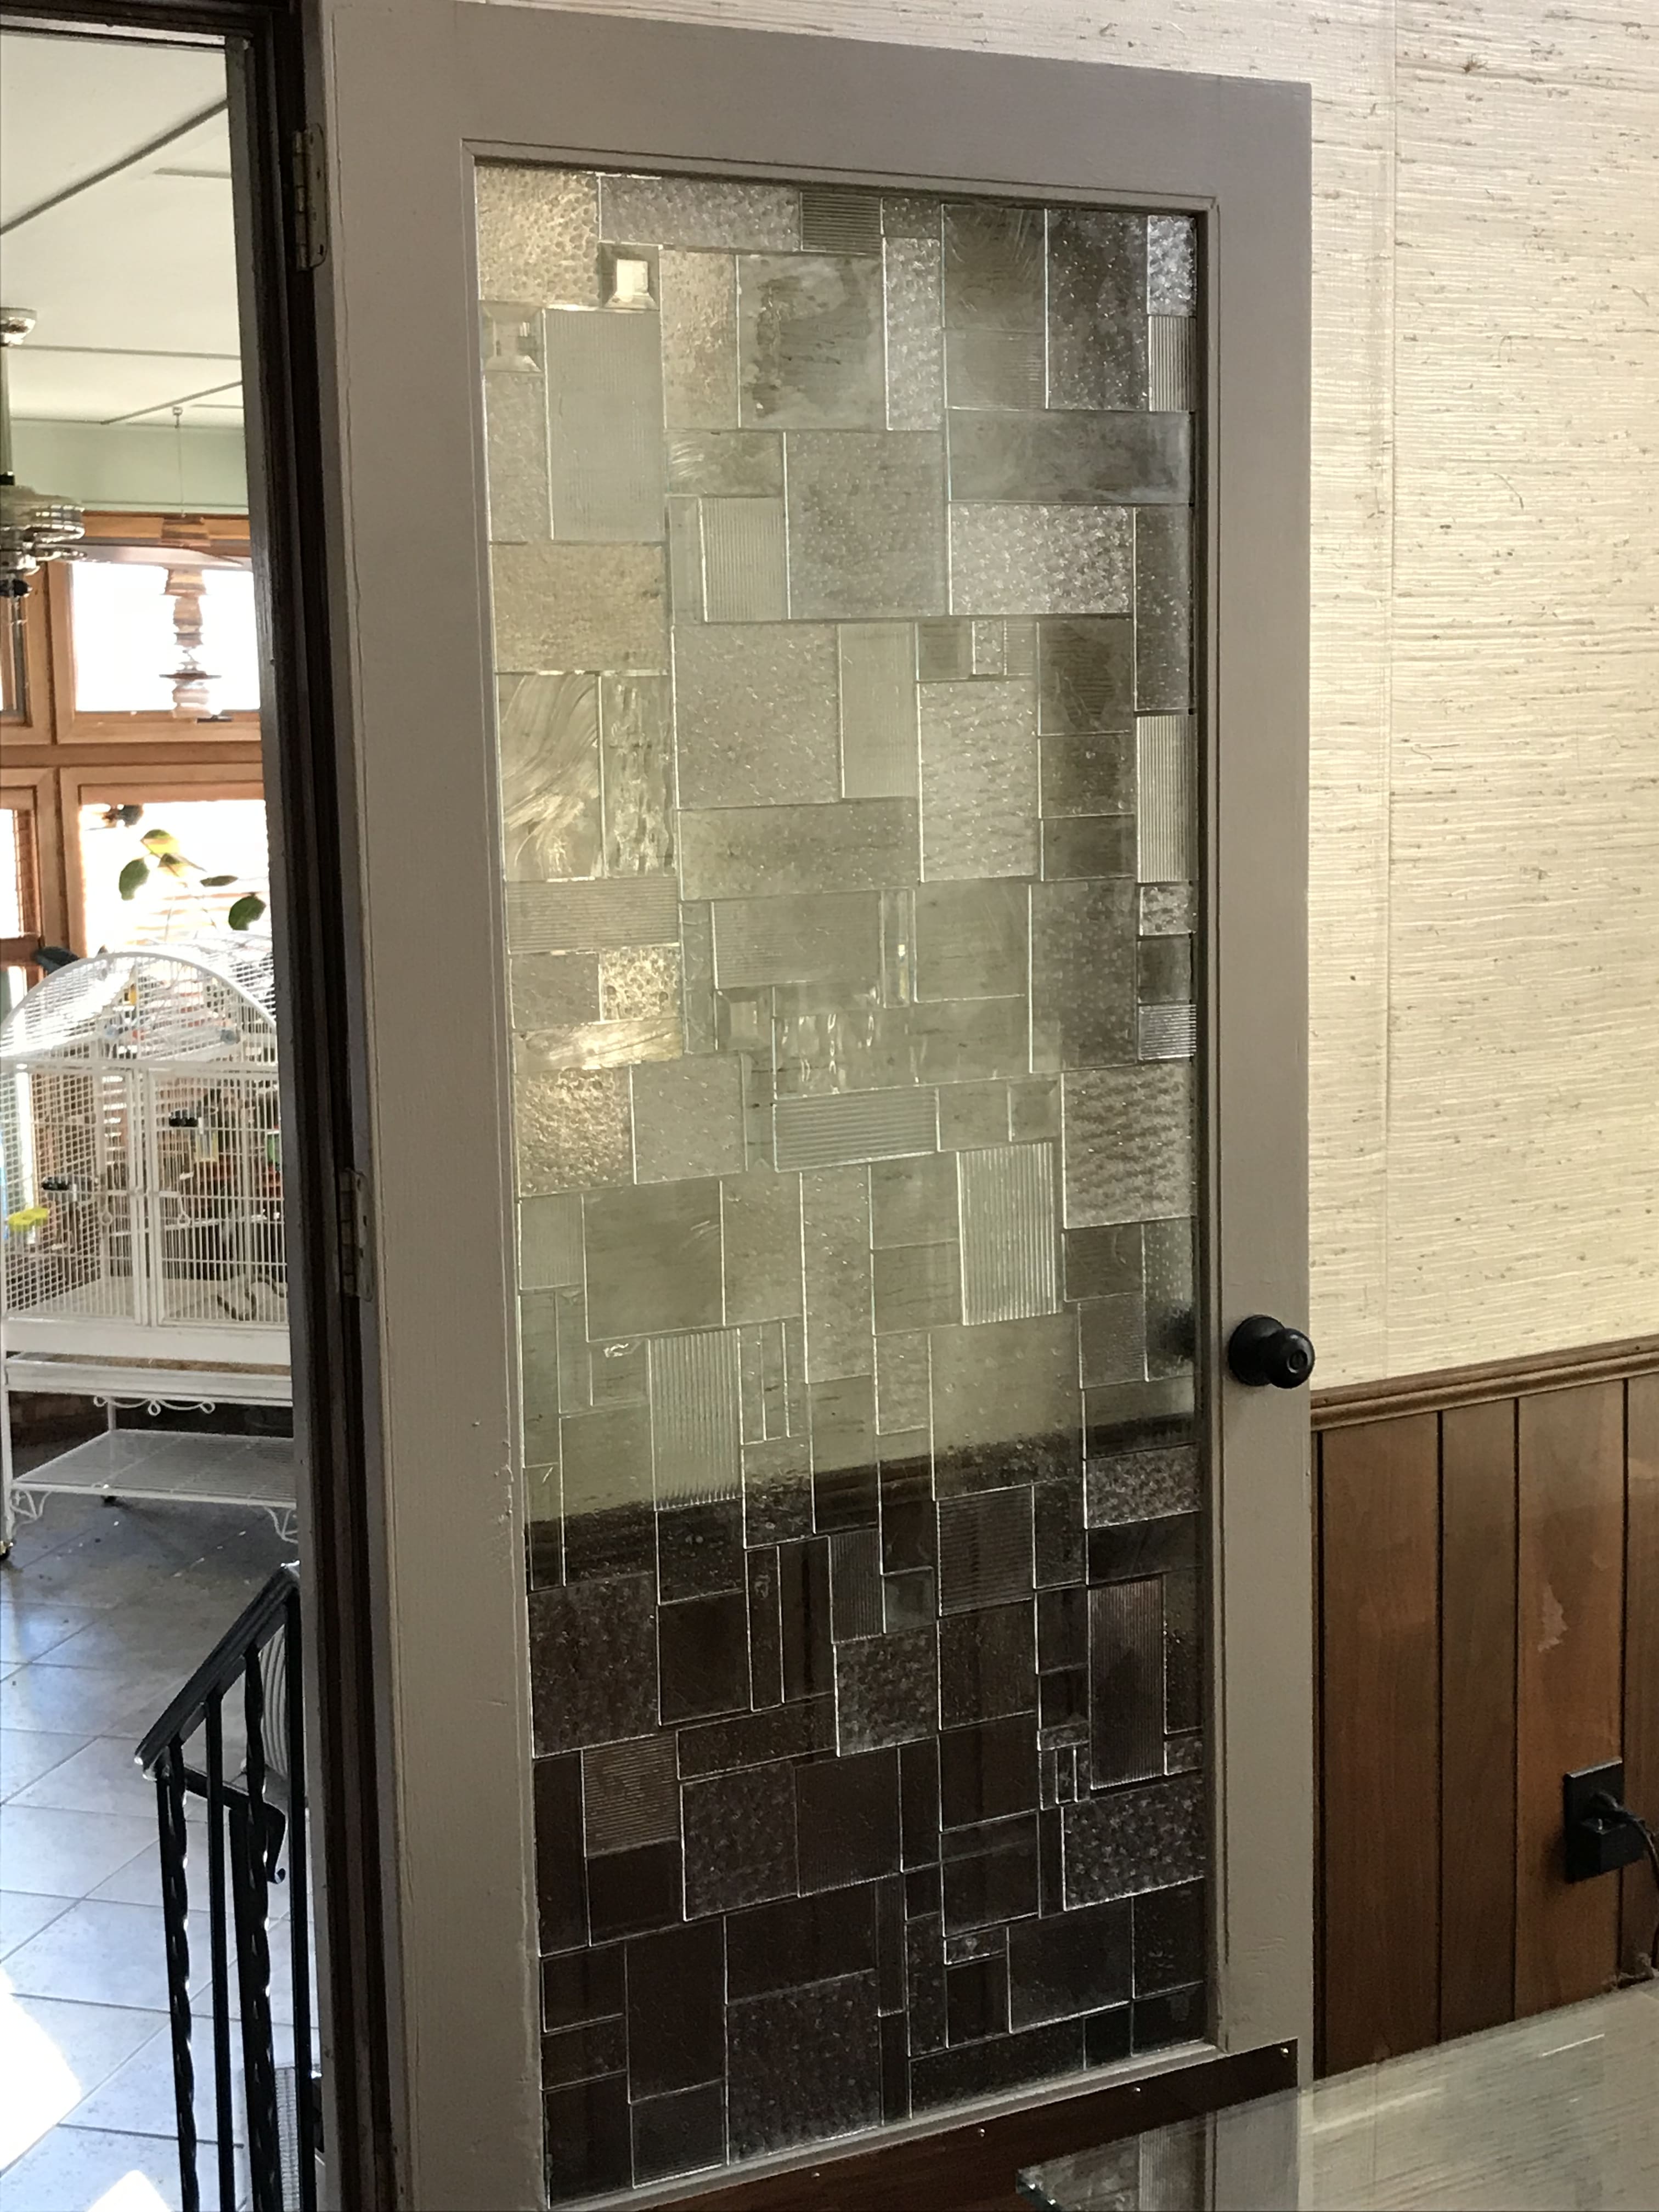
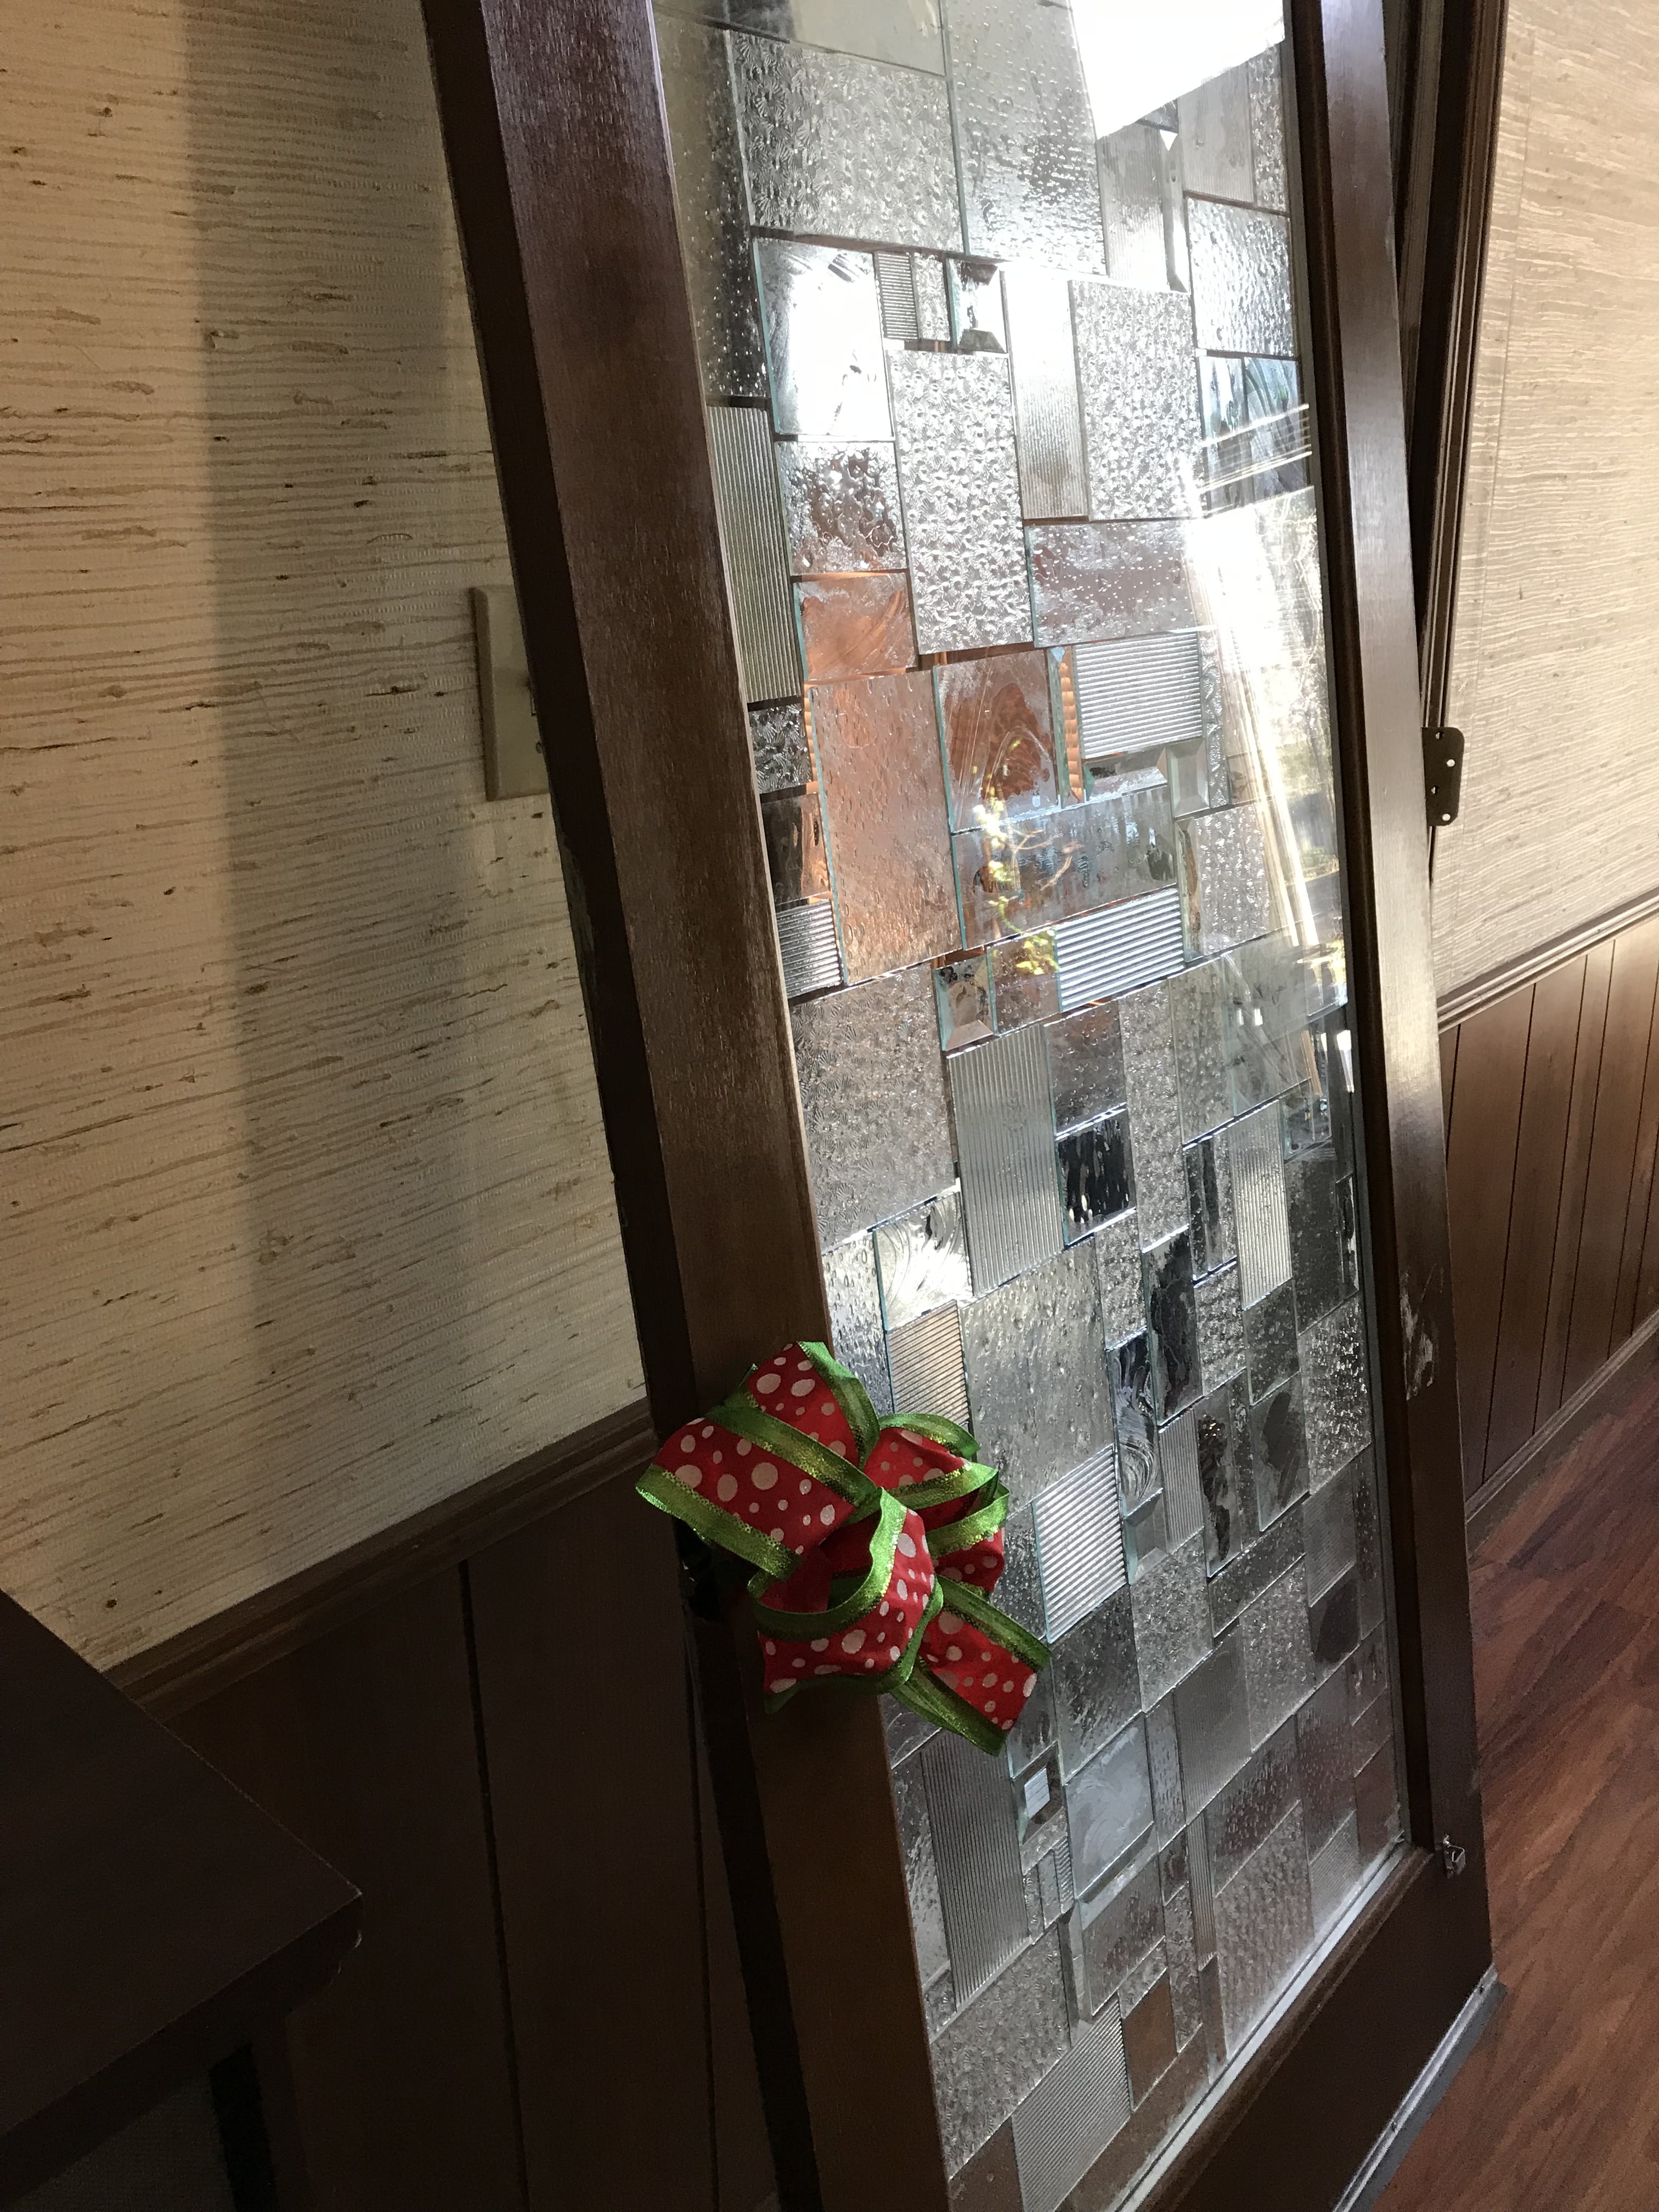
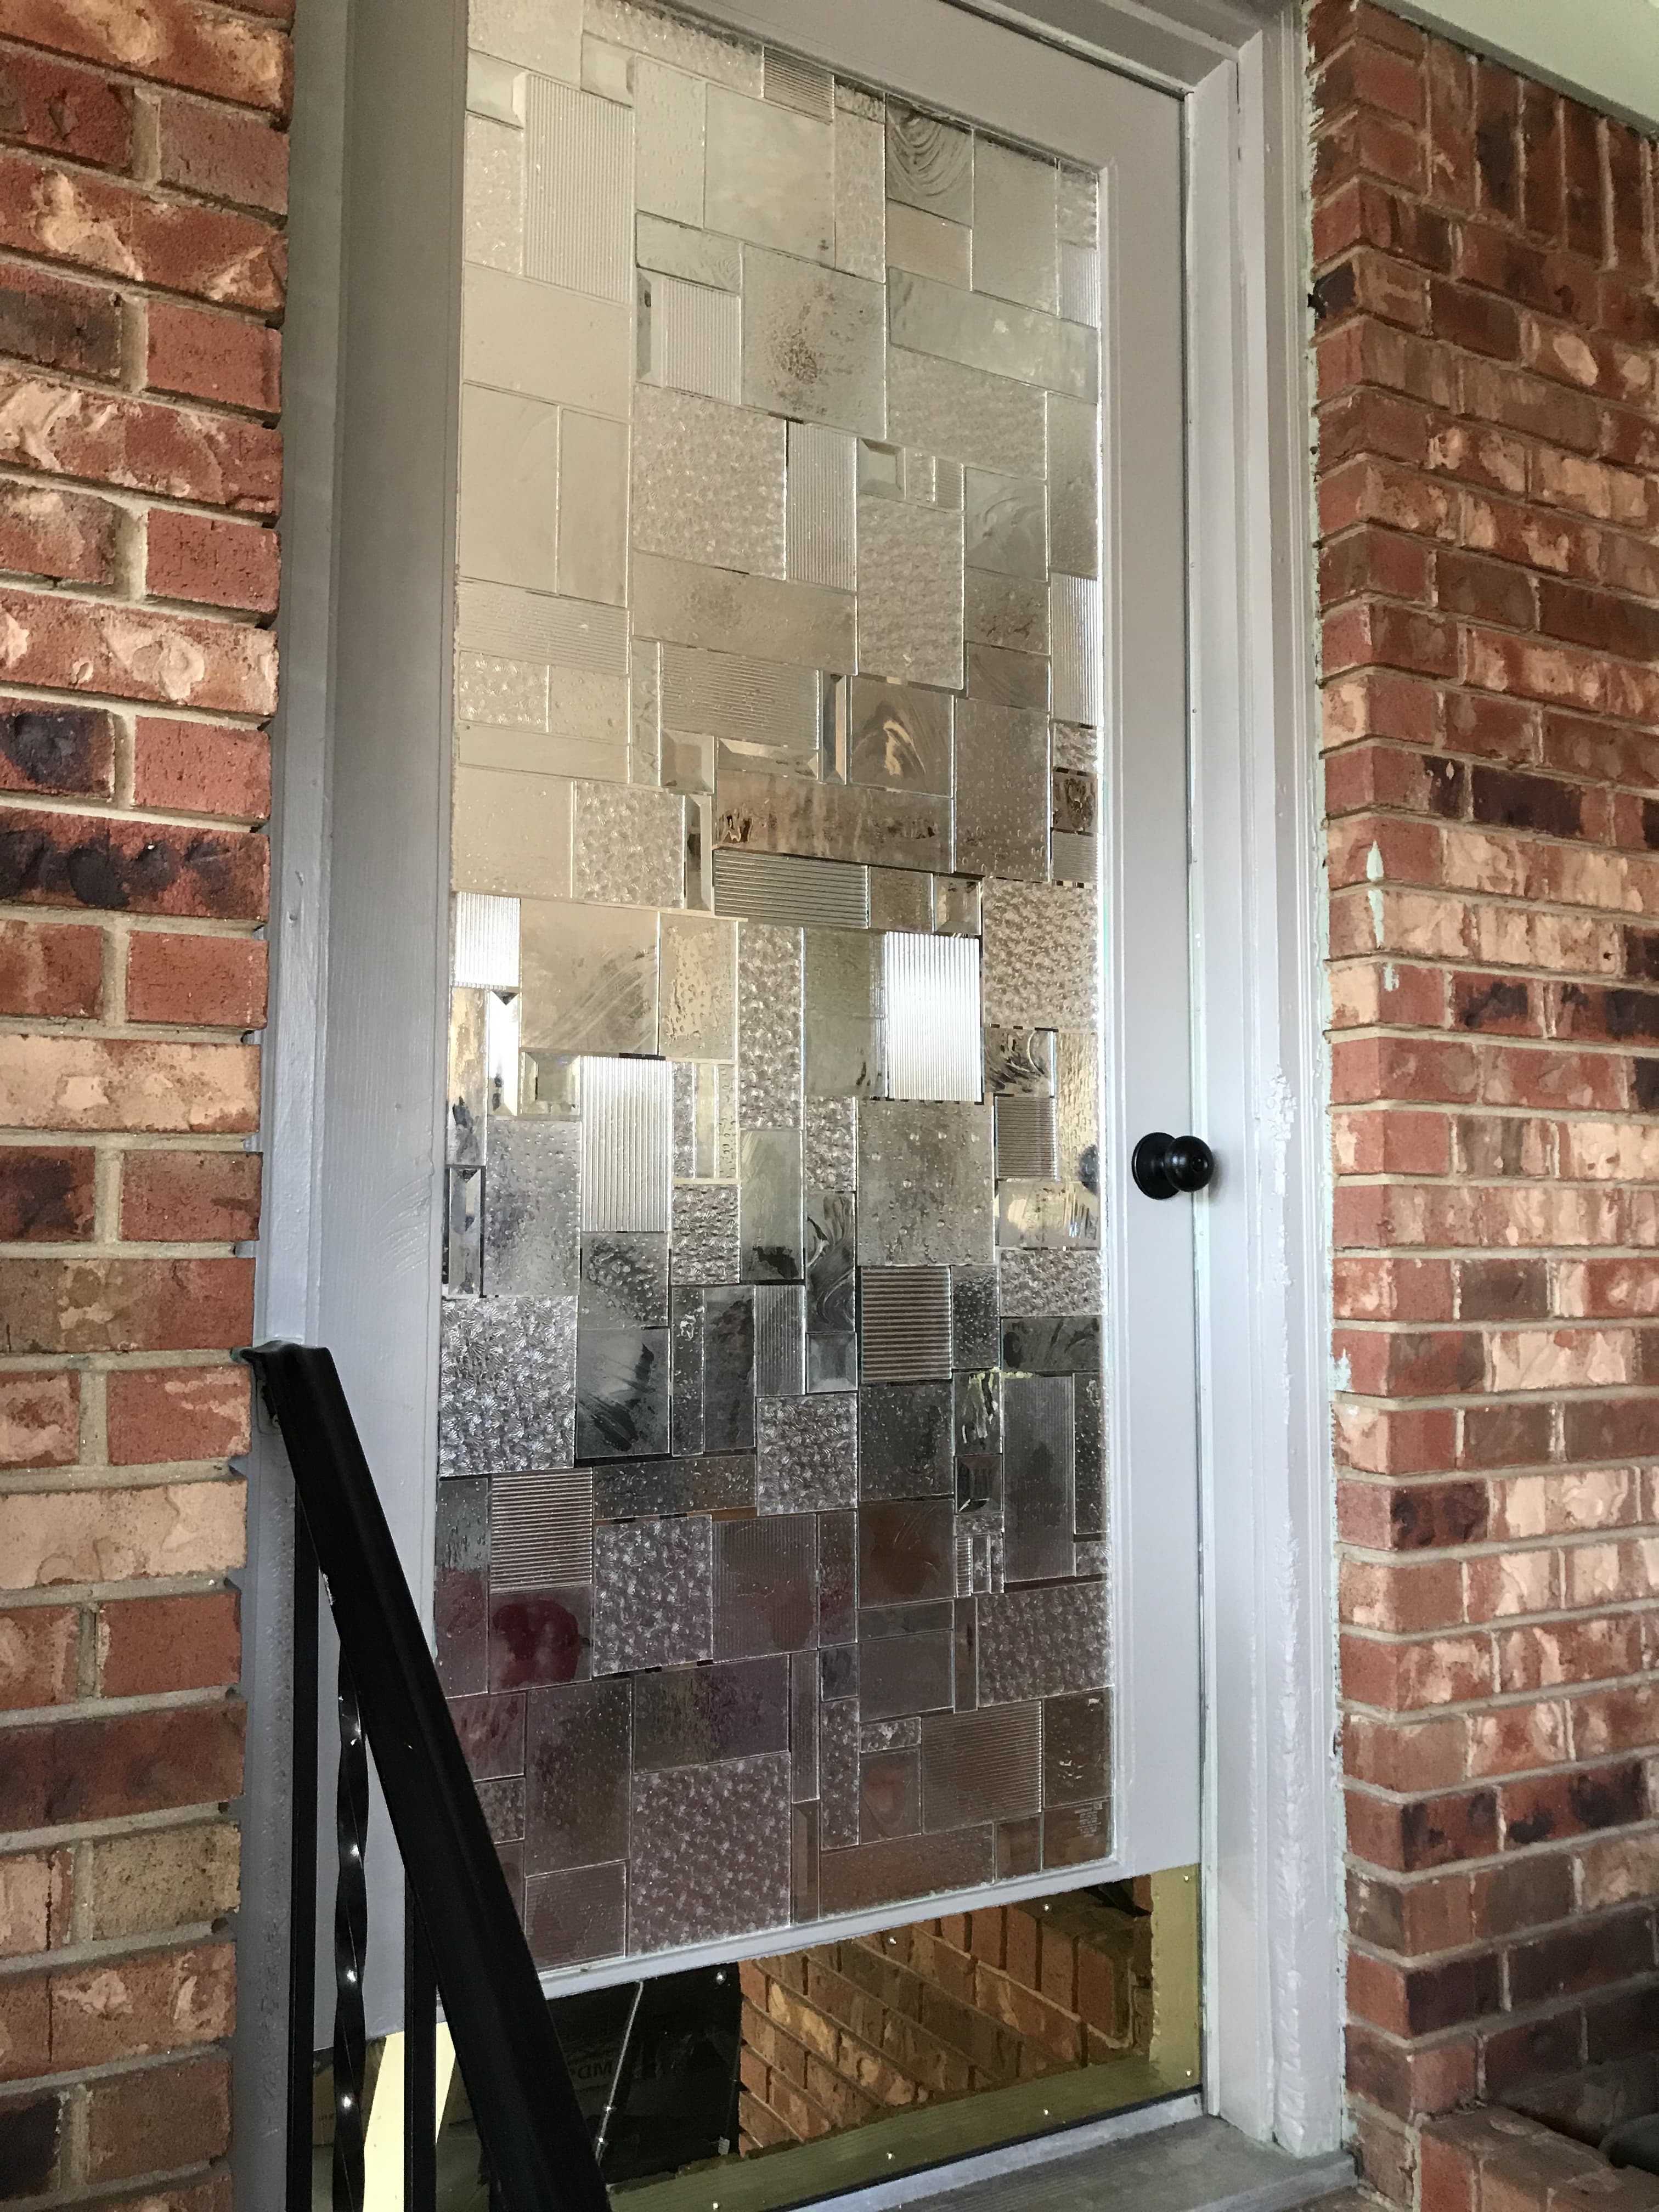
When we bought our house there were two glass doors leading from the living room to outer rooms, each covered with a worn, faded, and dusty white curtain. As much as I wanted to yank those curtains down on move-in day, I knew they served an important purpose: there was a need for opaqueness between the living room and those outer rooms, since one door led to a laundry room, and the other to a utility room; neither of which I wanted to view from the living room. After contemplating the best solution, I finally arrived at creating a stained glass look by gluing cut glass to the glass doors. I had some experience with his process in the past (from covering old windows with colored stained glass), so I set out to conquer those doors!
Before and After Photos
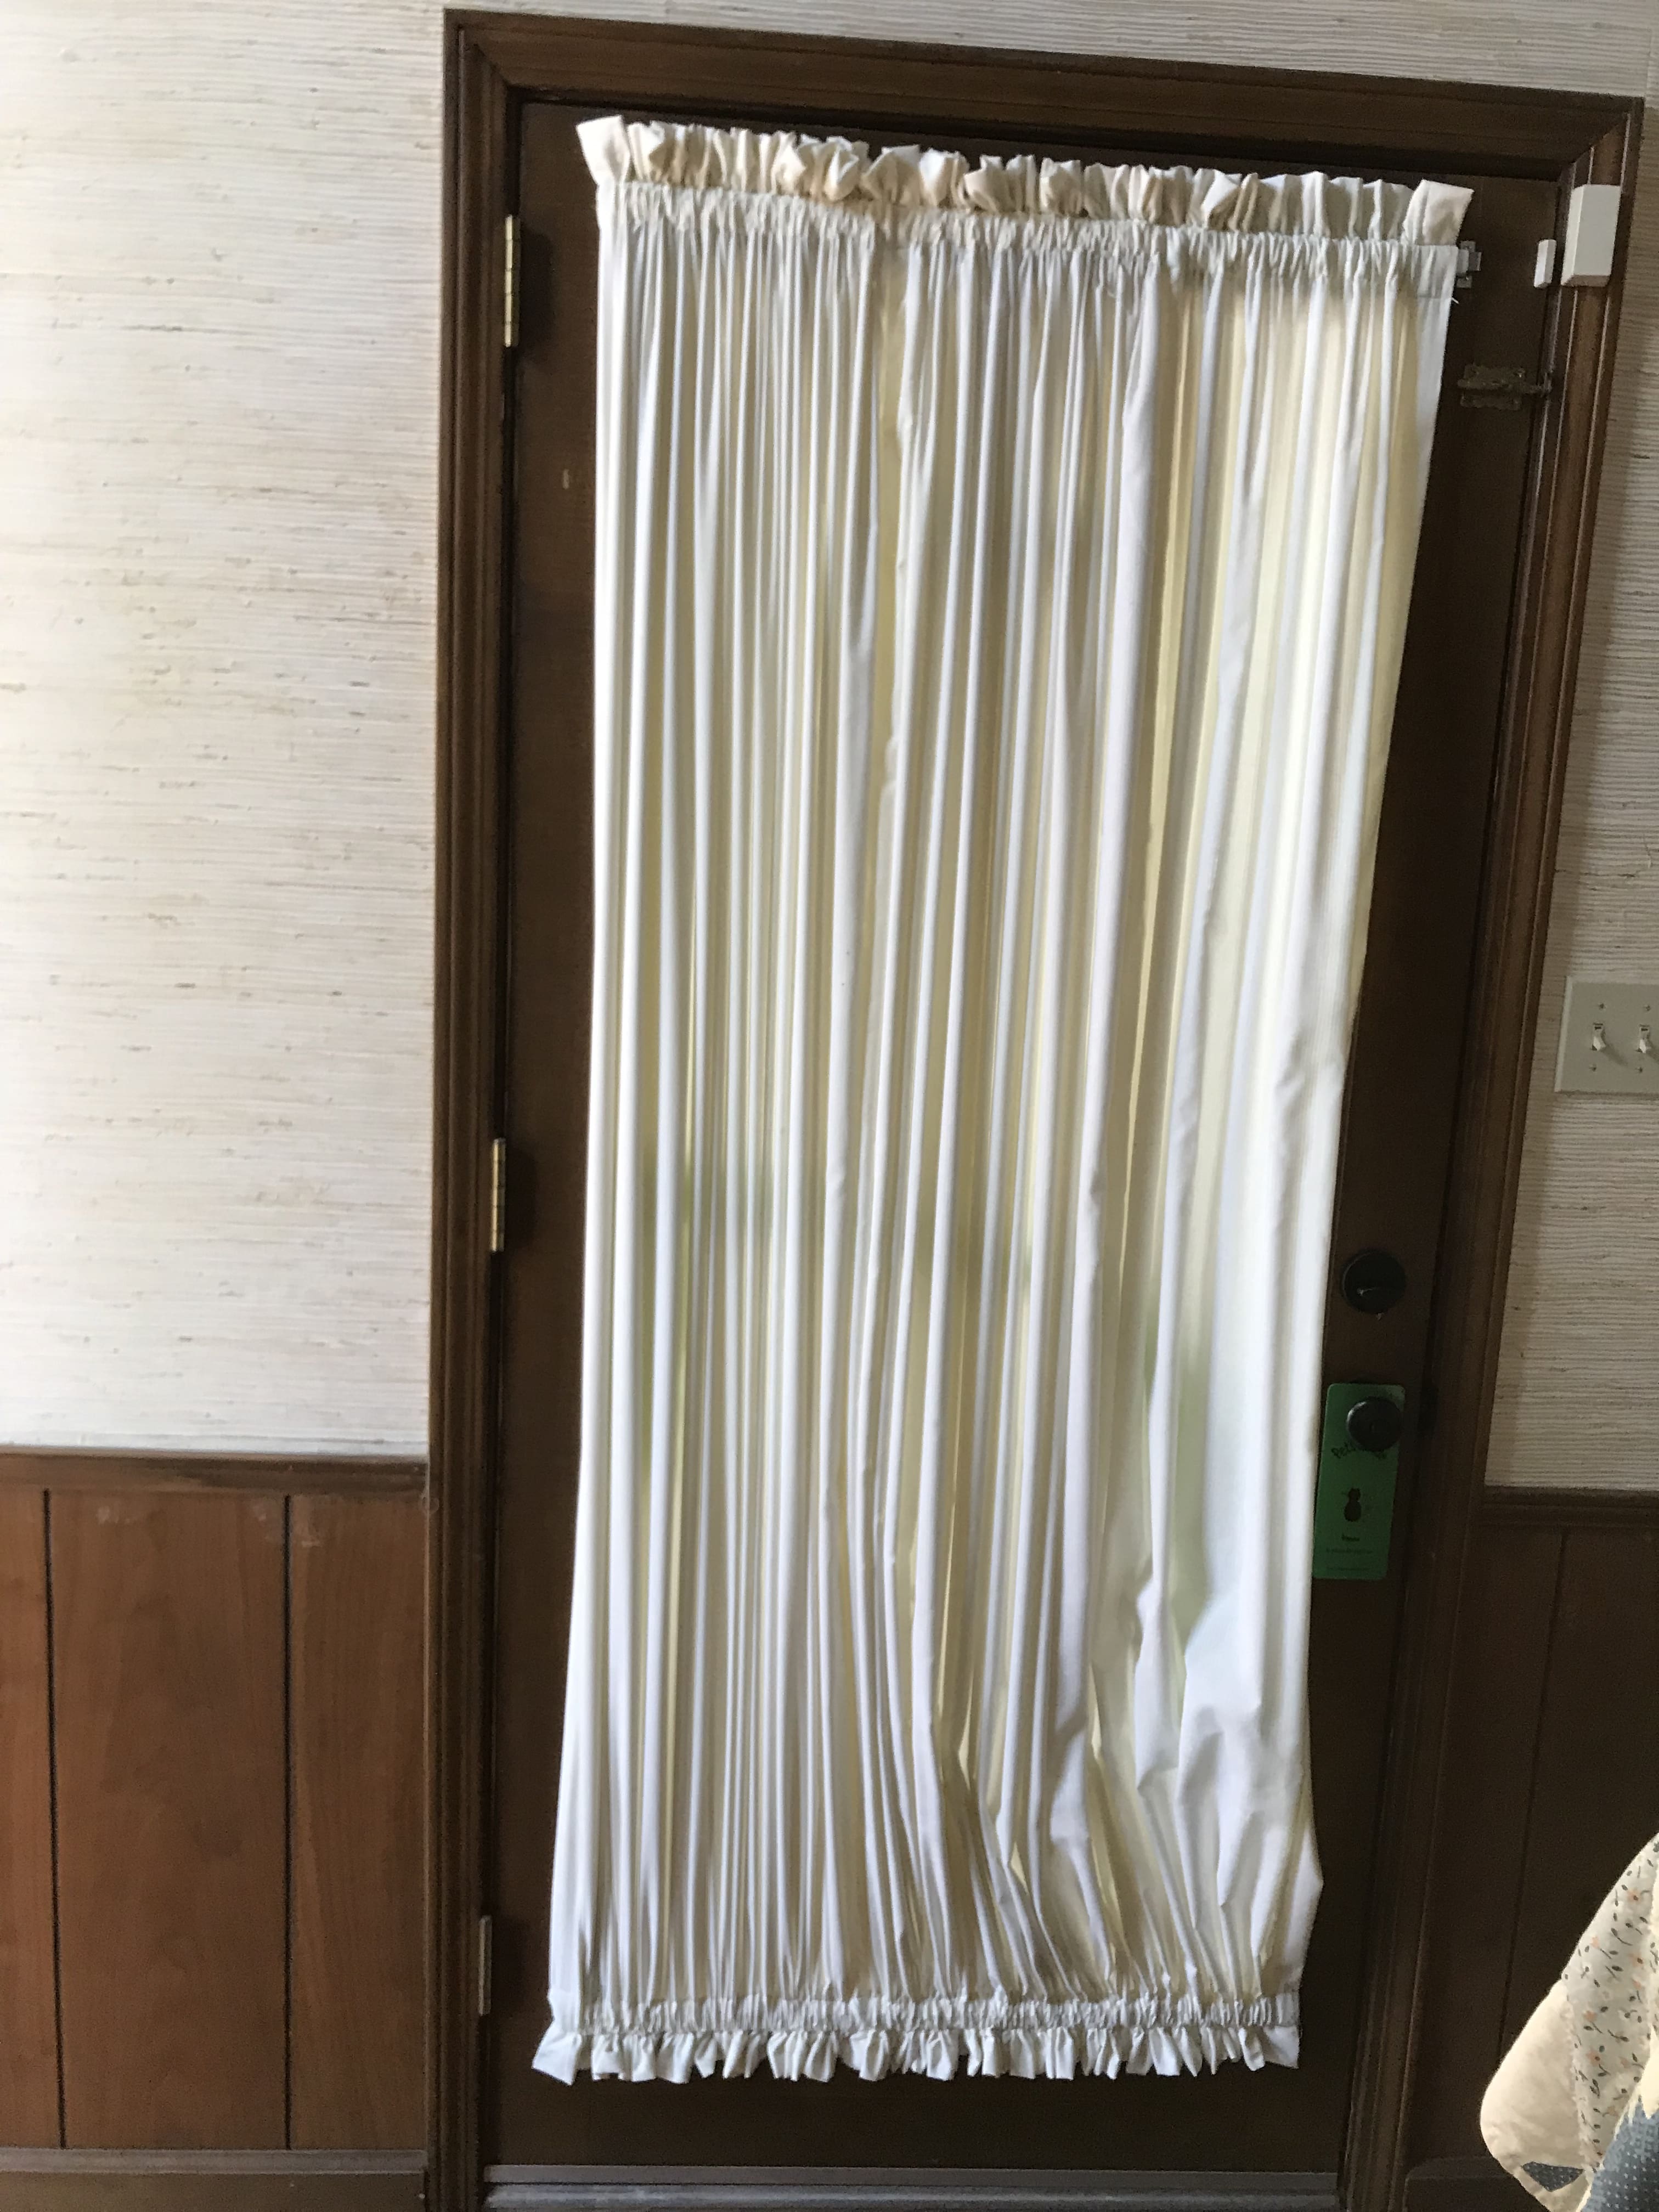
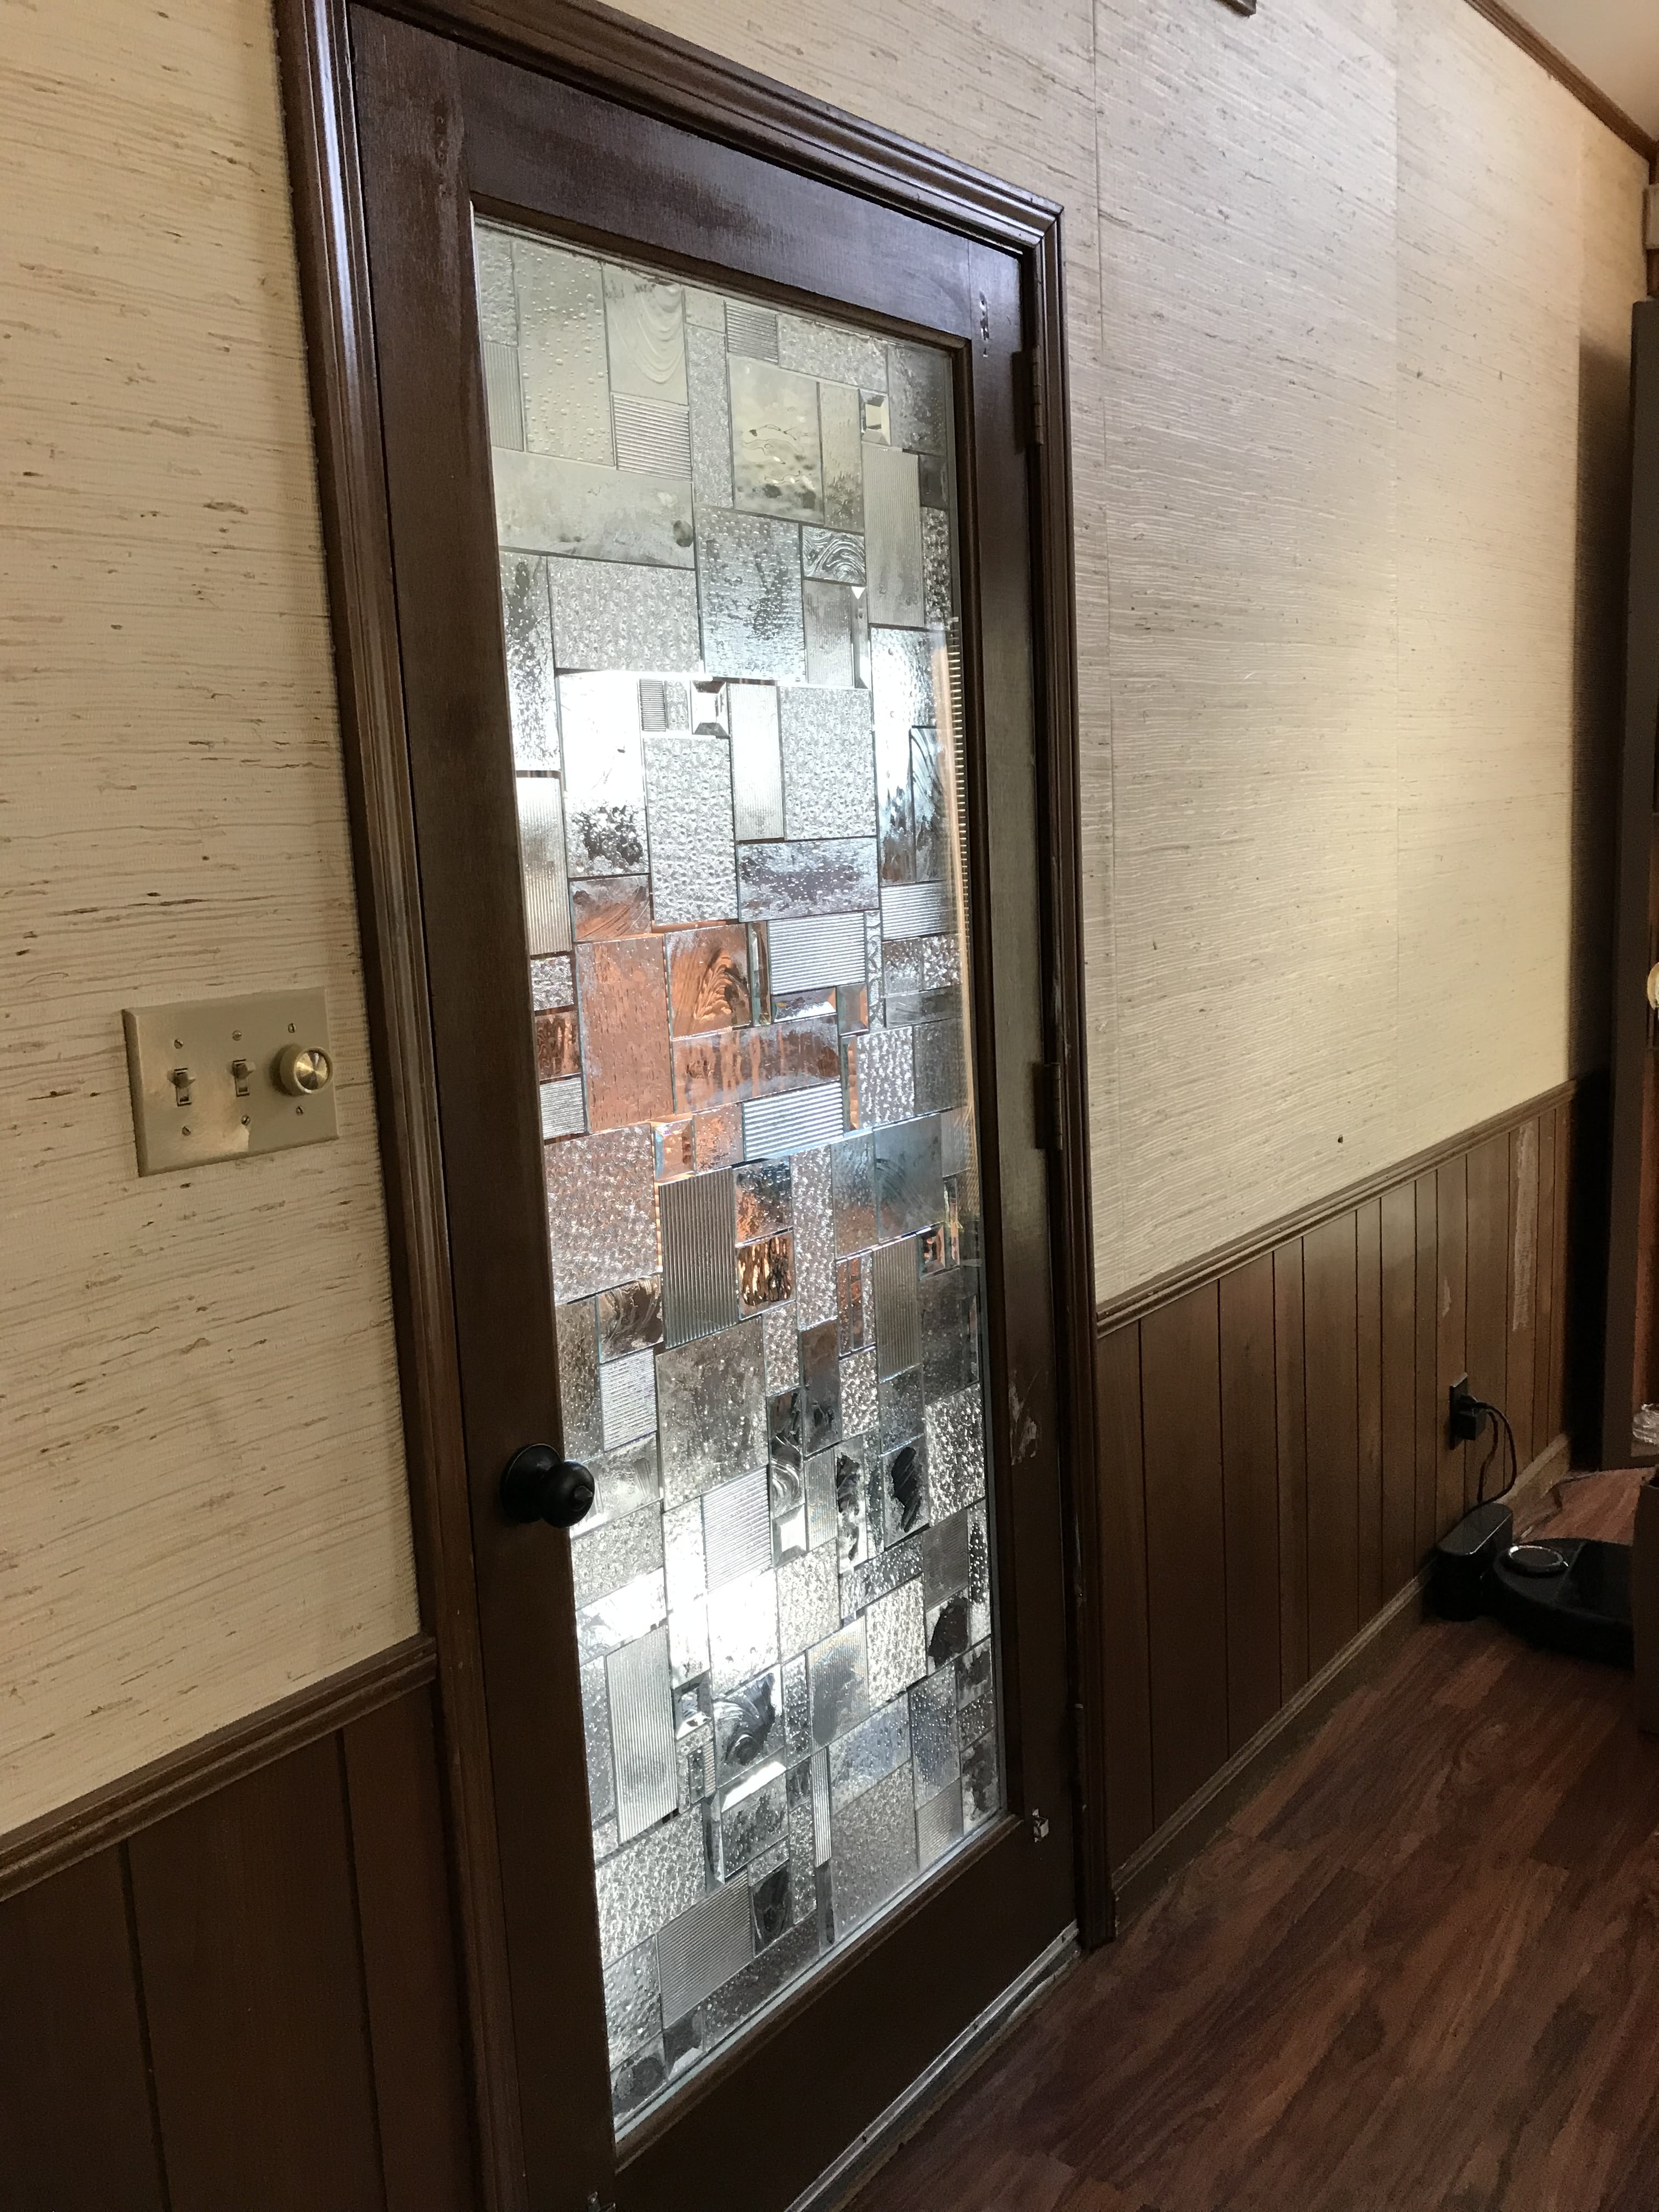
Supplies Needed
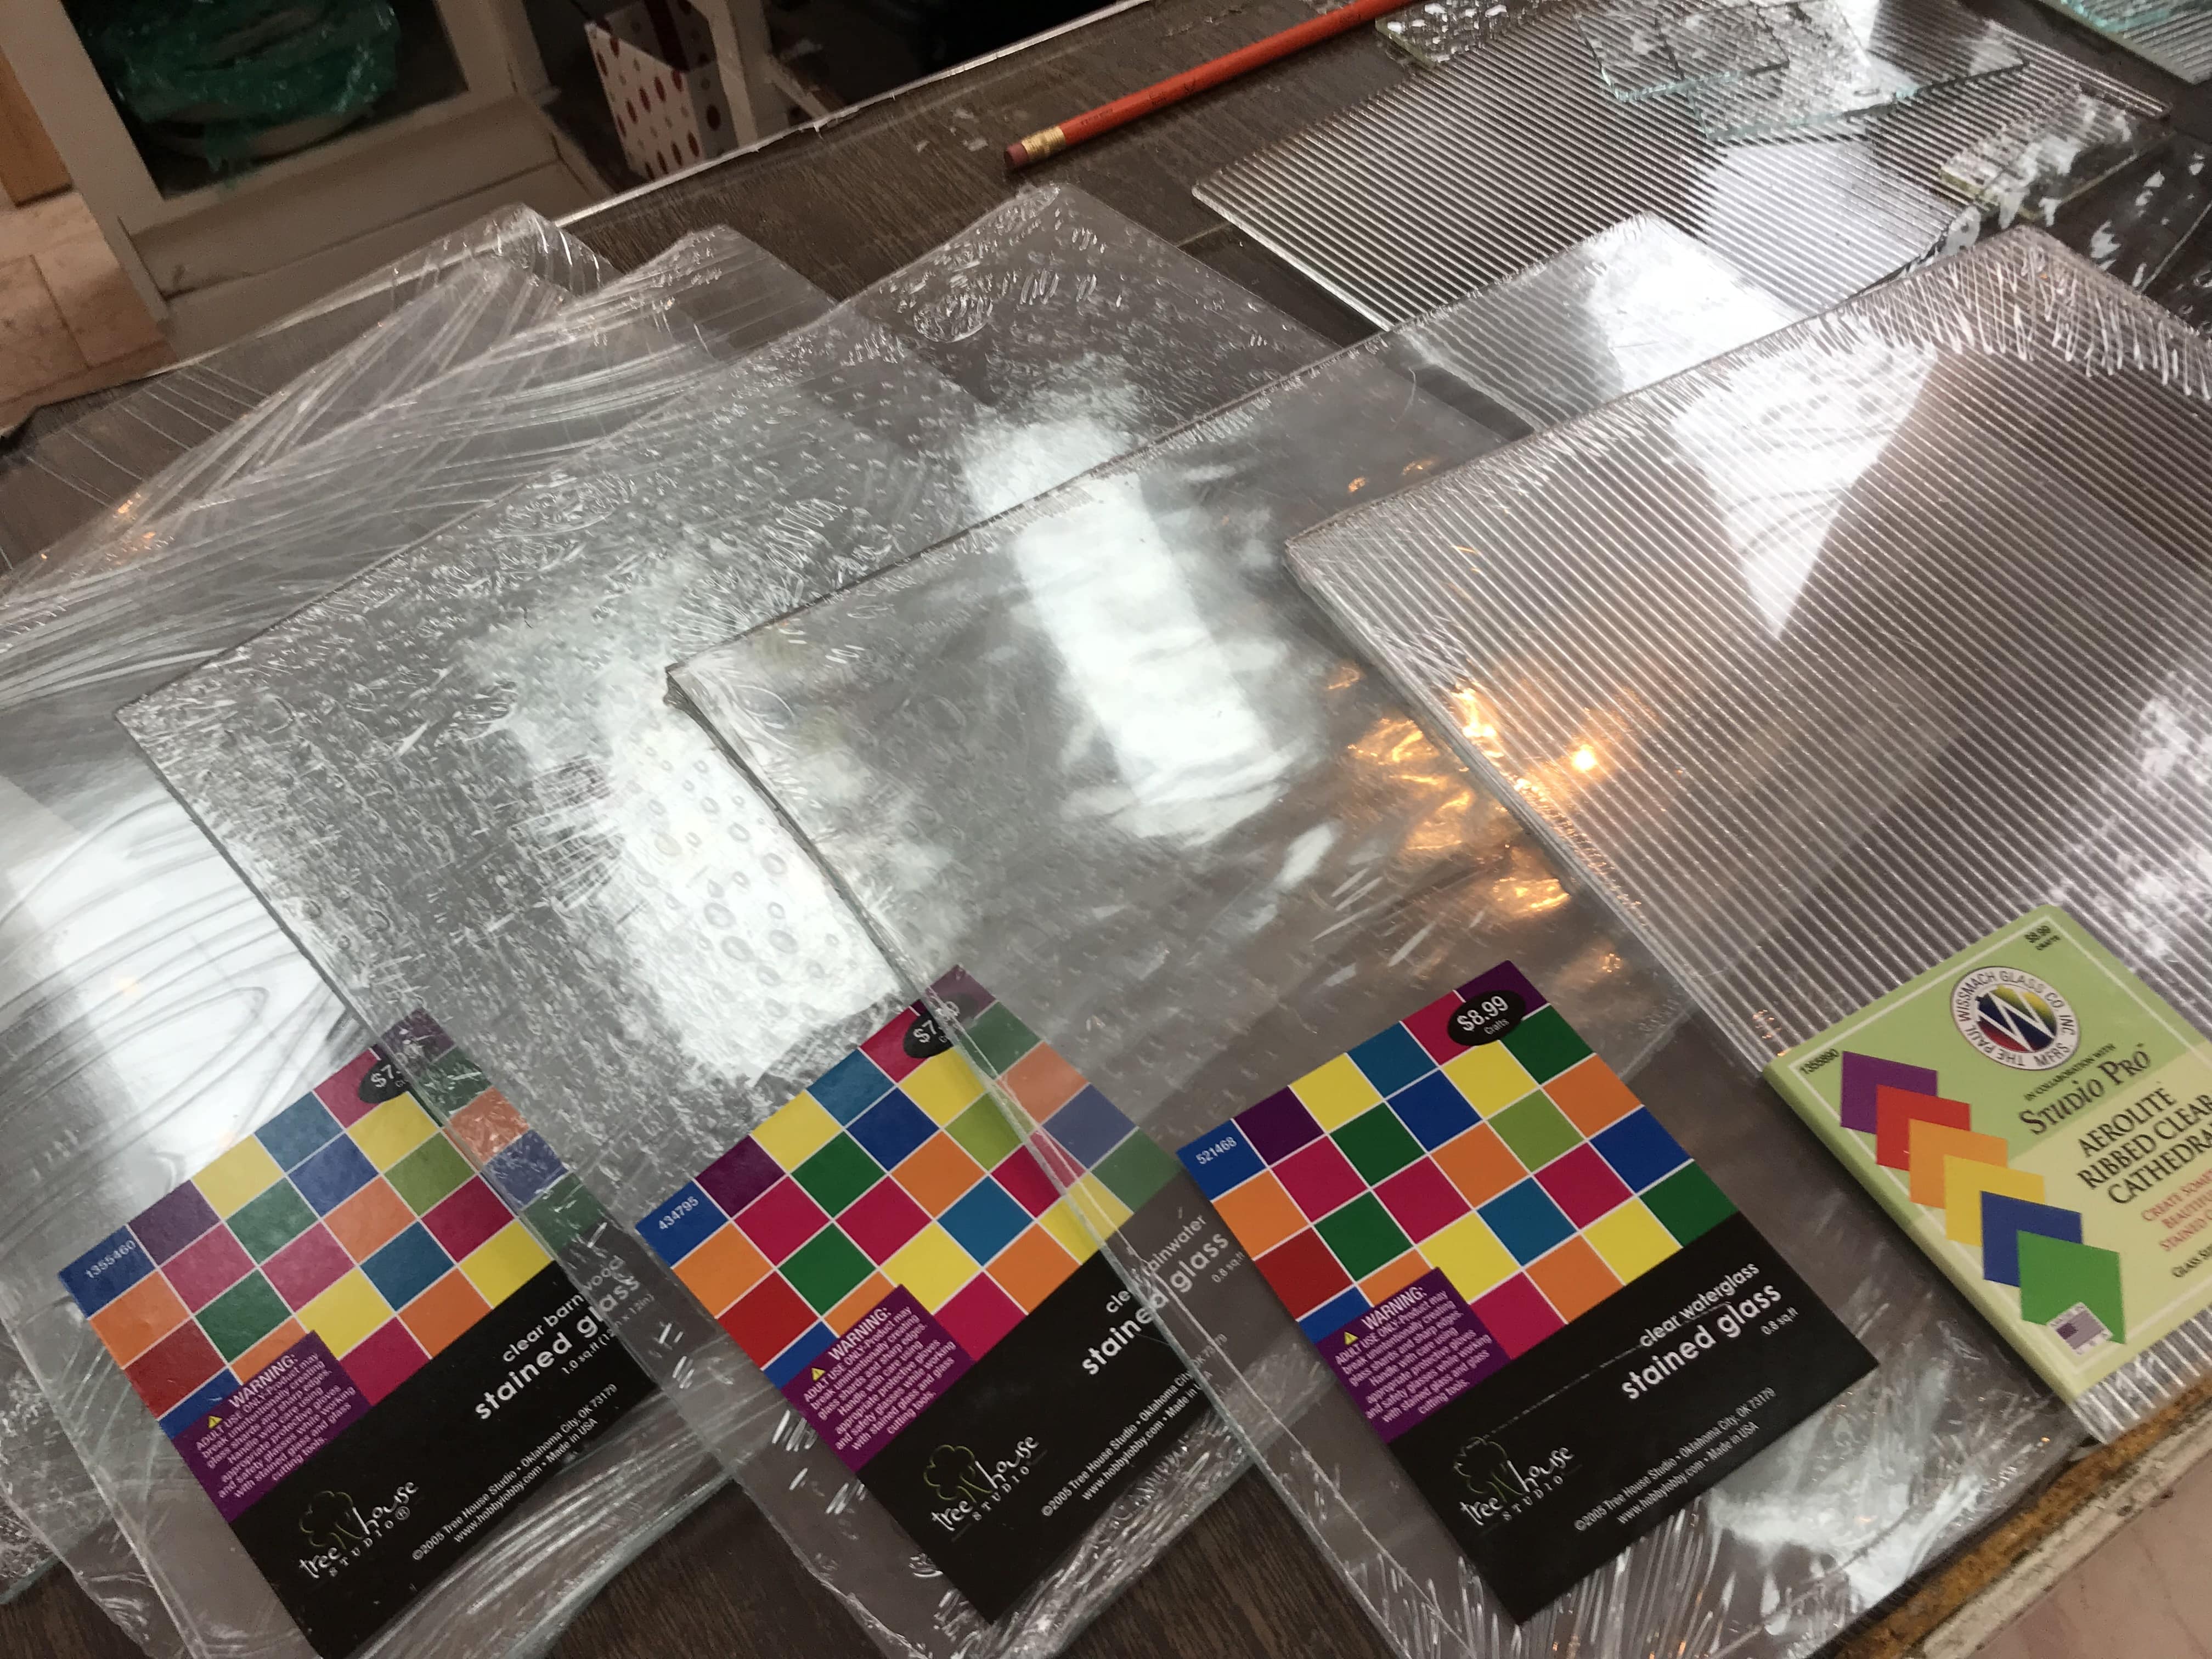
Stained Glass (sometimes called “cathedral” glass) 12”x12” sheets of various styles and colors… (I used all clear glass for this project; Treehouse Studio and Studio Pro brands from Hobby Lobby)
Pre-Cut Small Beveled Glass (I ordered mine from Amazon)
Glue (I use E6000 industrial strength adhesive. I have tired other mosaic and “clear-drying” glue, but this one dries the most clear in my experience)
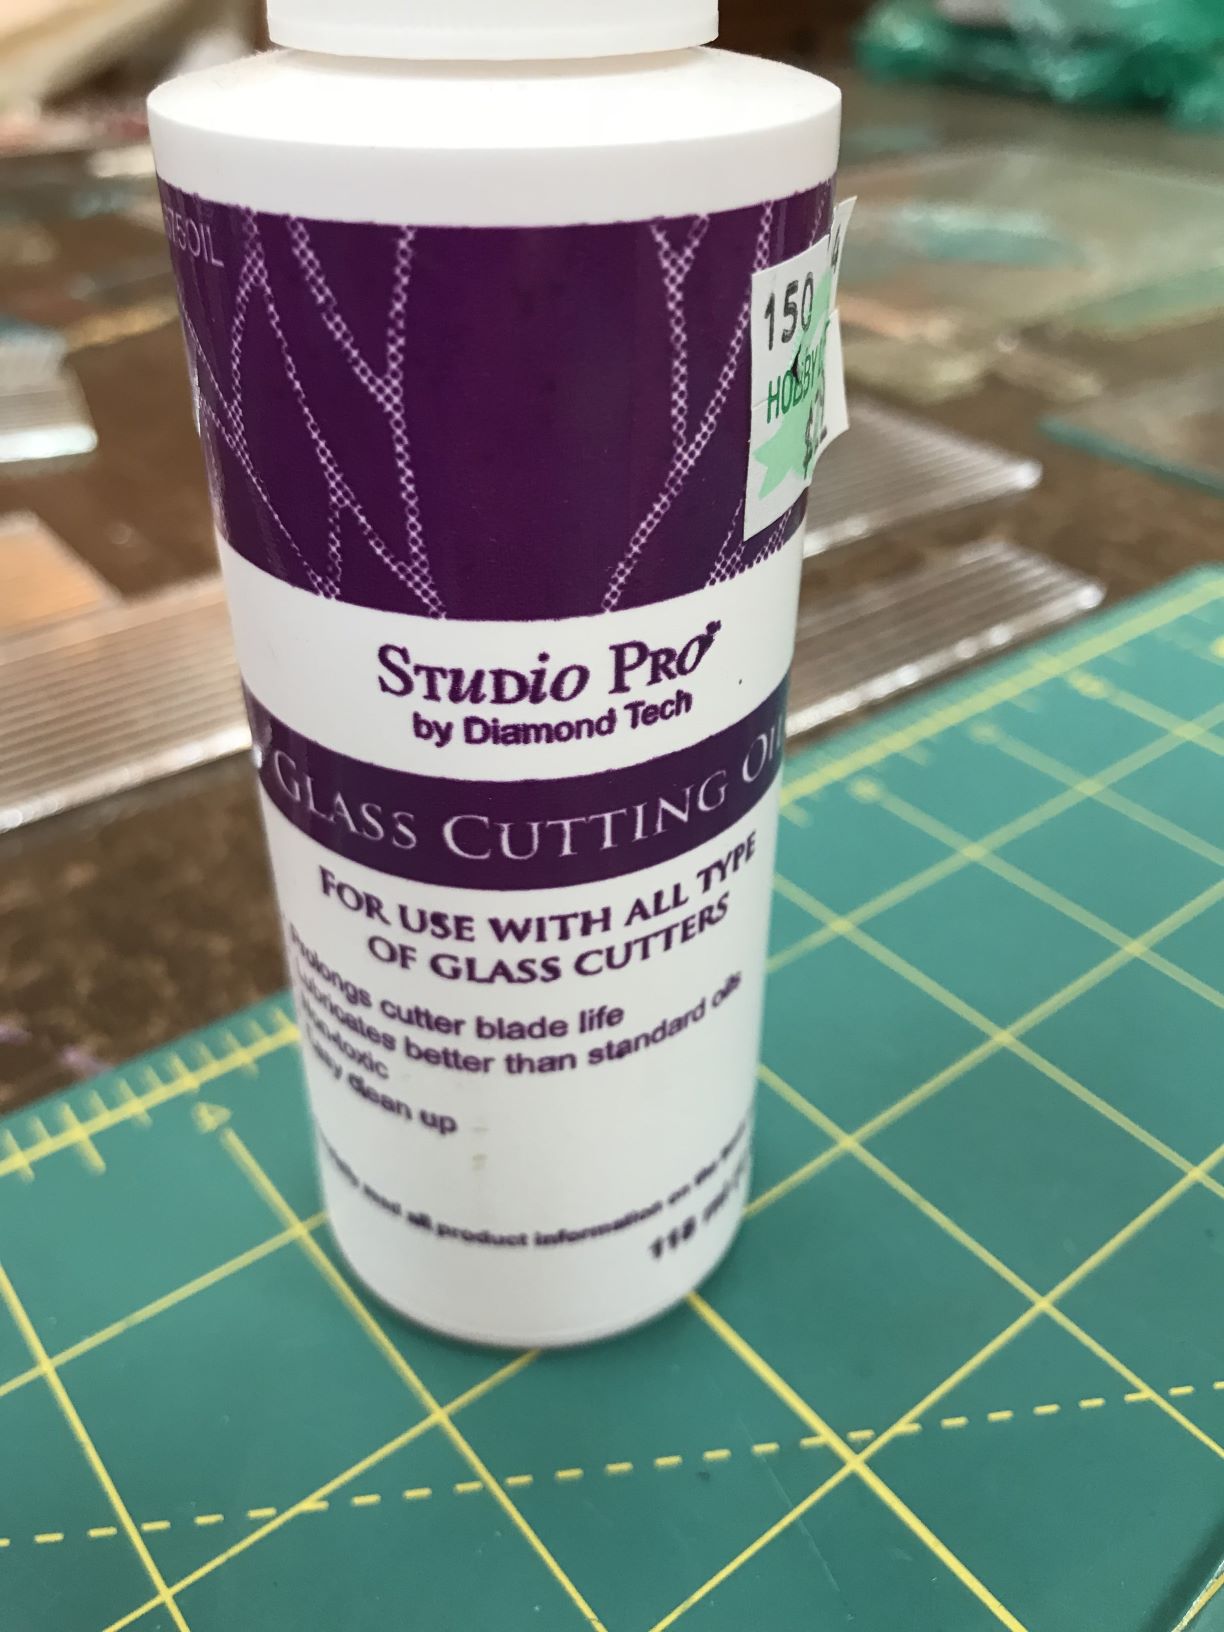
Glass Cutting Oil (I used Studio Pro brand from Hobby Lobby)
Brushes (all purpose, small)
Sponge (for keeping grinder cool)
Water
Protective Gloves
Protective Goggles
Protective Face Mask
Tools Needed
Glass Cutter Tool (I used Pistol Grip Wheel Glass Cutter from Hobby Lobby… fill with glass cutting oil)
Glass nipper (2 wheels)
Glass Breaker Pliers (use to break along a score line)
Cutting Mat marked with Measurements
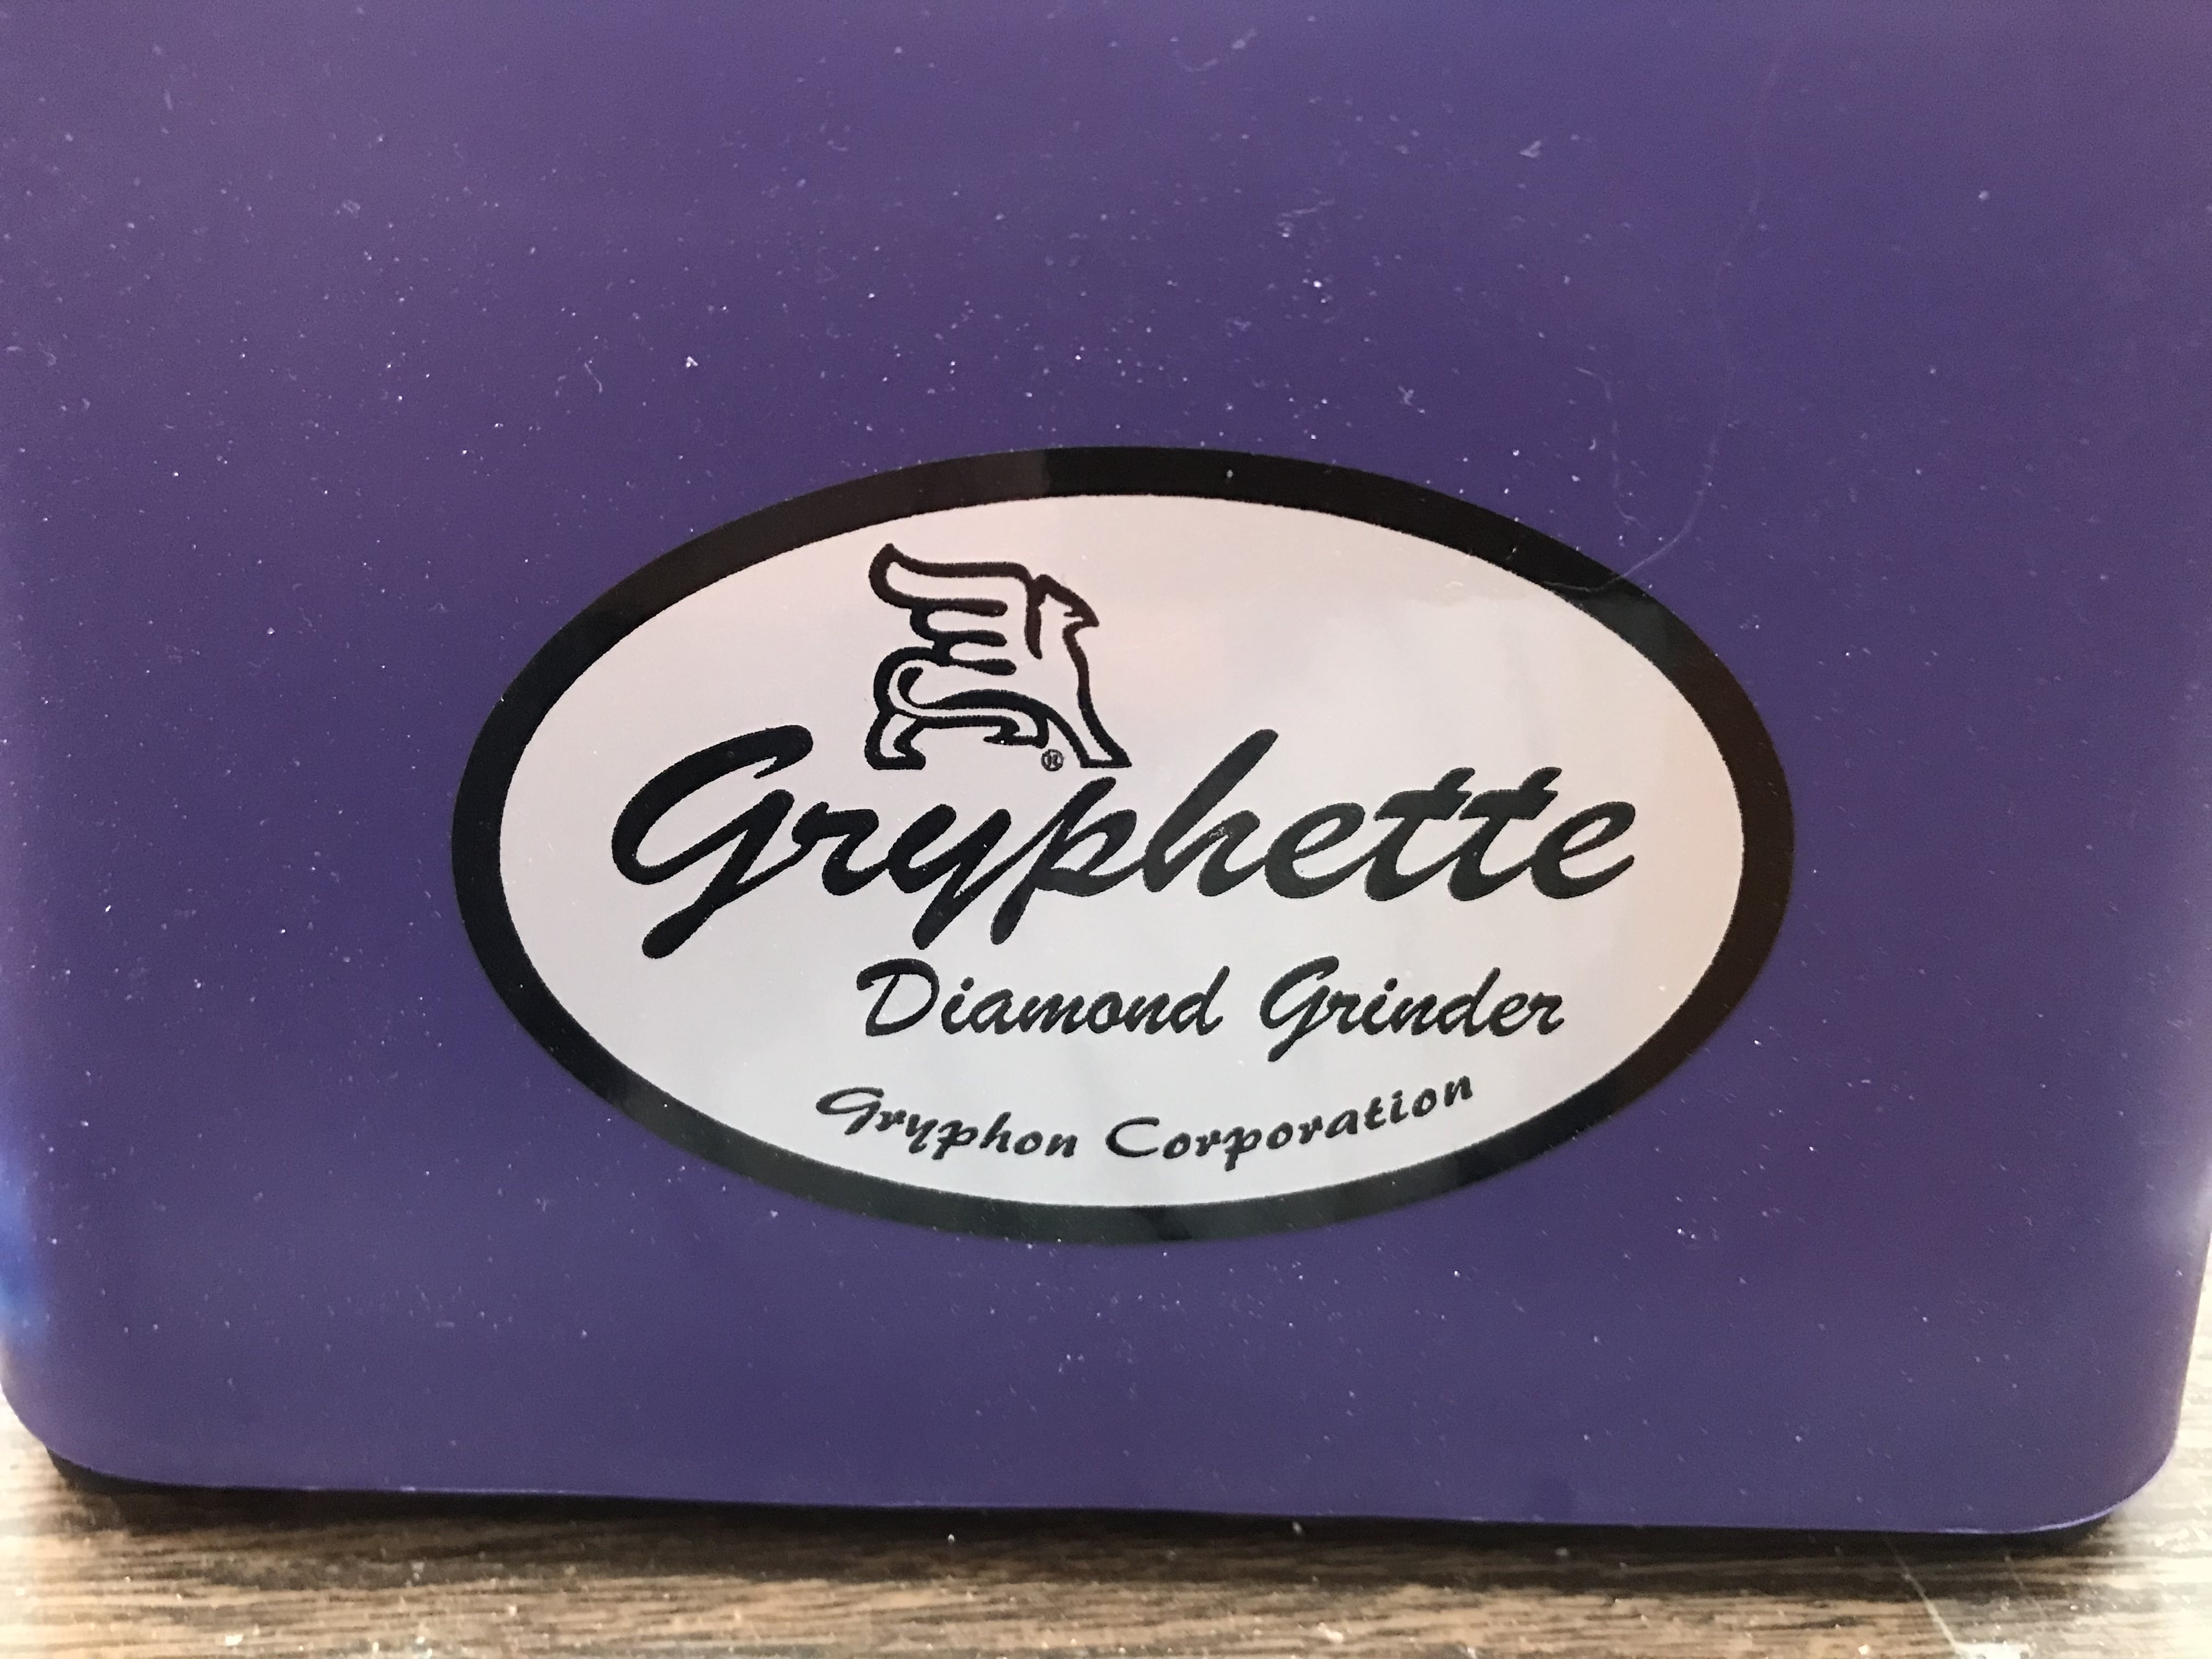
Power Glass Grinder (for smoothing and shaping rough edges on cut pieces) (Mine is a Gryphette Grinder; ordered from Amazon)
Step-By-Step Instructions
Remove door from hinges and place on waist-high work surface (I used saw horses, which is good for a cut glass project, because light comes through your work from the bottom, illuminating stray brush hairs and other debris that you don’t want trapped between your cut glass and its base surface).
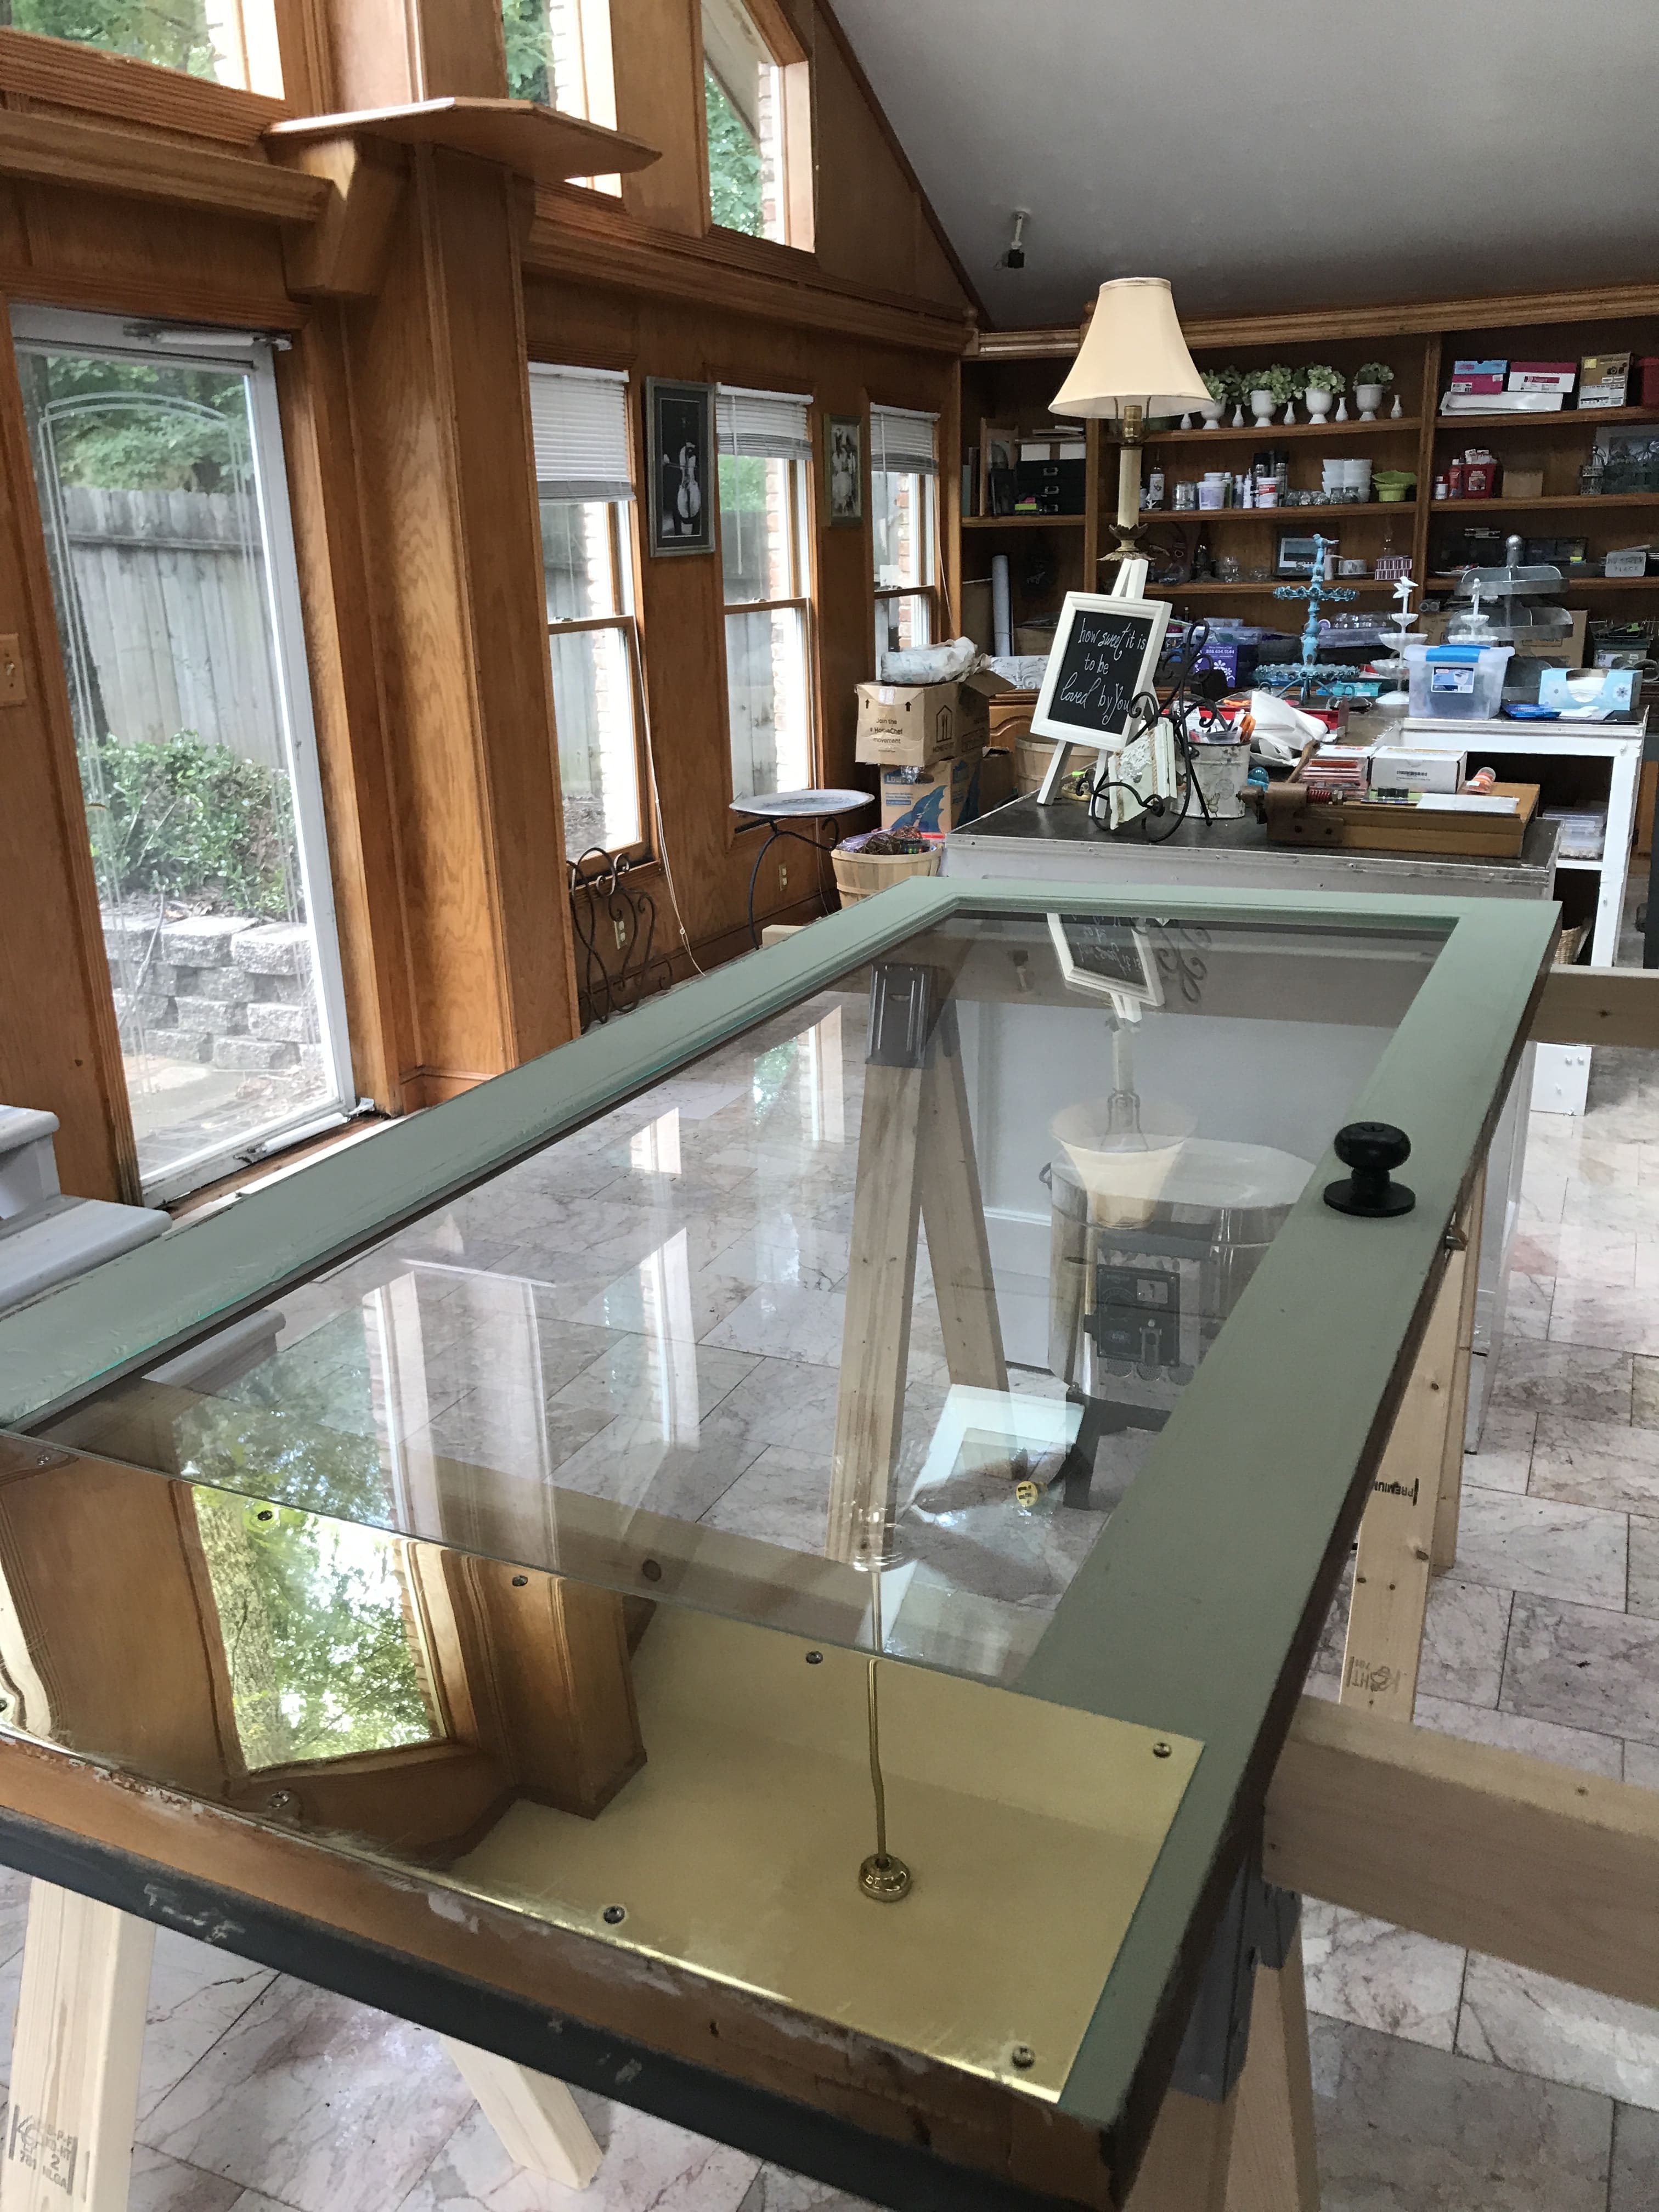
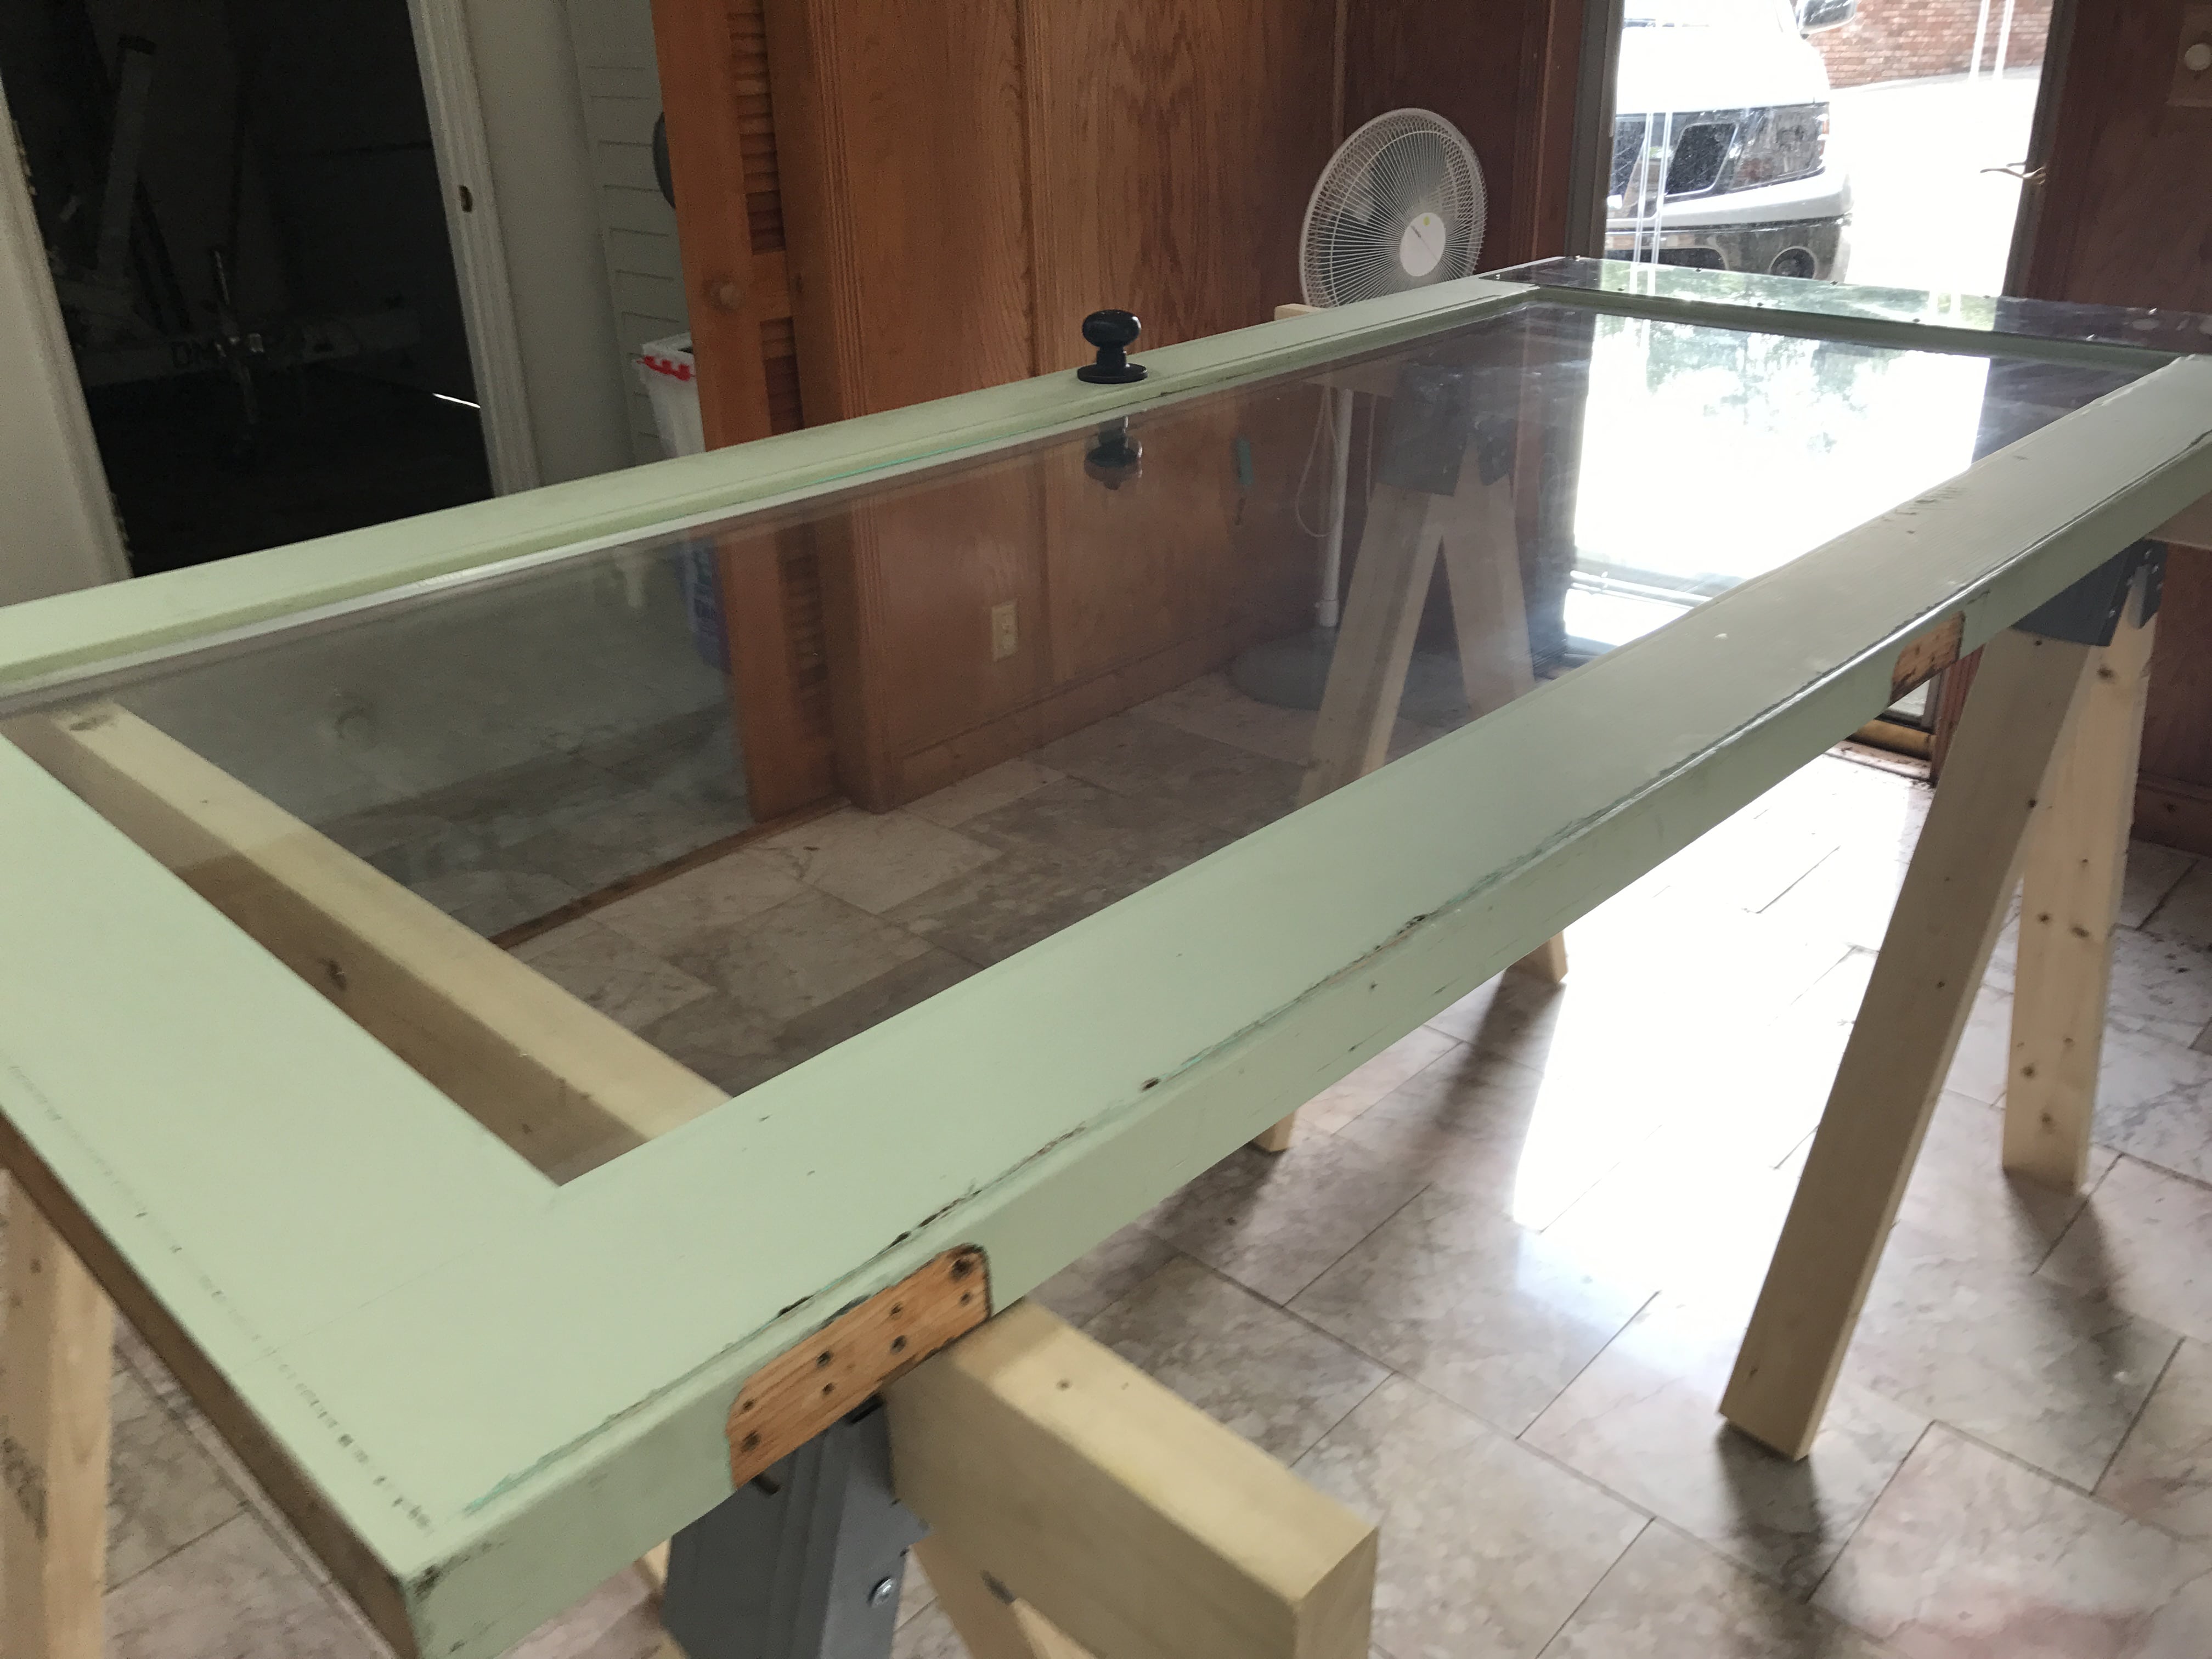
I repainted the outer side of the door frame, which is the same side on which I decided to apply my glass. So, I began with sanding and painting. After the paint was dry, I cleaned the surface of the glass and let dry.
Give some thought to which side of the door you want to apply the cut glass, because the finished edge of each piece is sharp, and has the potential to cut the hand of anyone who pushes on it “just right.” You wouldn’t want to have the finished side facing a room where a toddler might be leaning on it, for example. I think you could cover the finished side of the door with a custom piece of plastic, but I have not tried it yet. Also, you don’t want the finished side “outdoors.”
Load your pistol cutting tool with glass cutting oil.
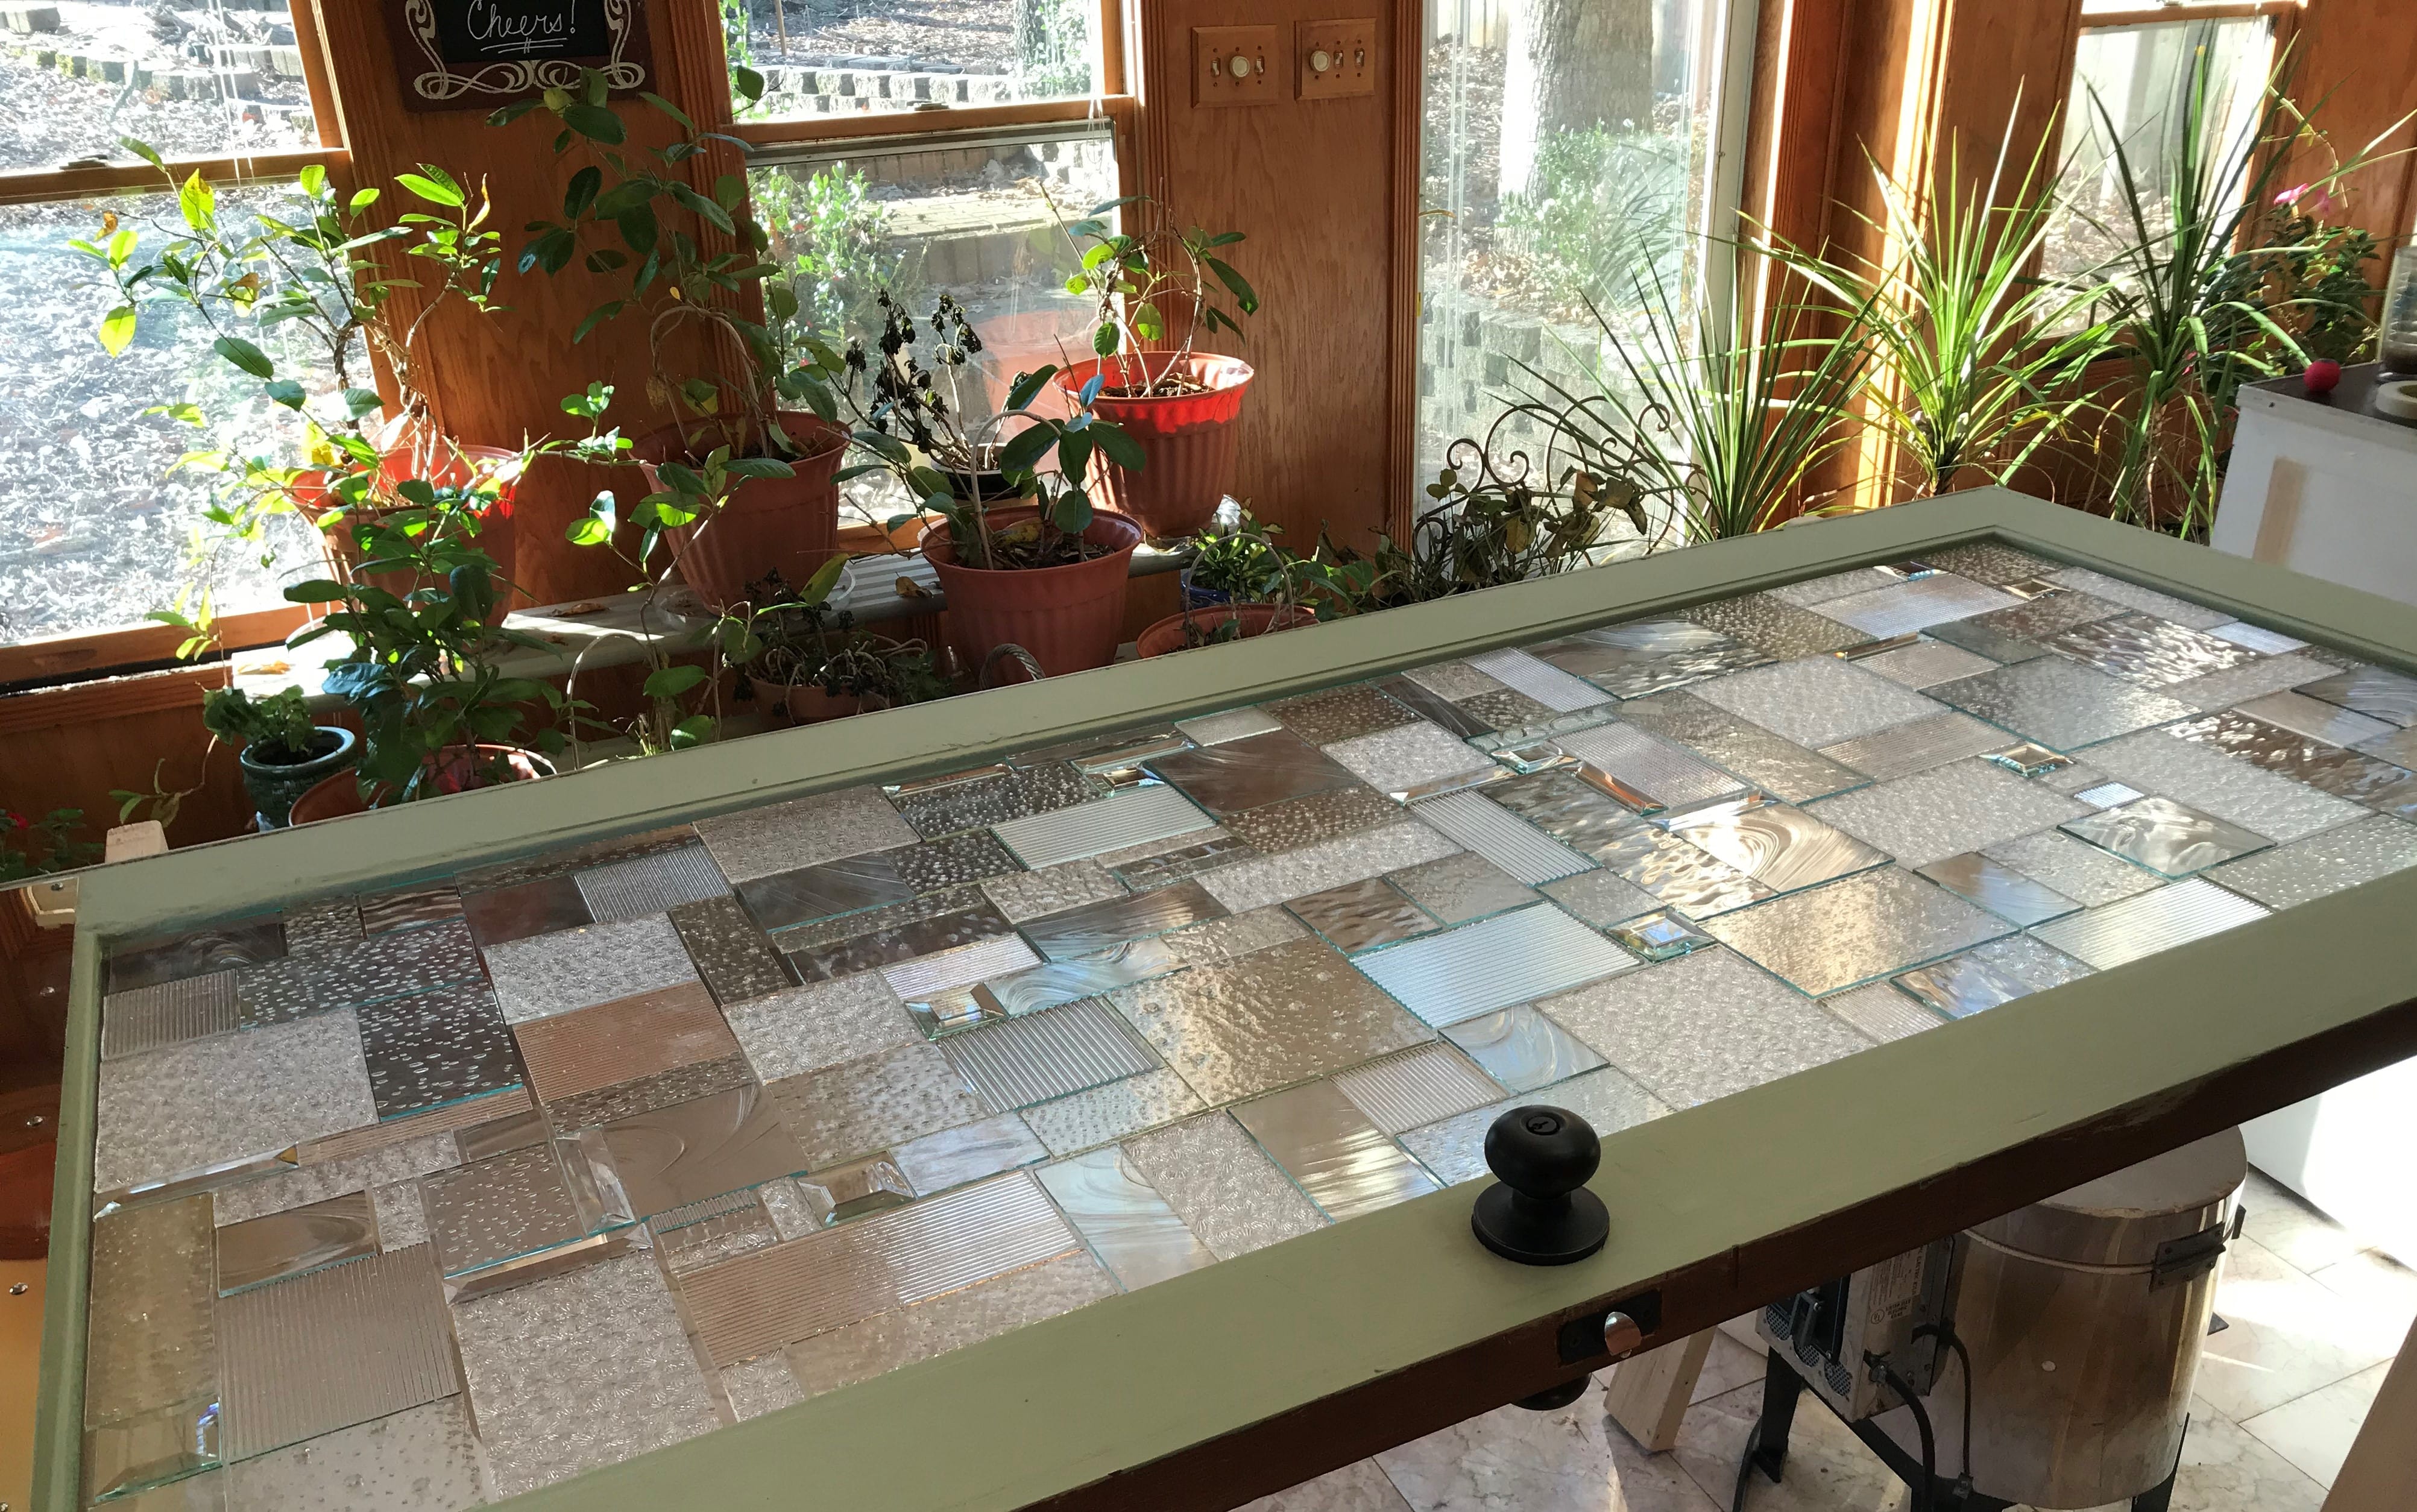
Design a resting place for the cutting pistol before you begin, because the oil will drip out when you put the tool down. I rest the tool on the side of a dish lined with a paper towel, with the cutting end angled slightly up to minimize drips (see my two pistol cutters resting on the green dish at the right side of the photo). Have a straight edge or ruler on hand to use as a guide to run your pistol cutting tool along for scoring glass.
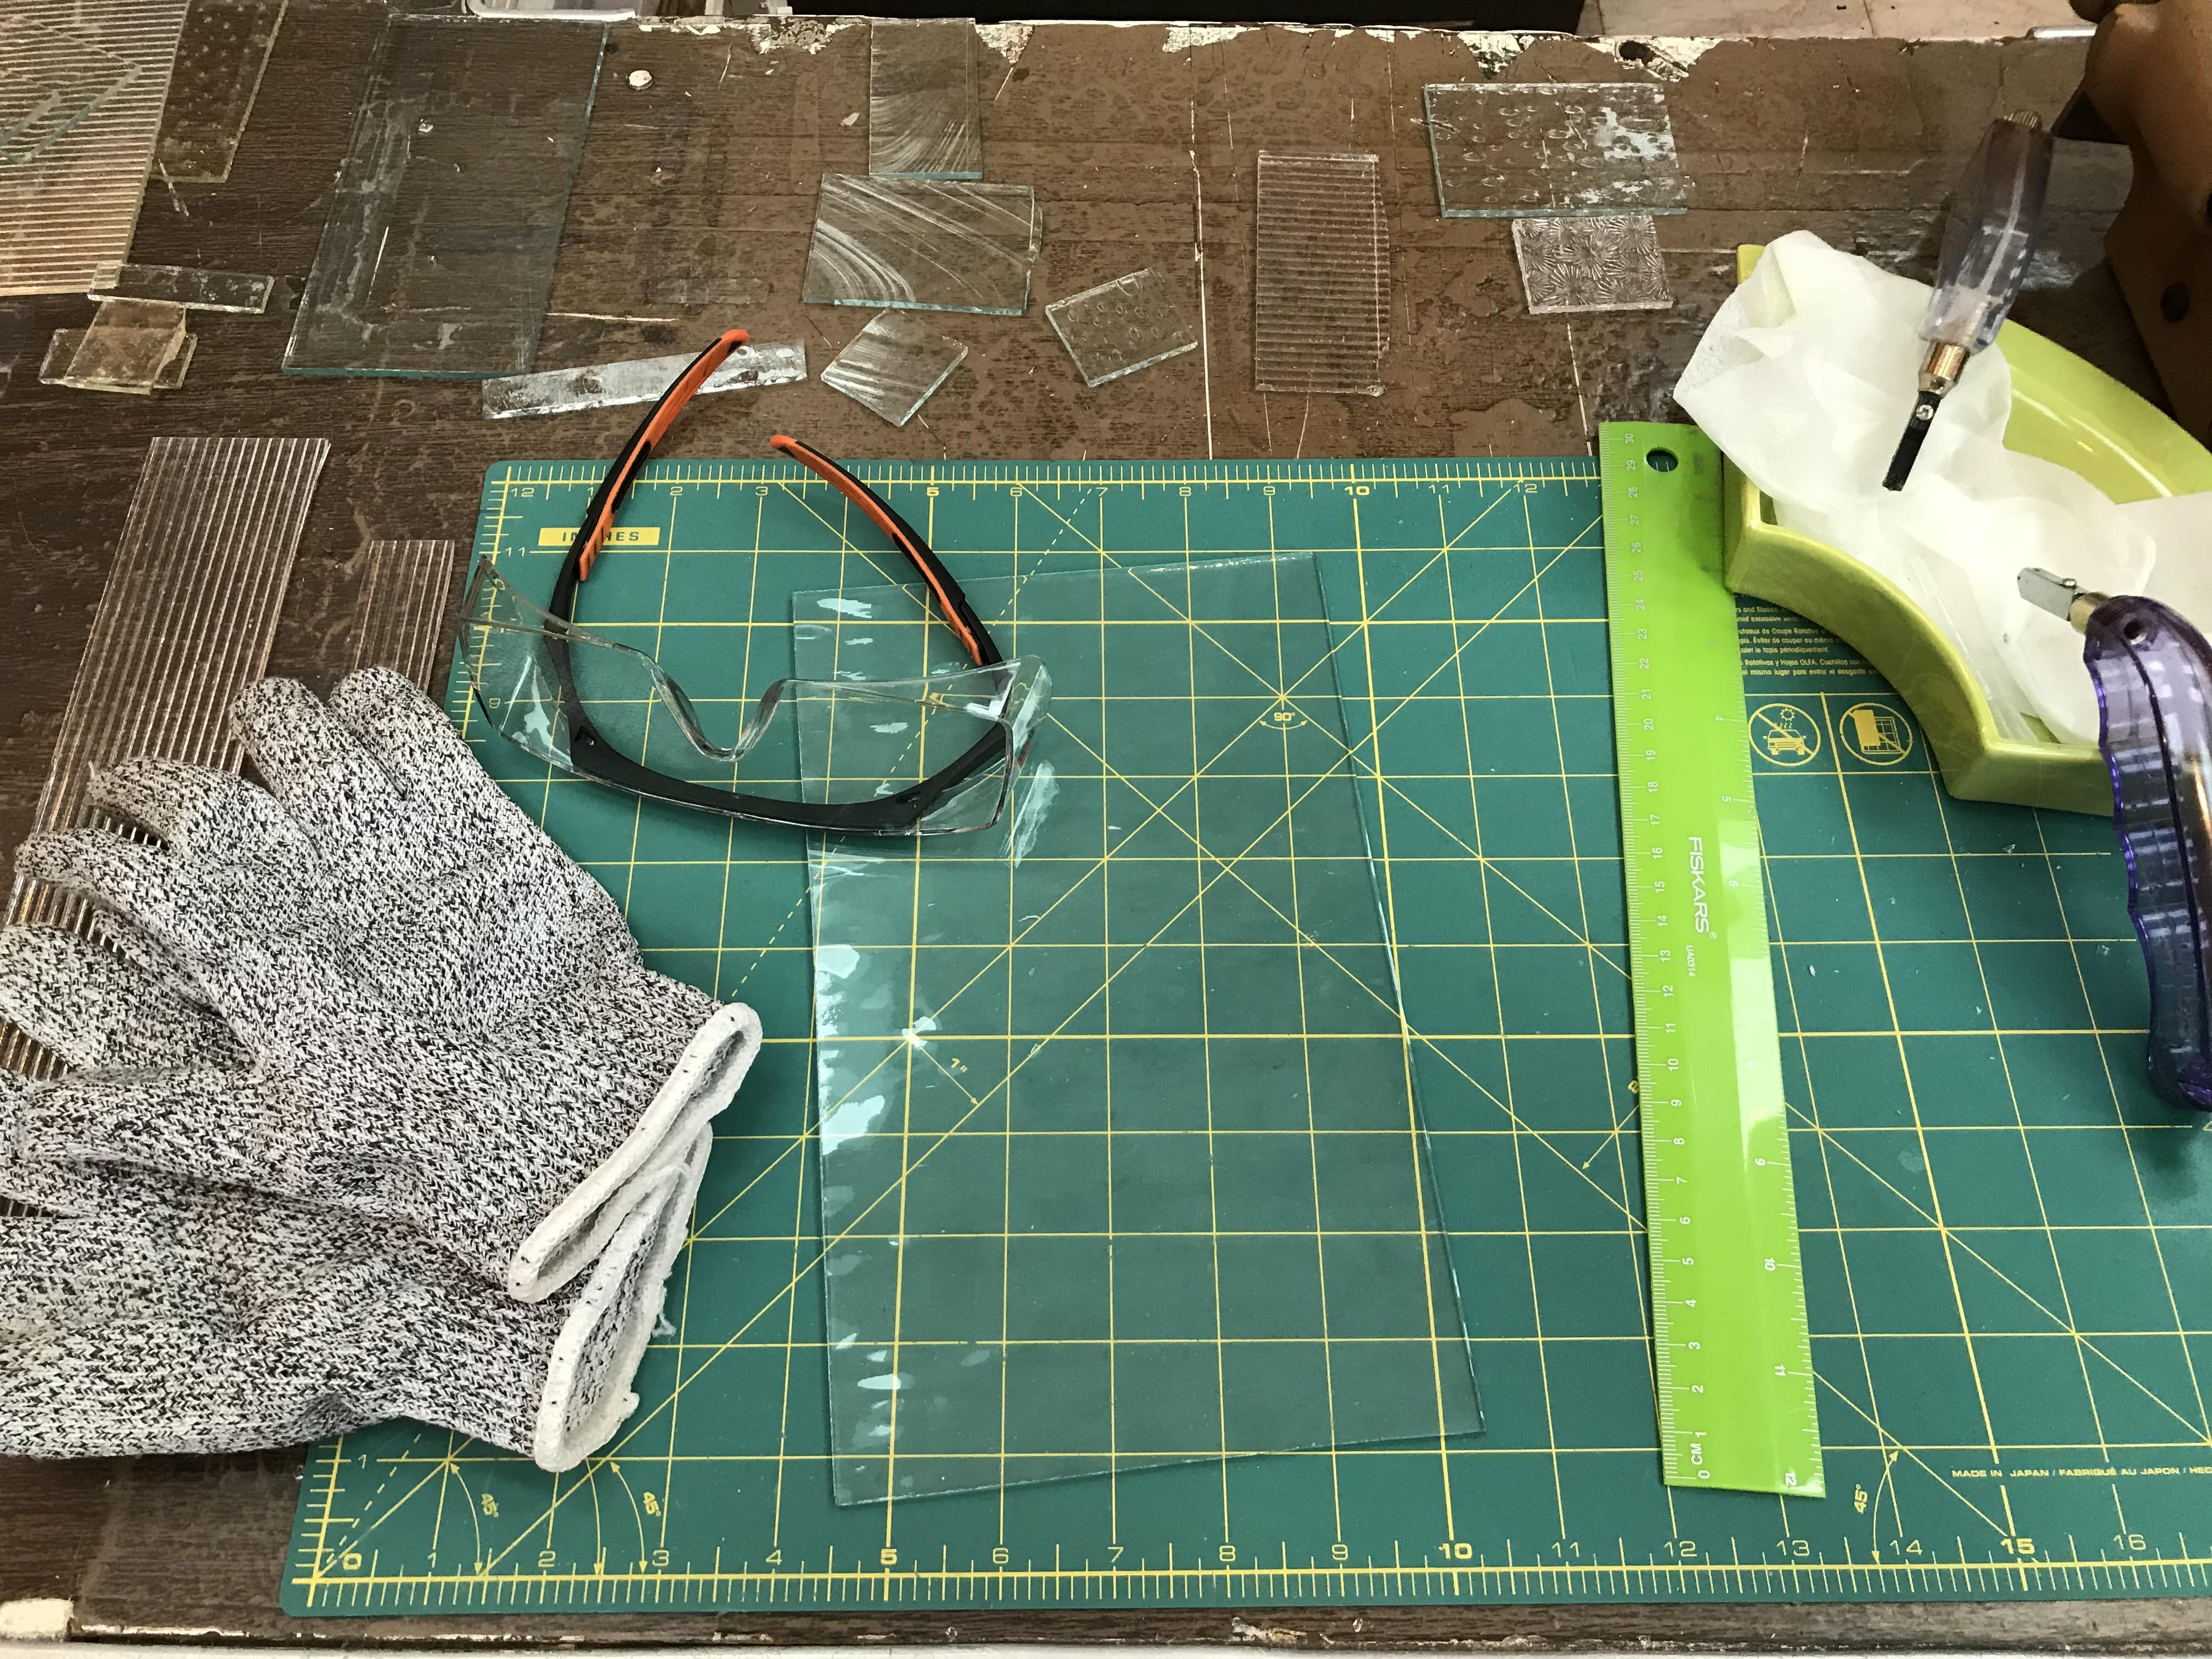
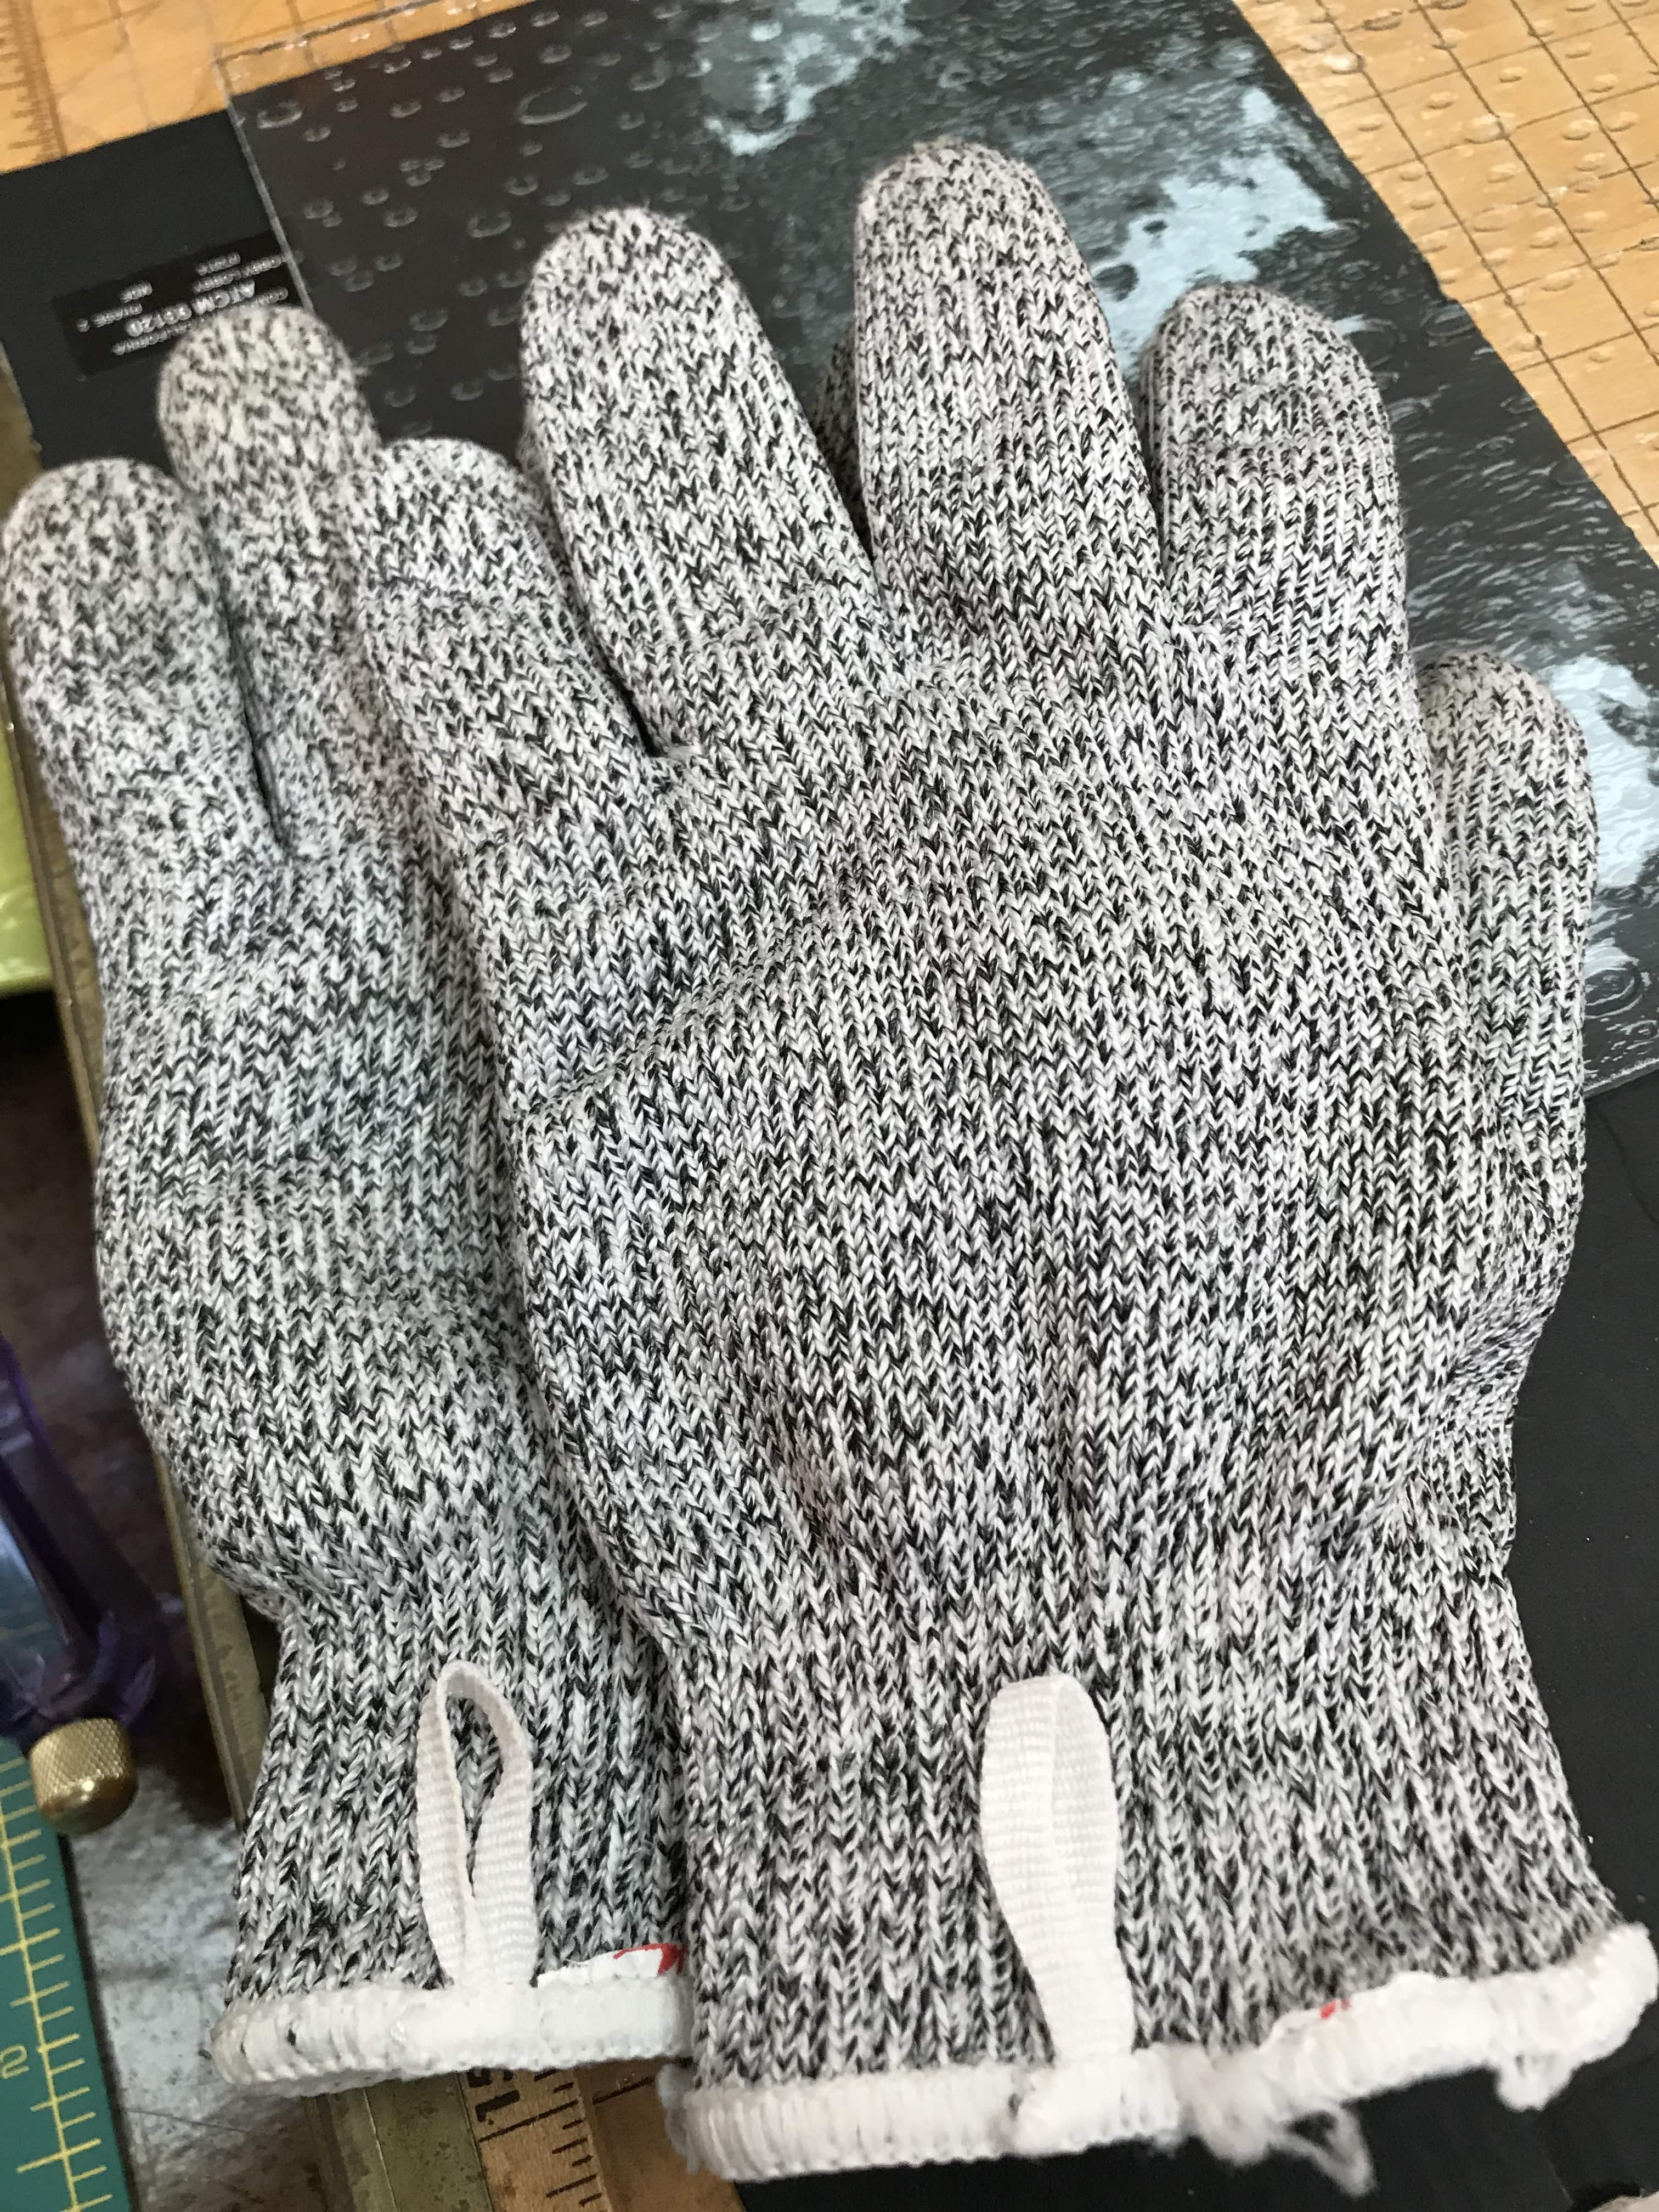
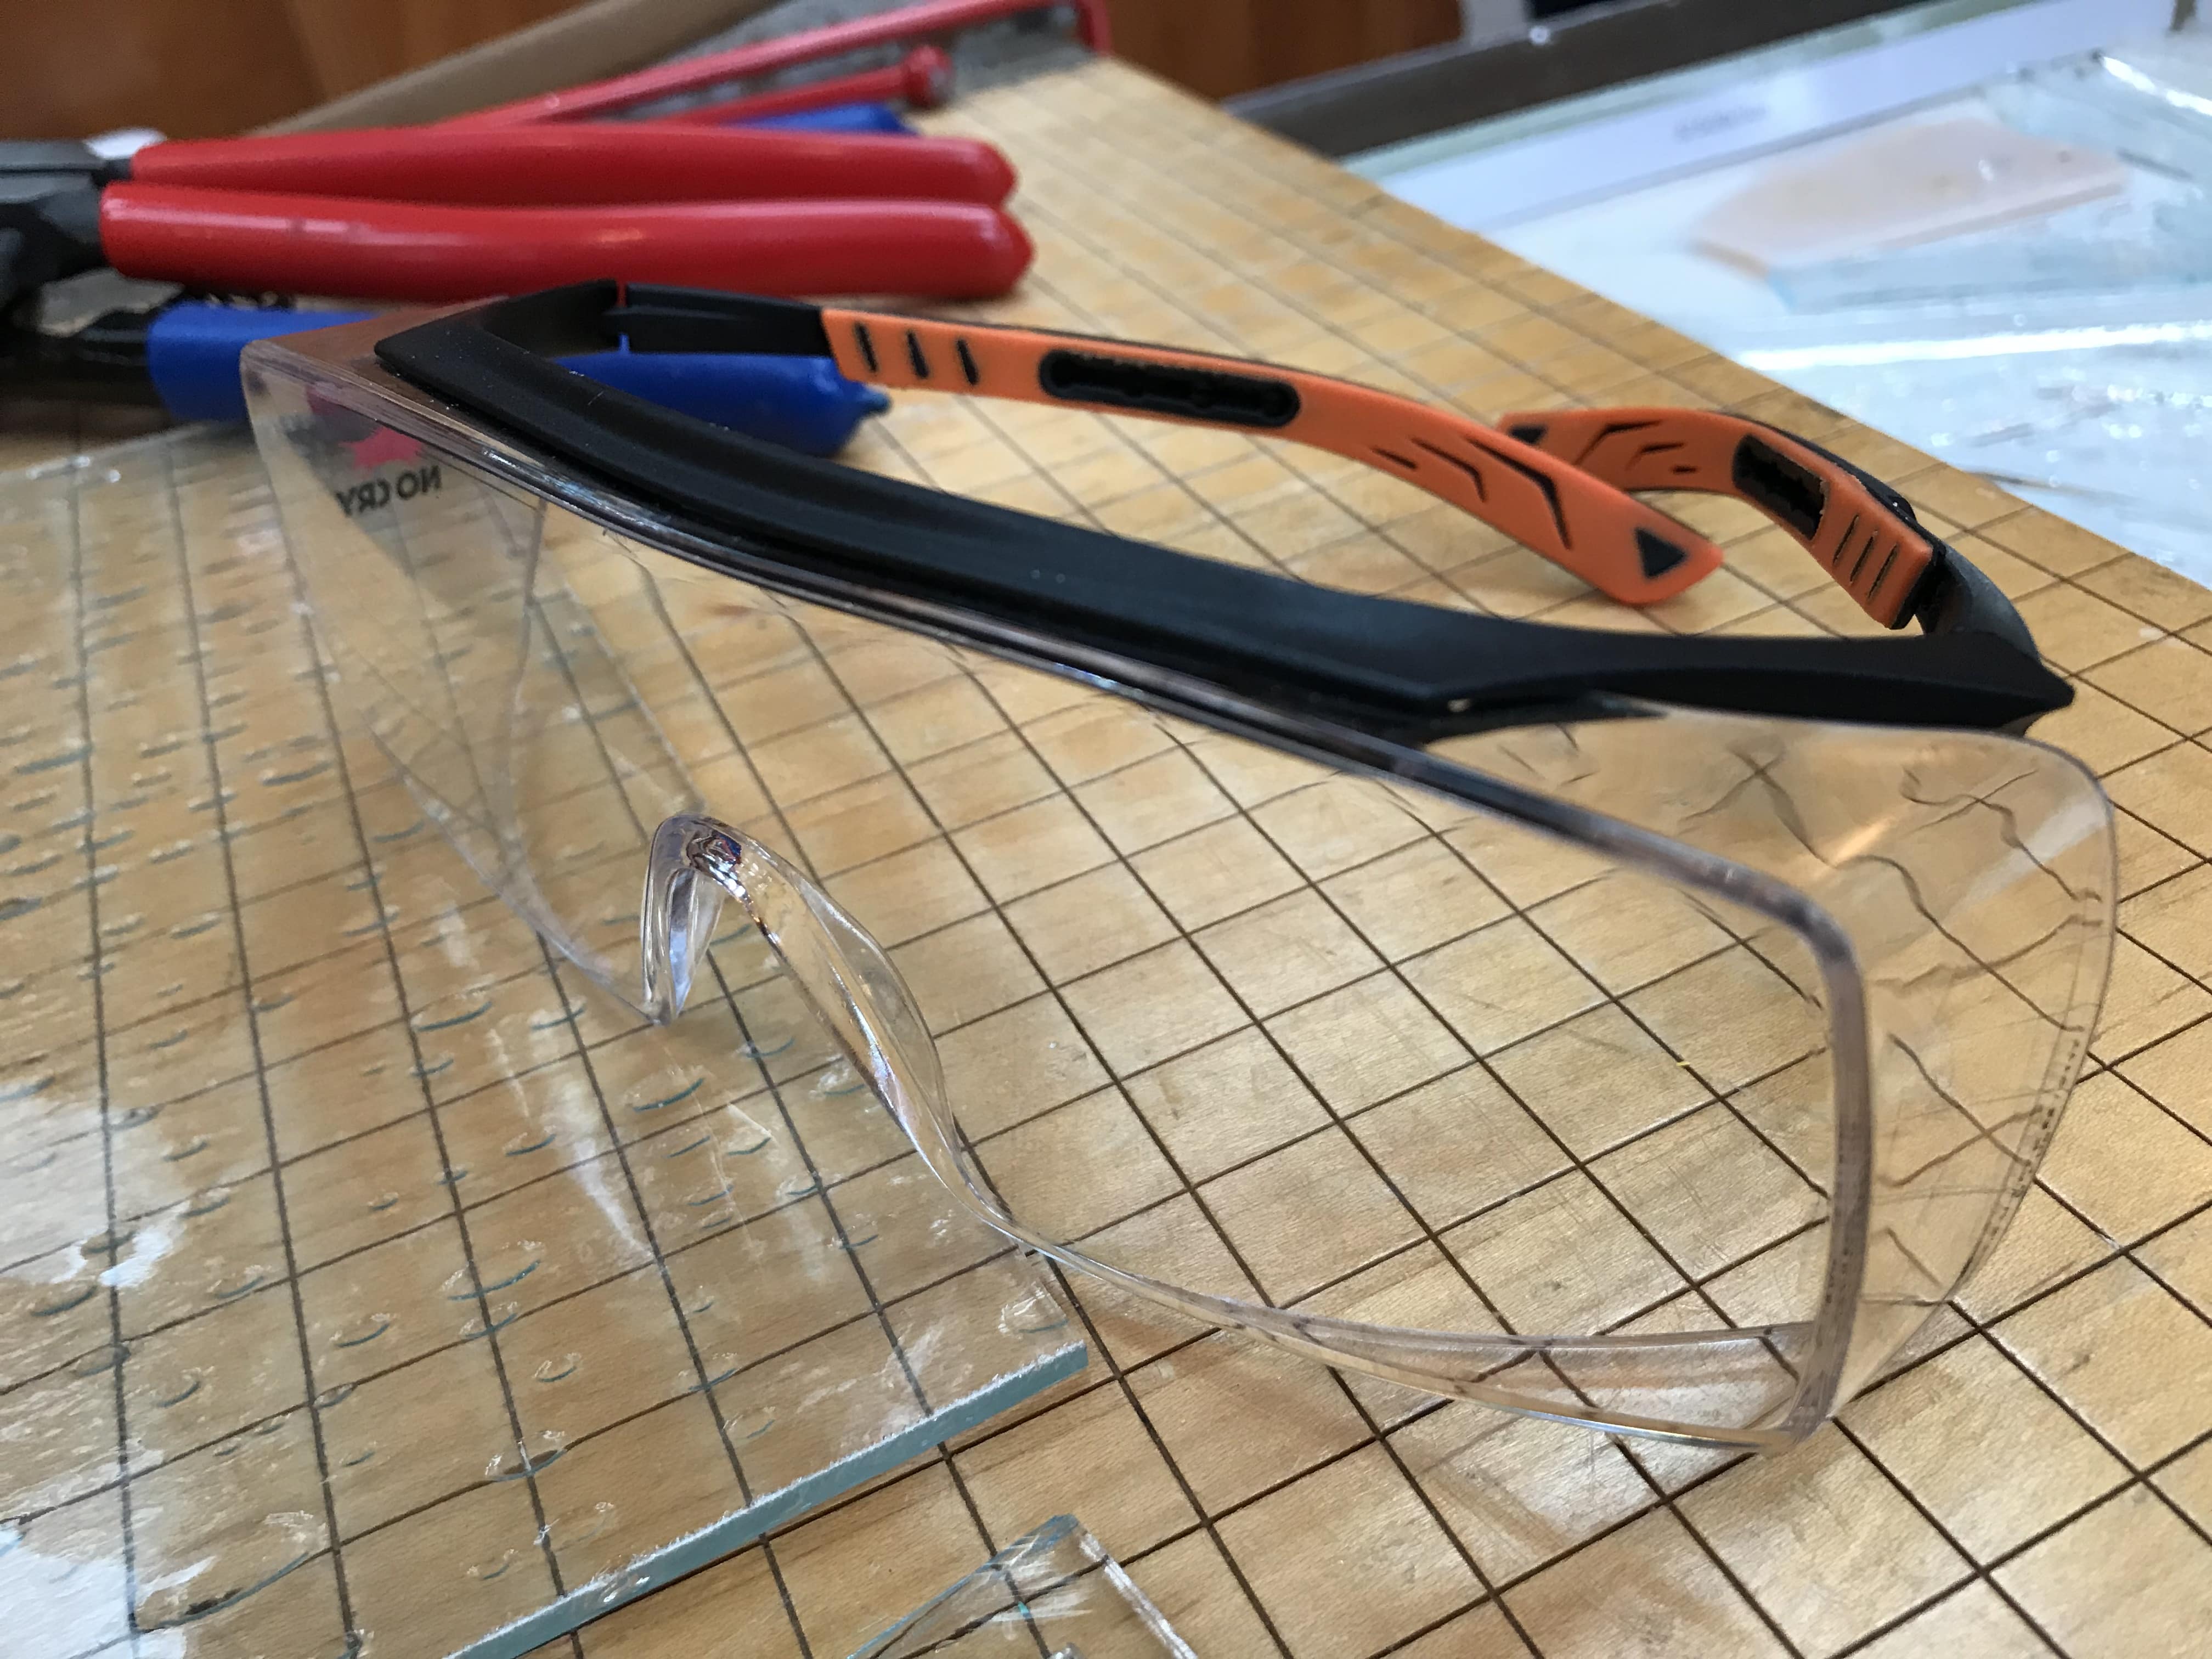
Be sure you are wearing protective gloves (specially made for working with glass) and eye goggles when working with glass!
Start by choosing a sheet of glass, line it up on the cutting mat. Decide what shape dimensions you want each piece to be as you go (I decide the size and shape of each piece as I build the pattern… figuring out the entire pattern in advance would paralyze me!)
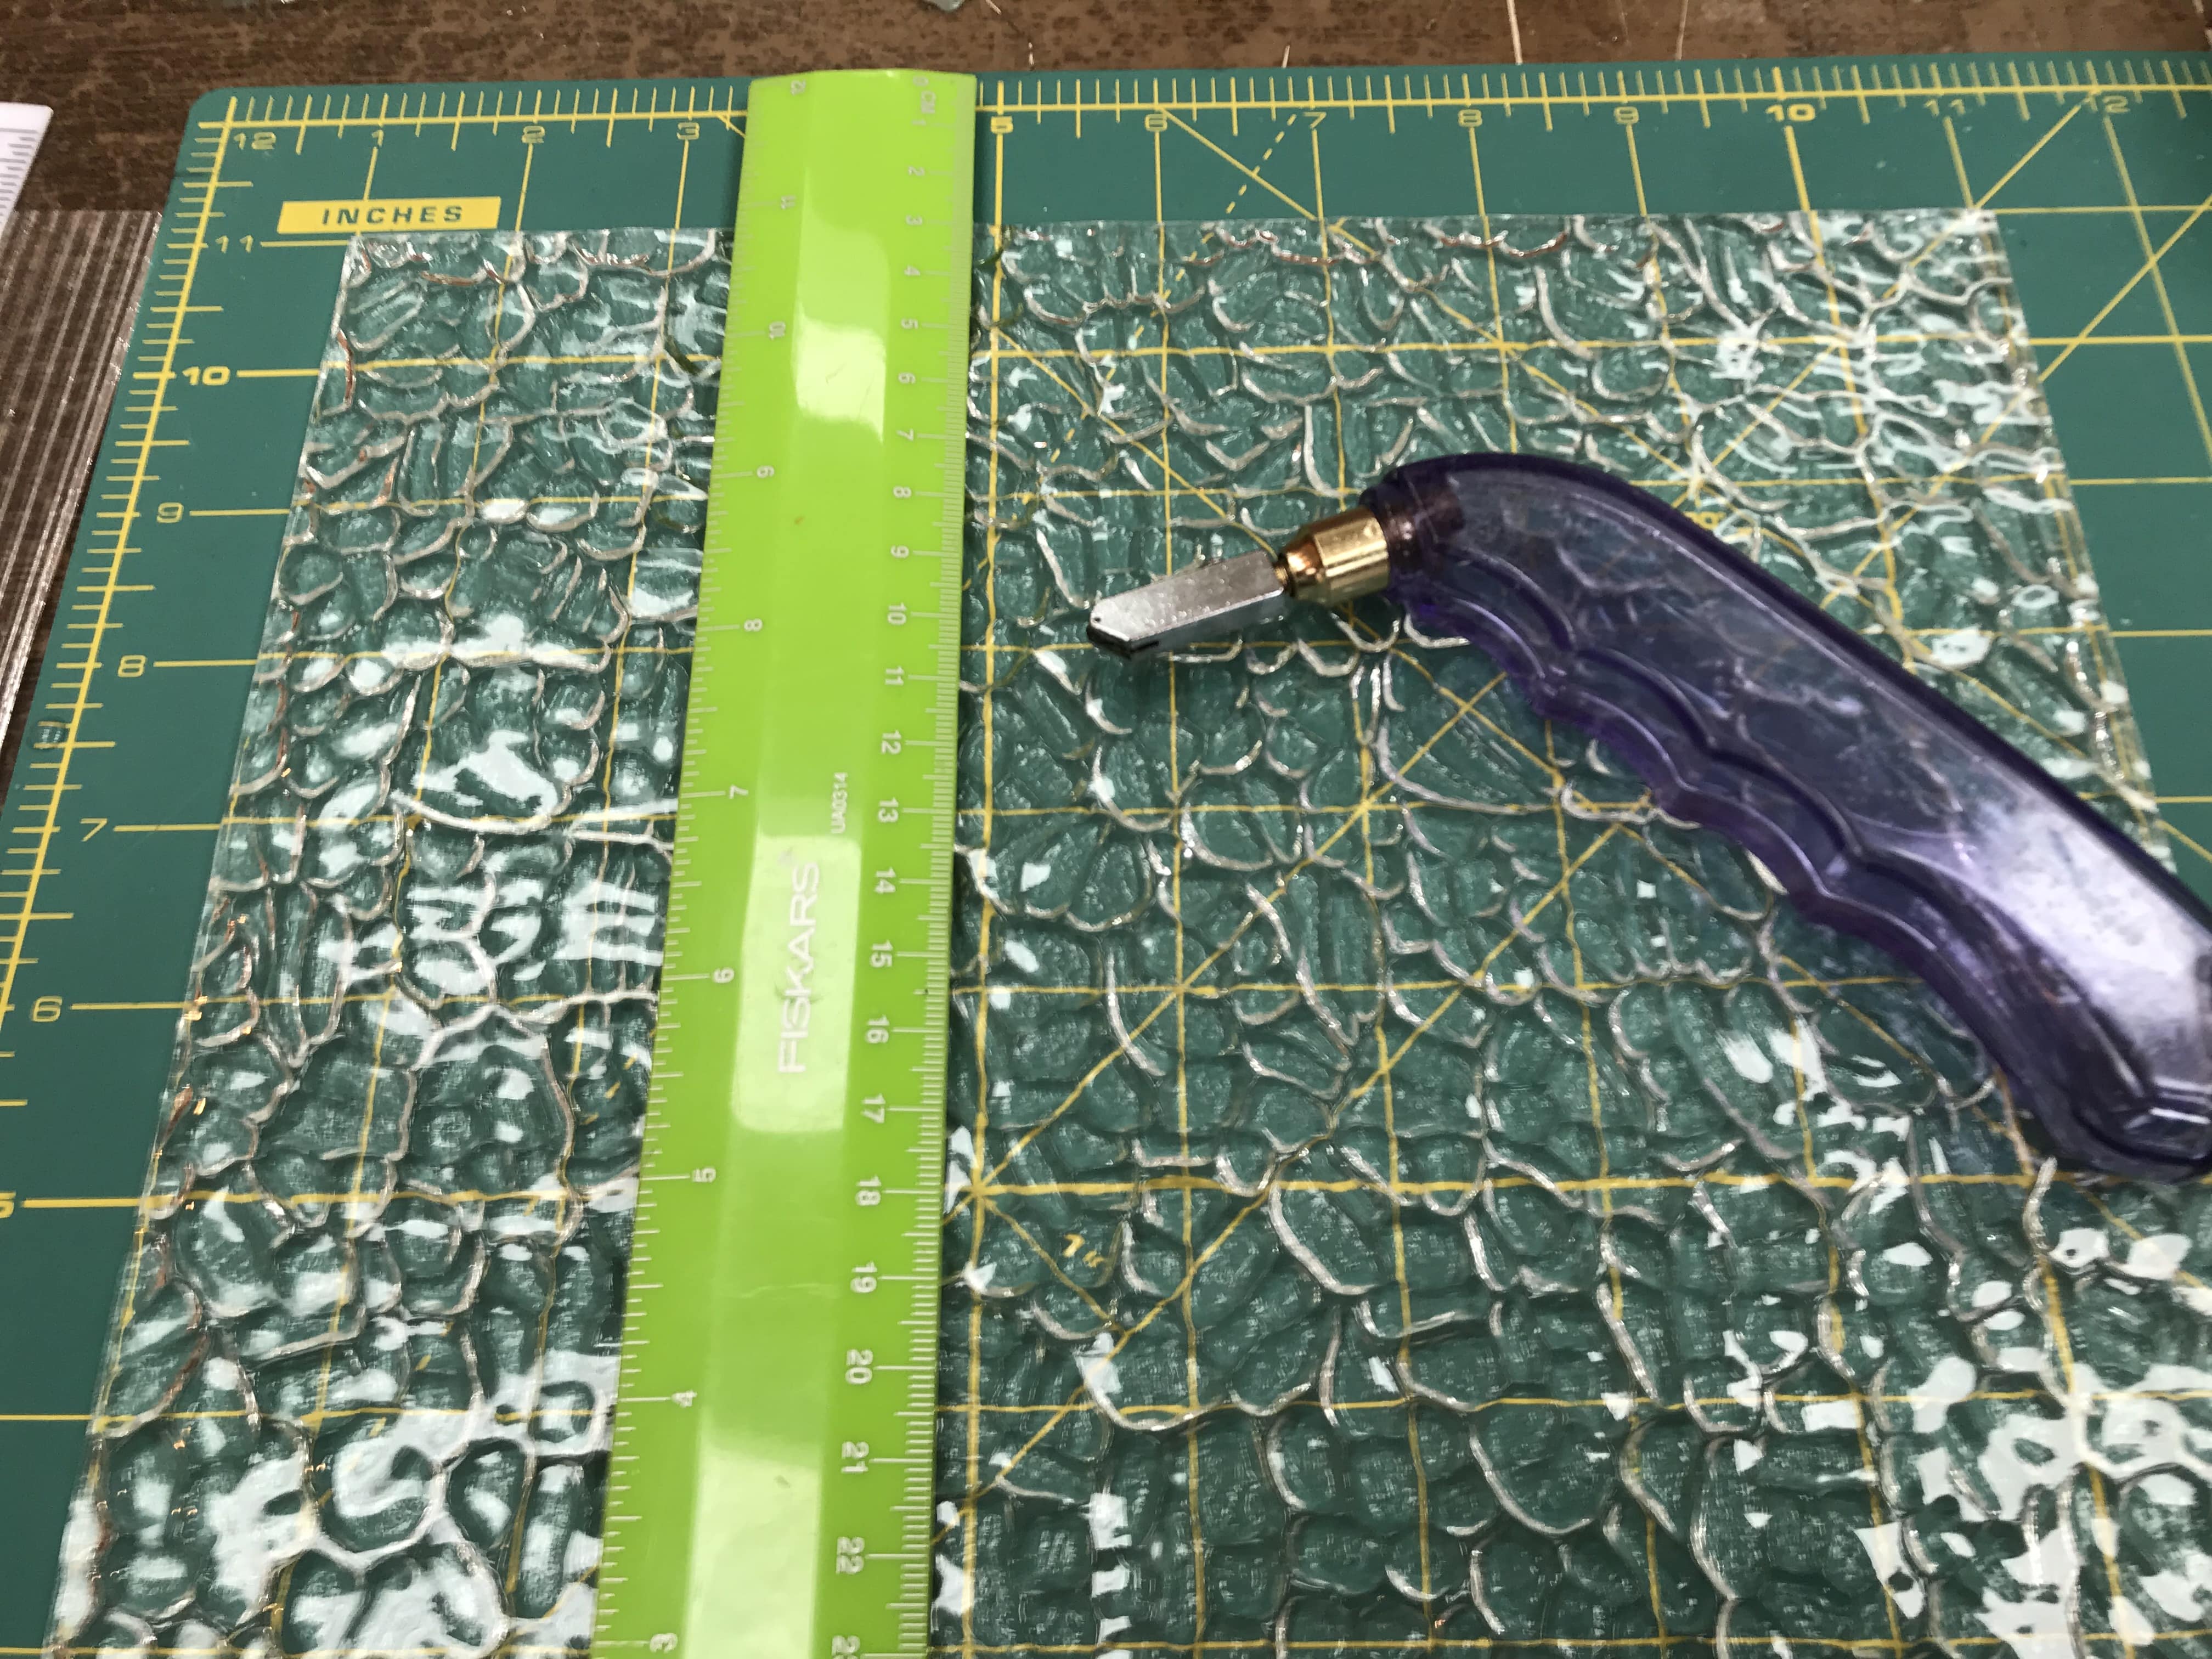
If you’ve never cut glass before, there are several instructional YouTube videos. What you will be doing in the step just described, above, is scoring the glass (it will not cut all the way through). After you score it with the pistol glass cutter you will break it along the score line.
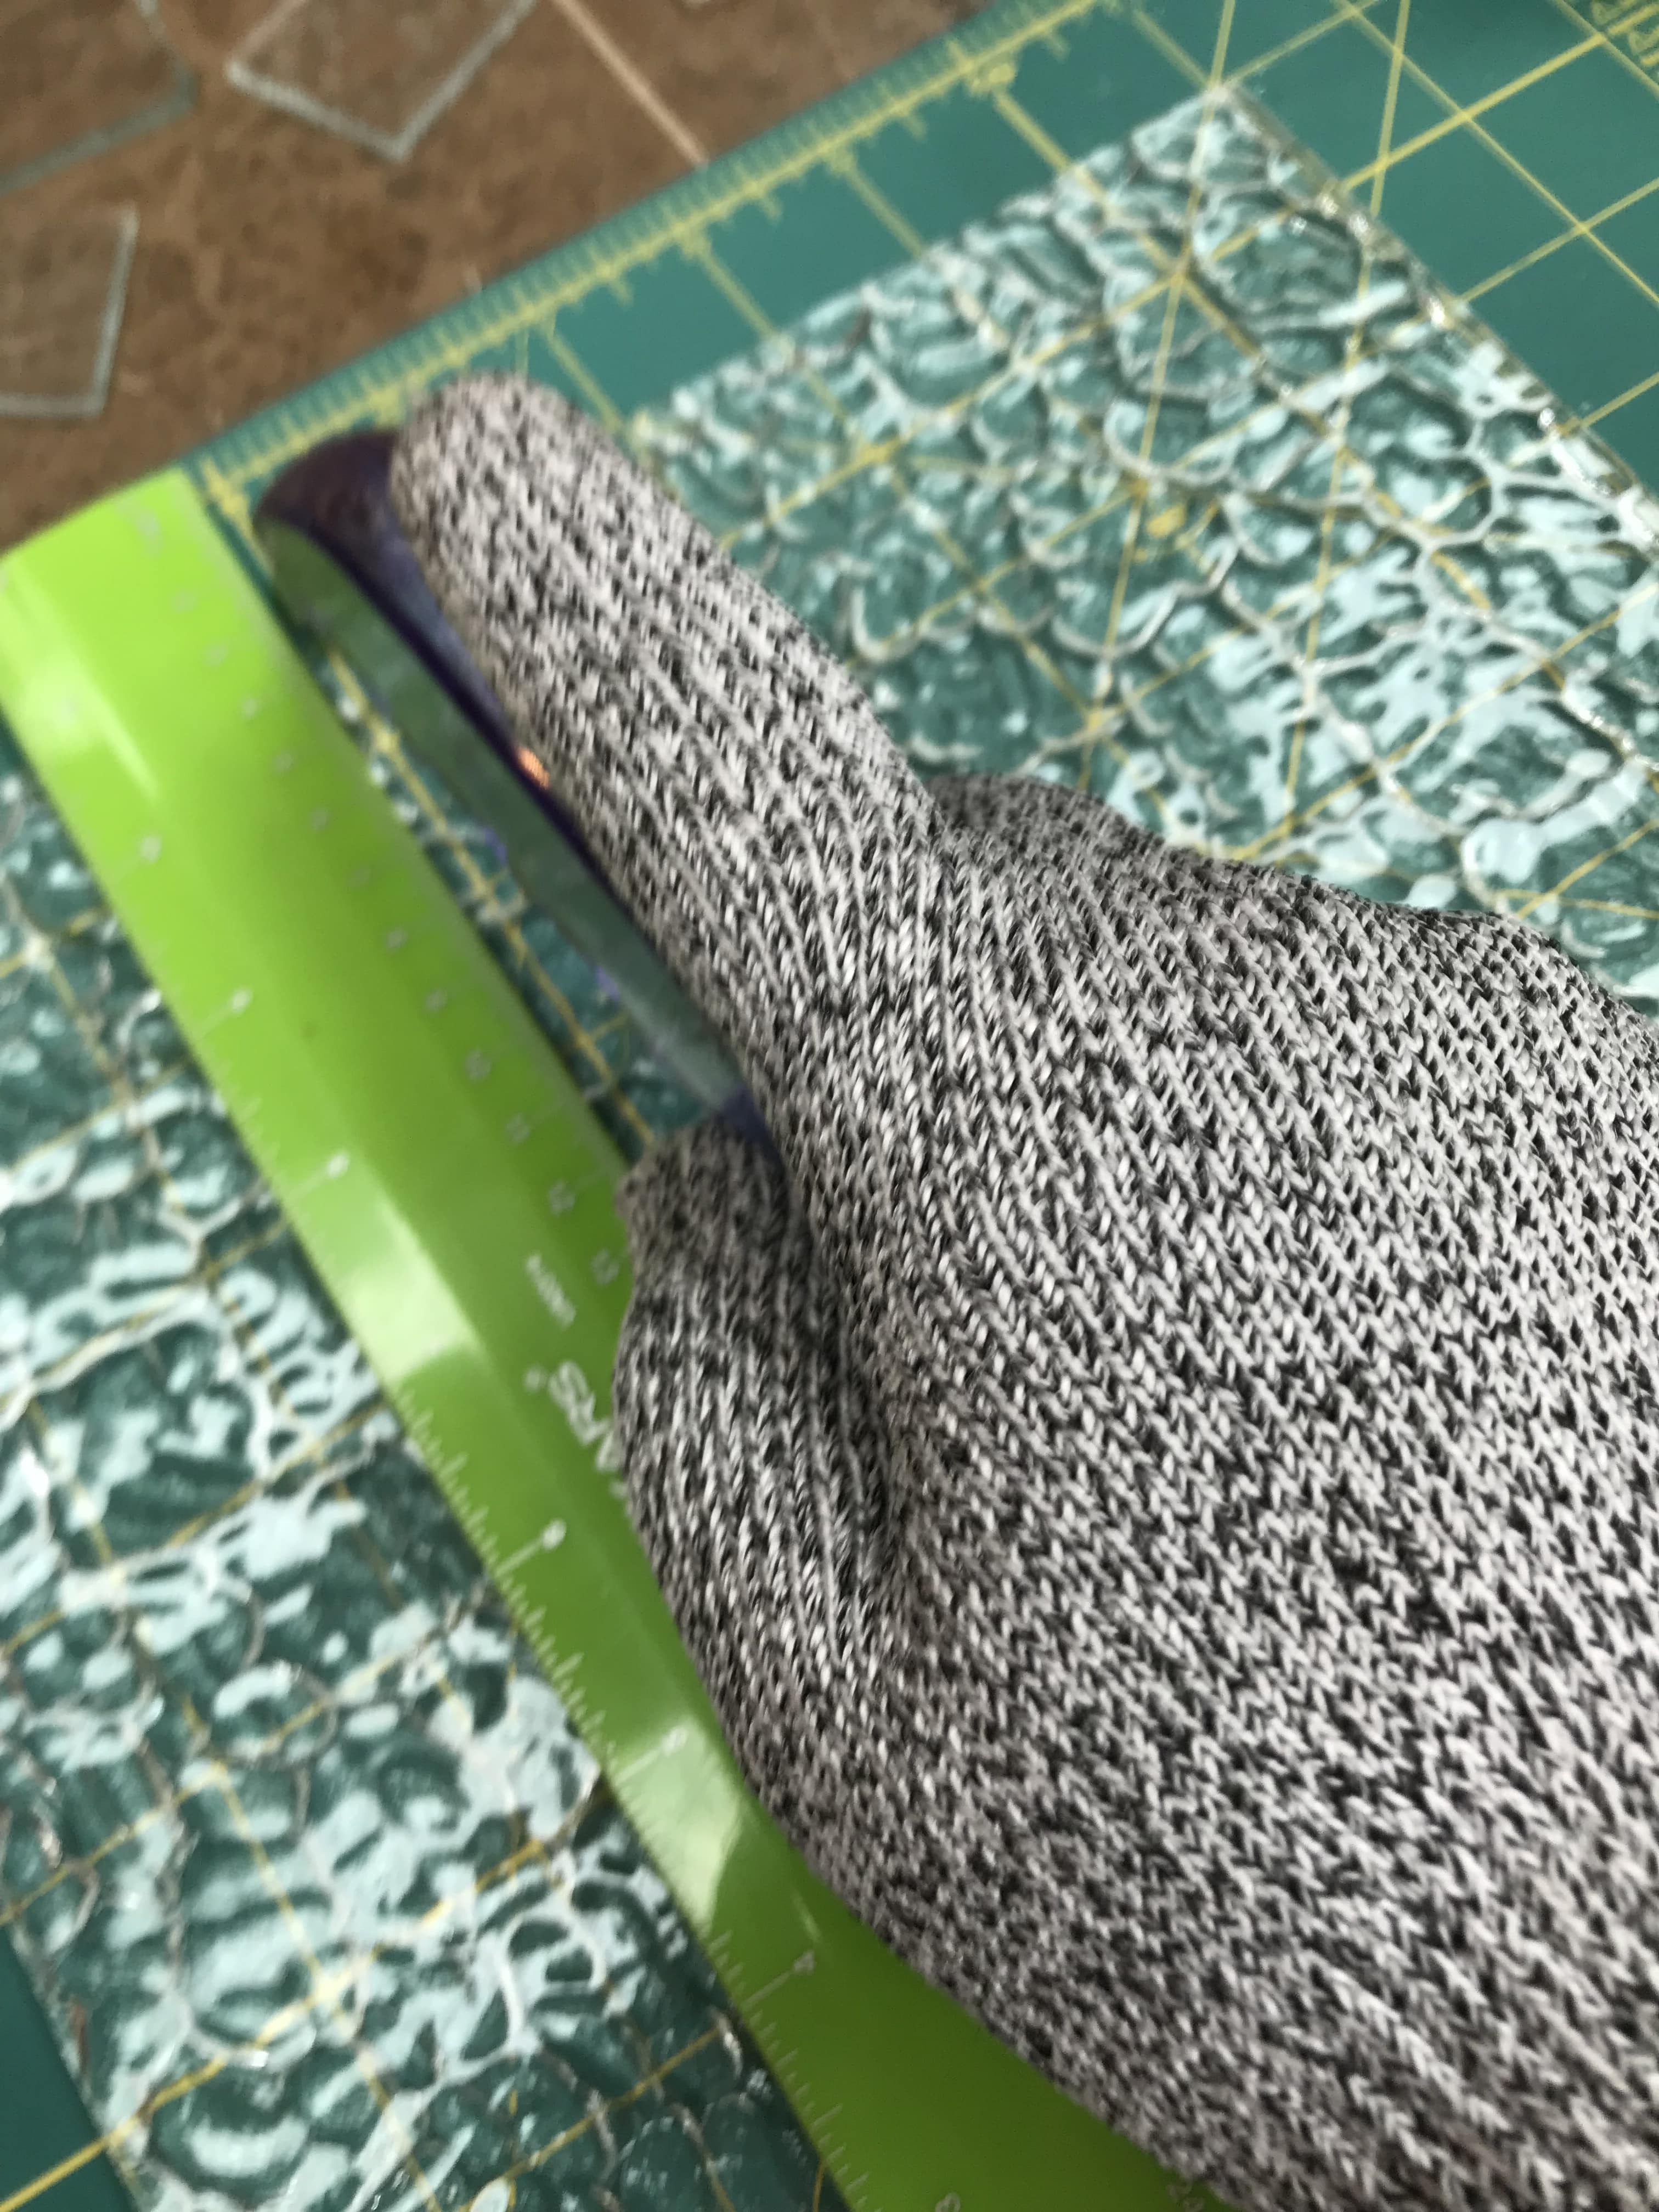
My favorite method is to place the score line along the edge of a wooden paper cutter board (larger side on flat surface, smaller piece hanging off edge) and snap!
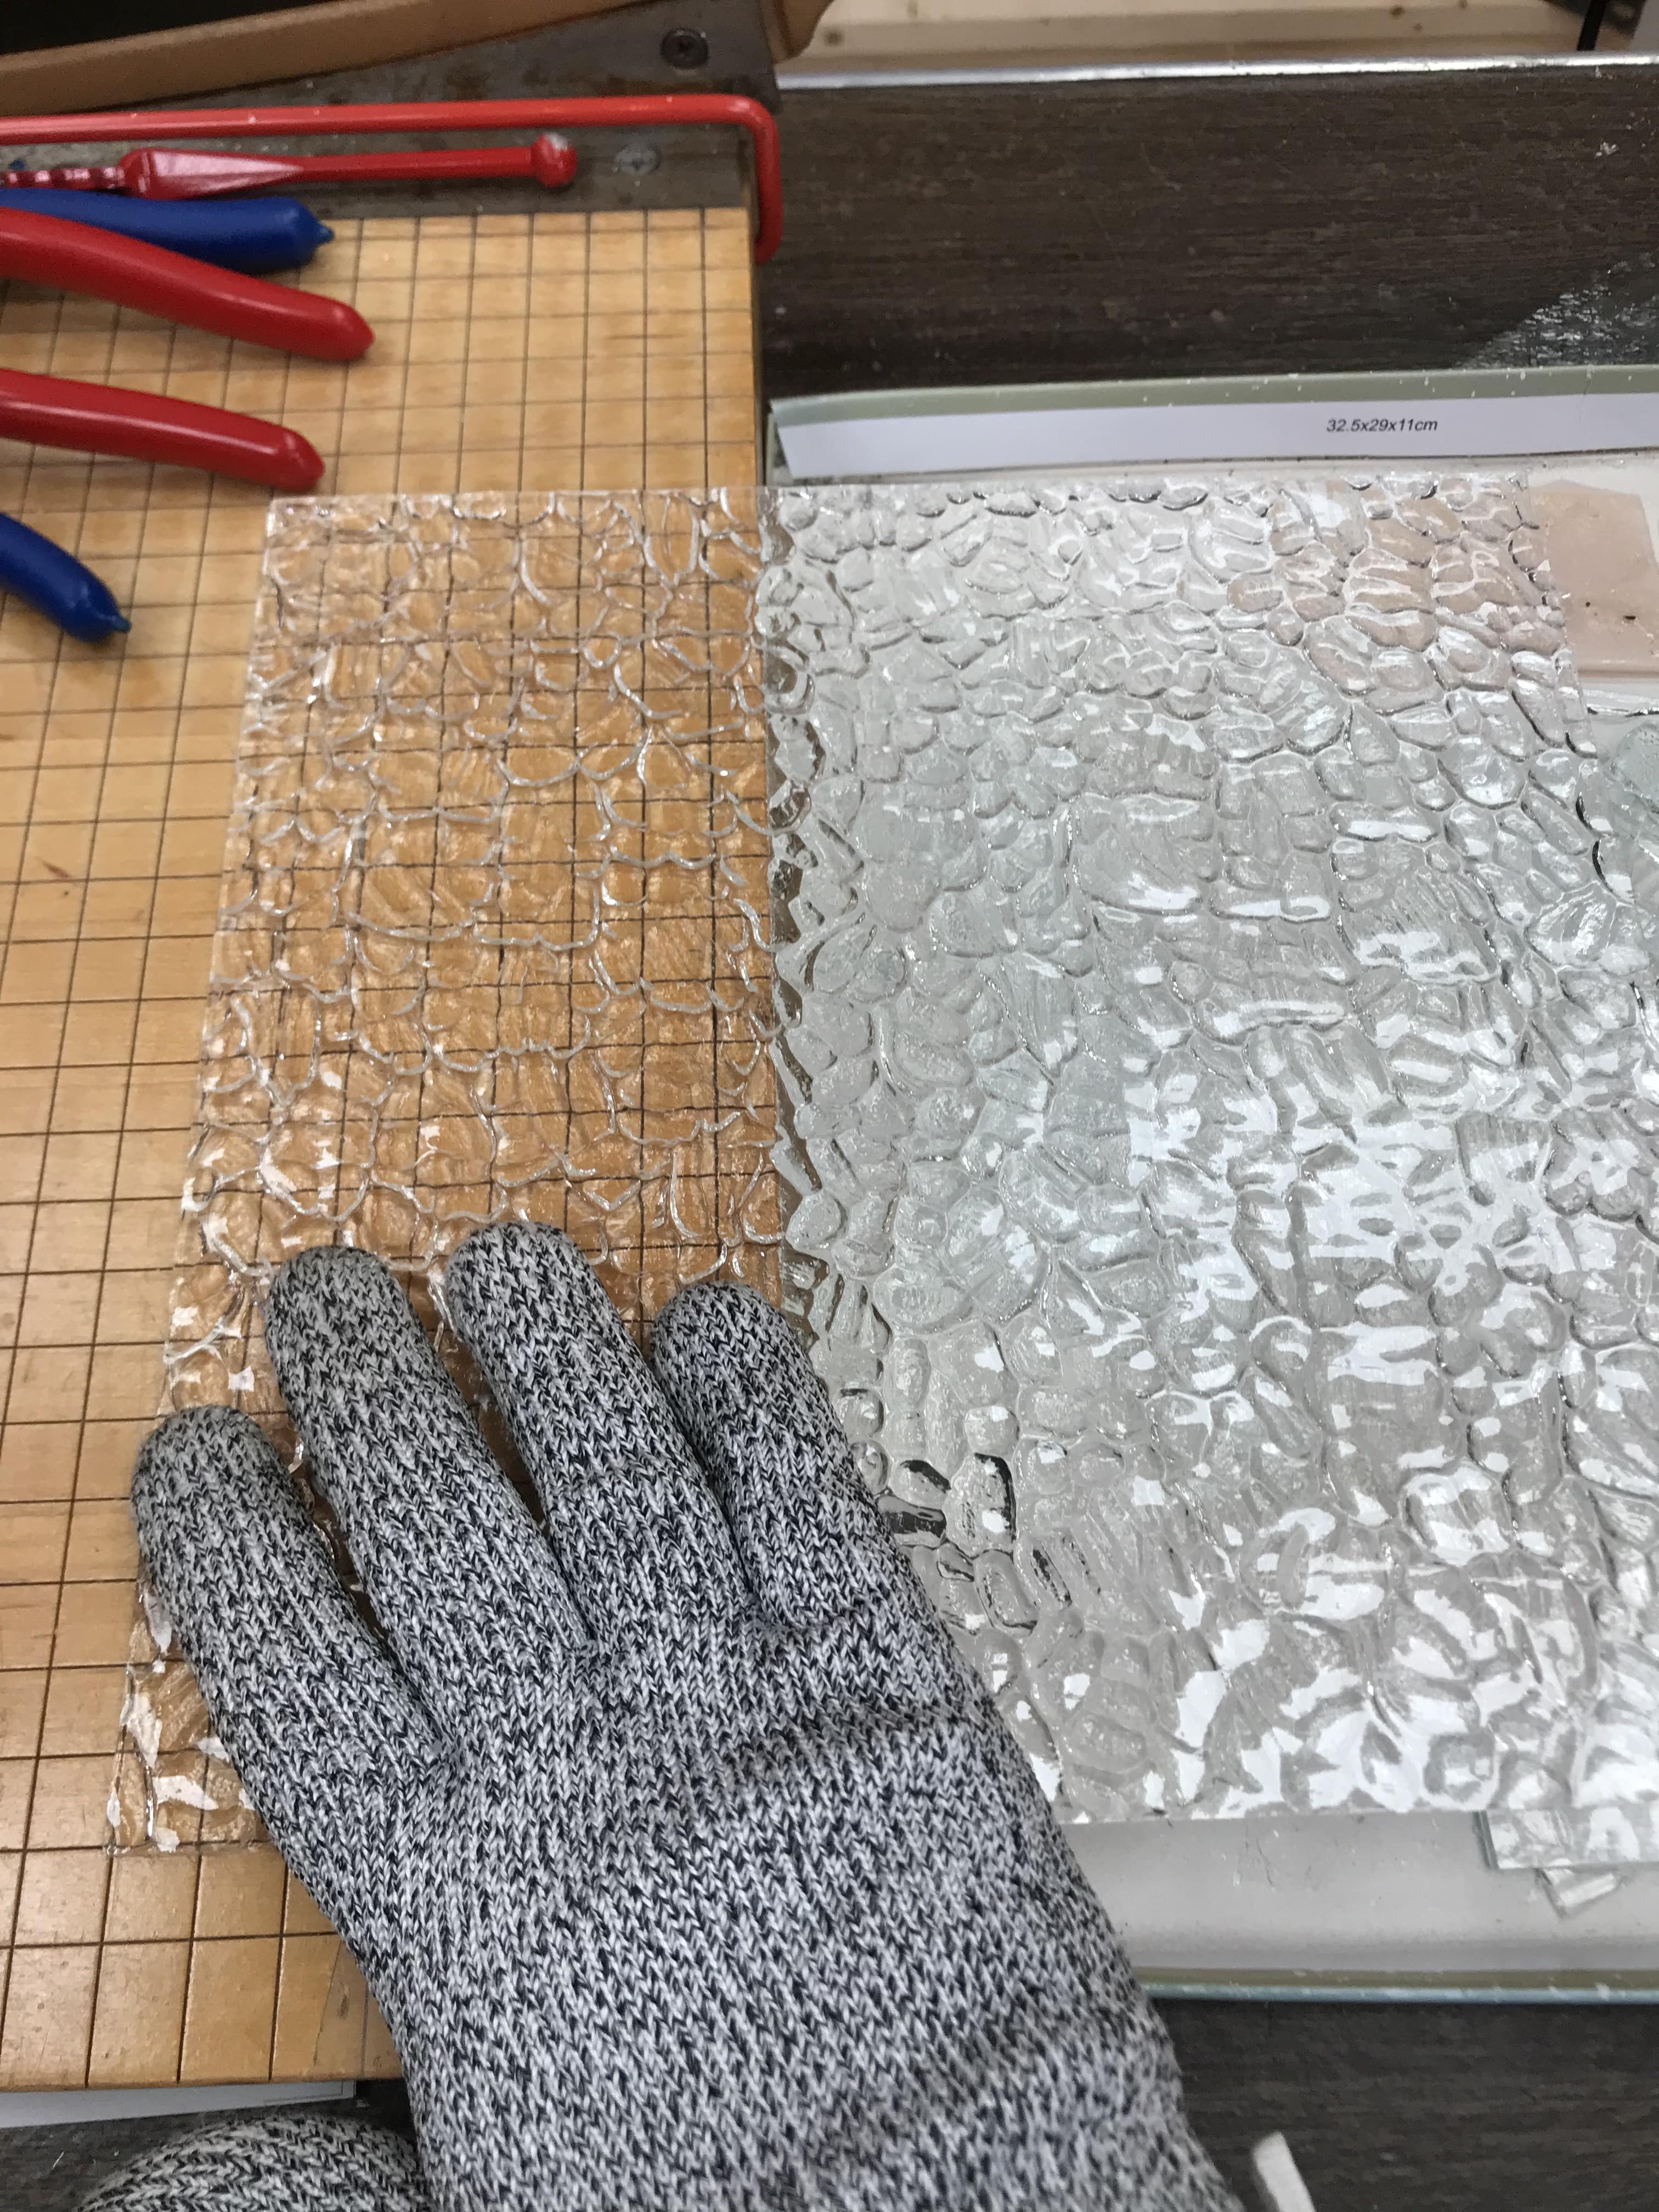
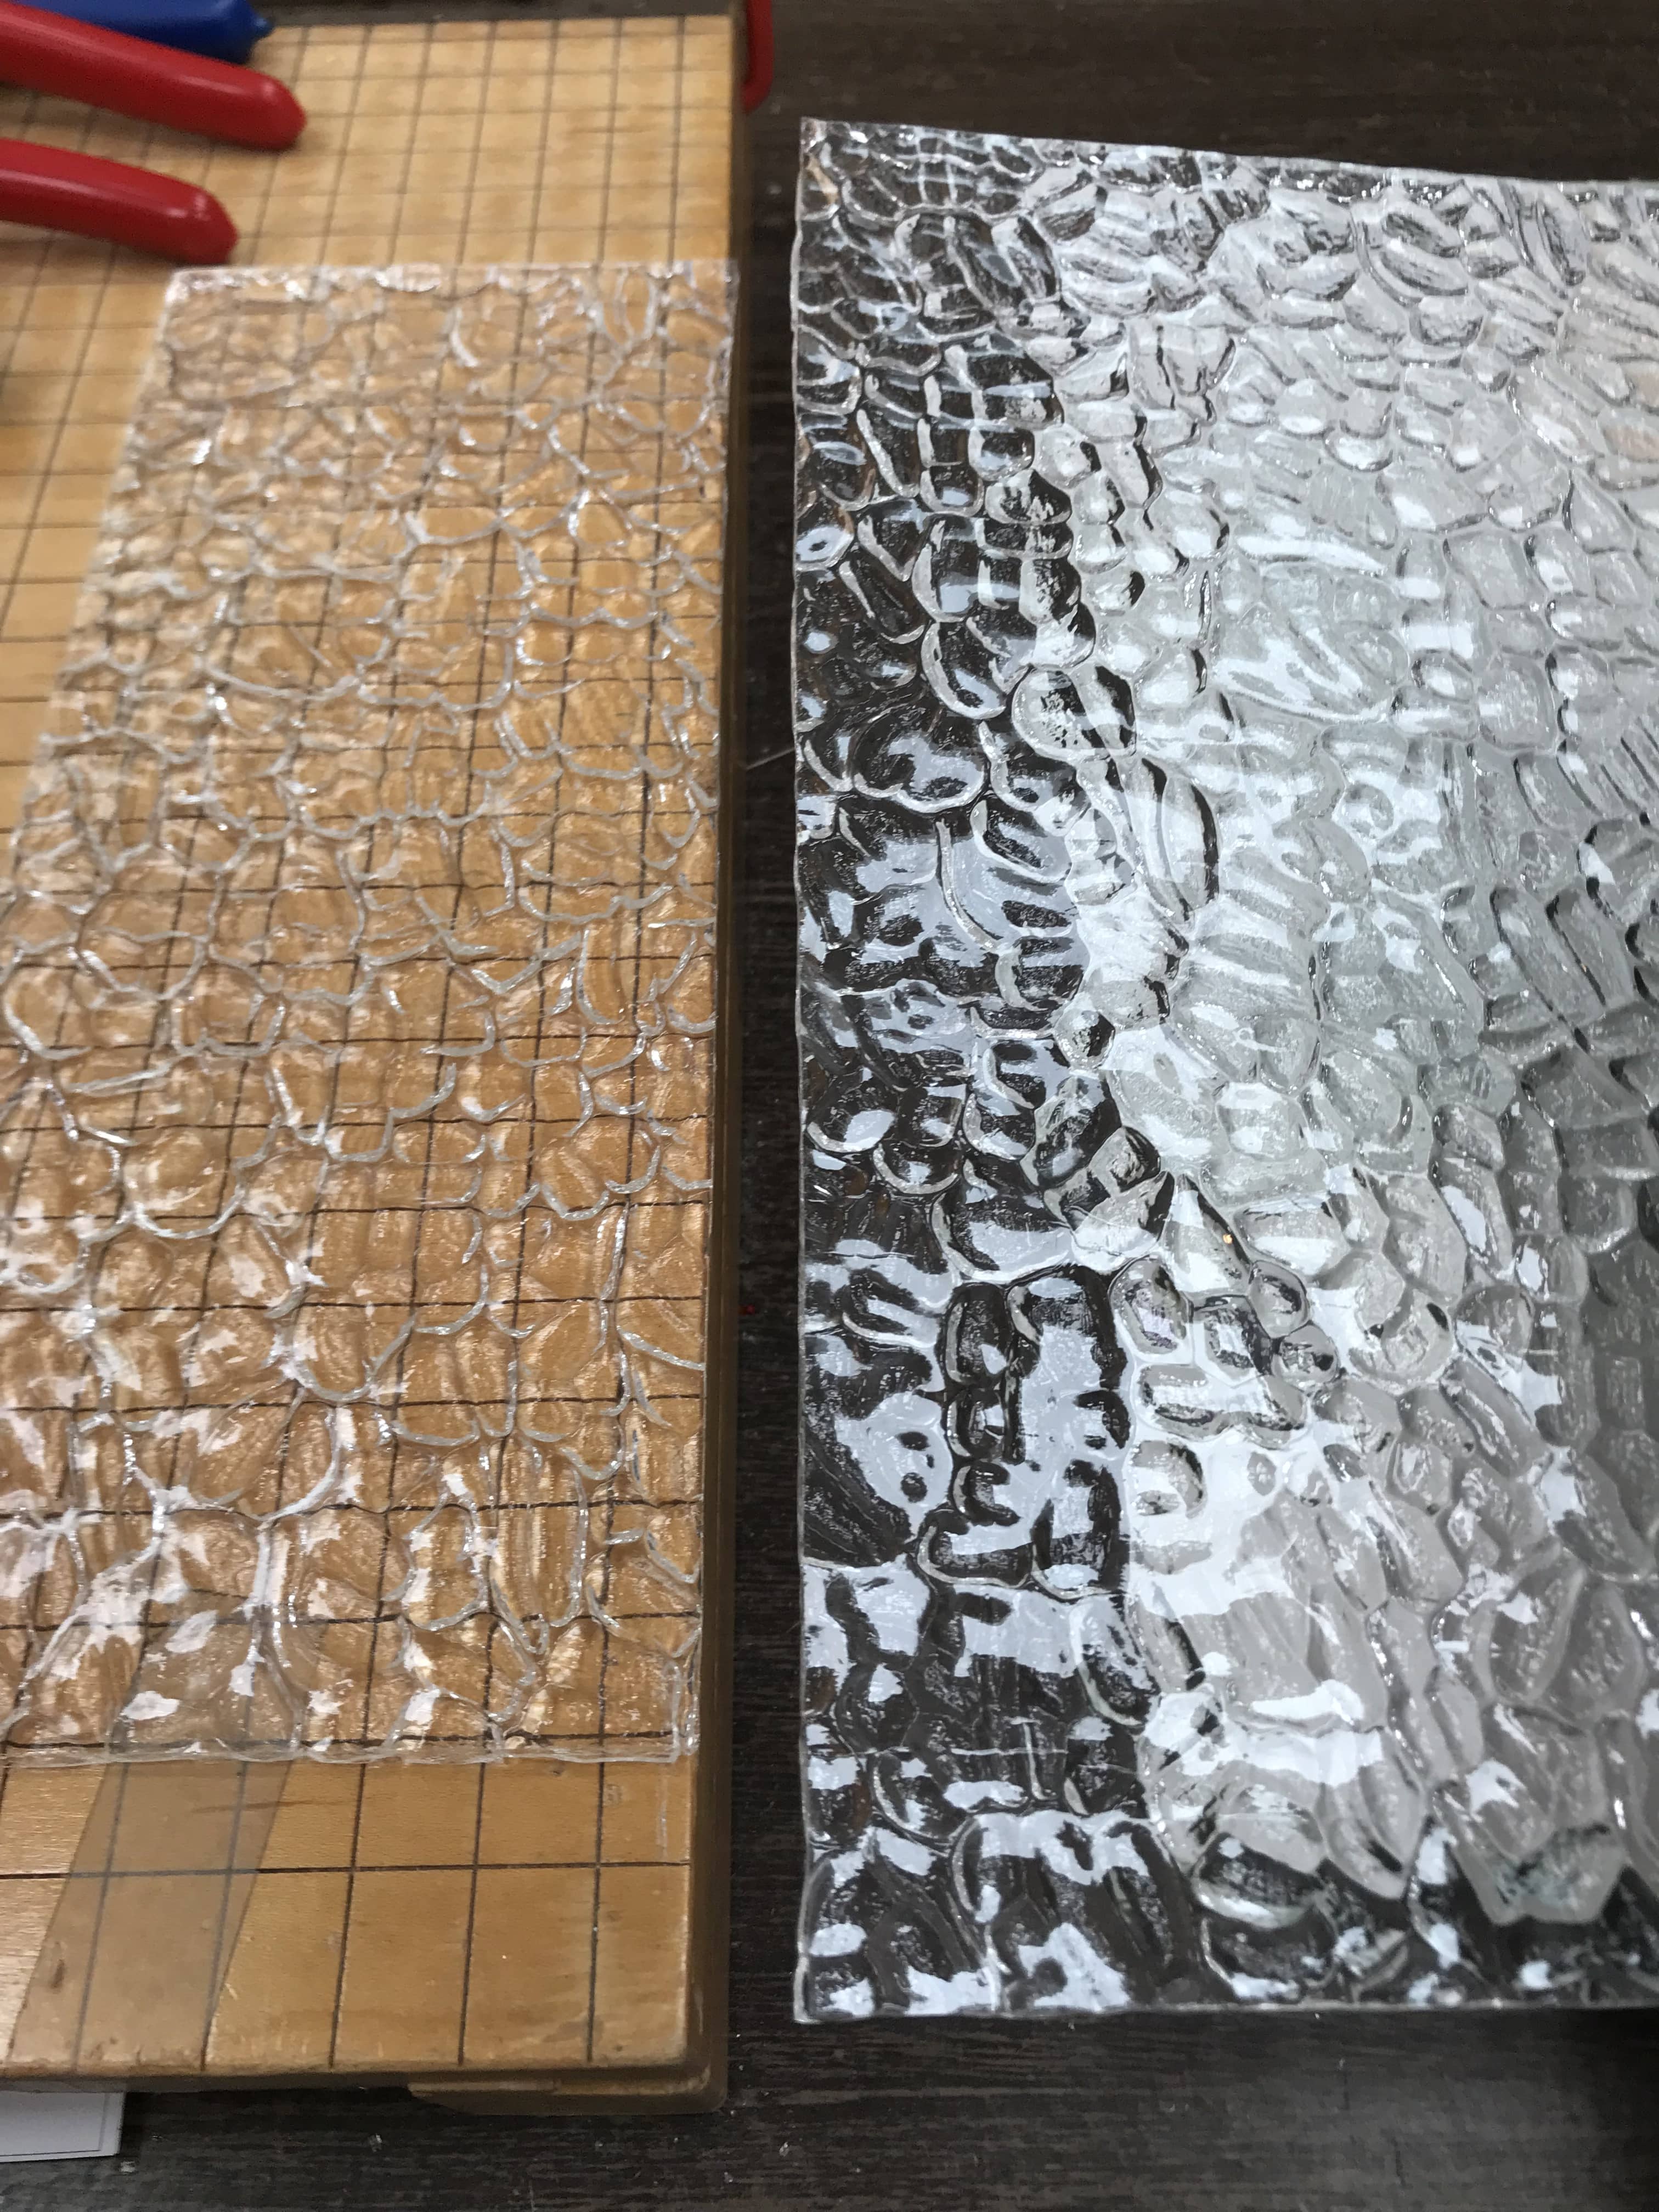
I keep a large shoe-box lid to the right of my breaking edge to catch chards as needed.
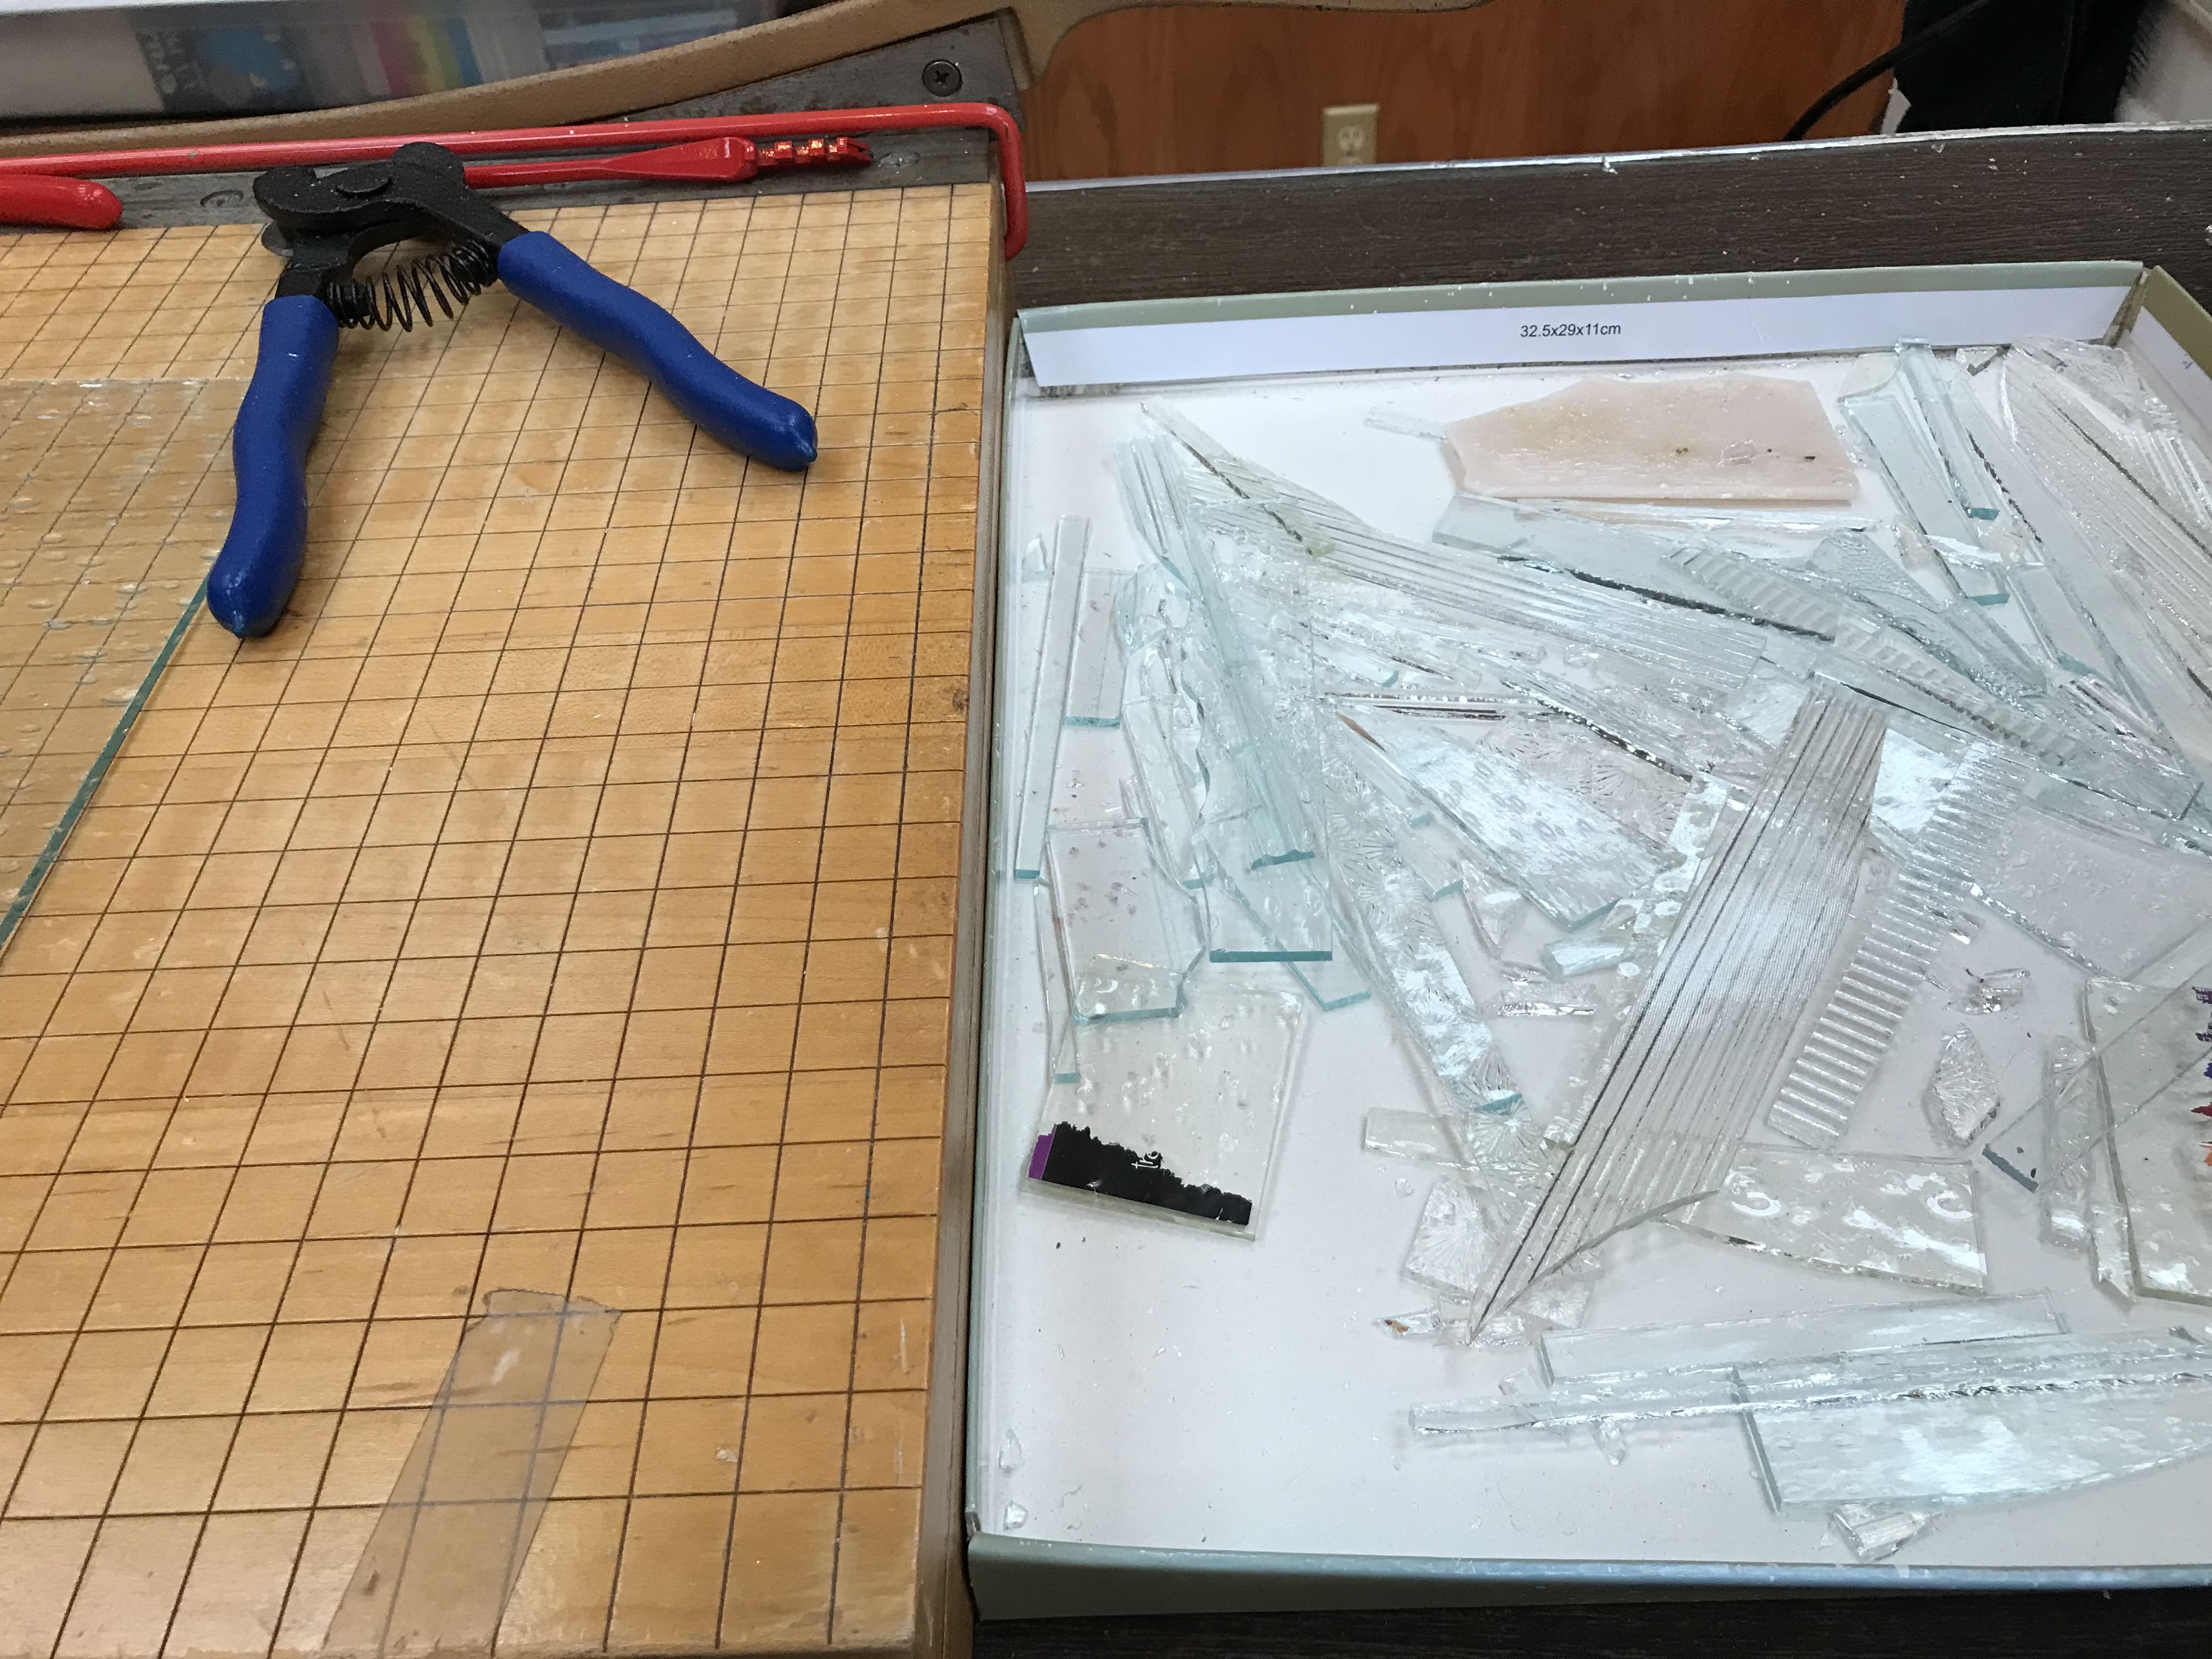
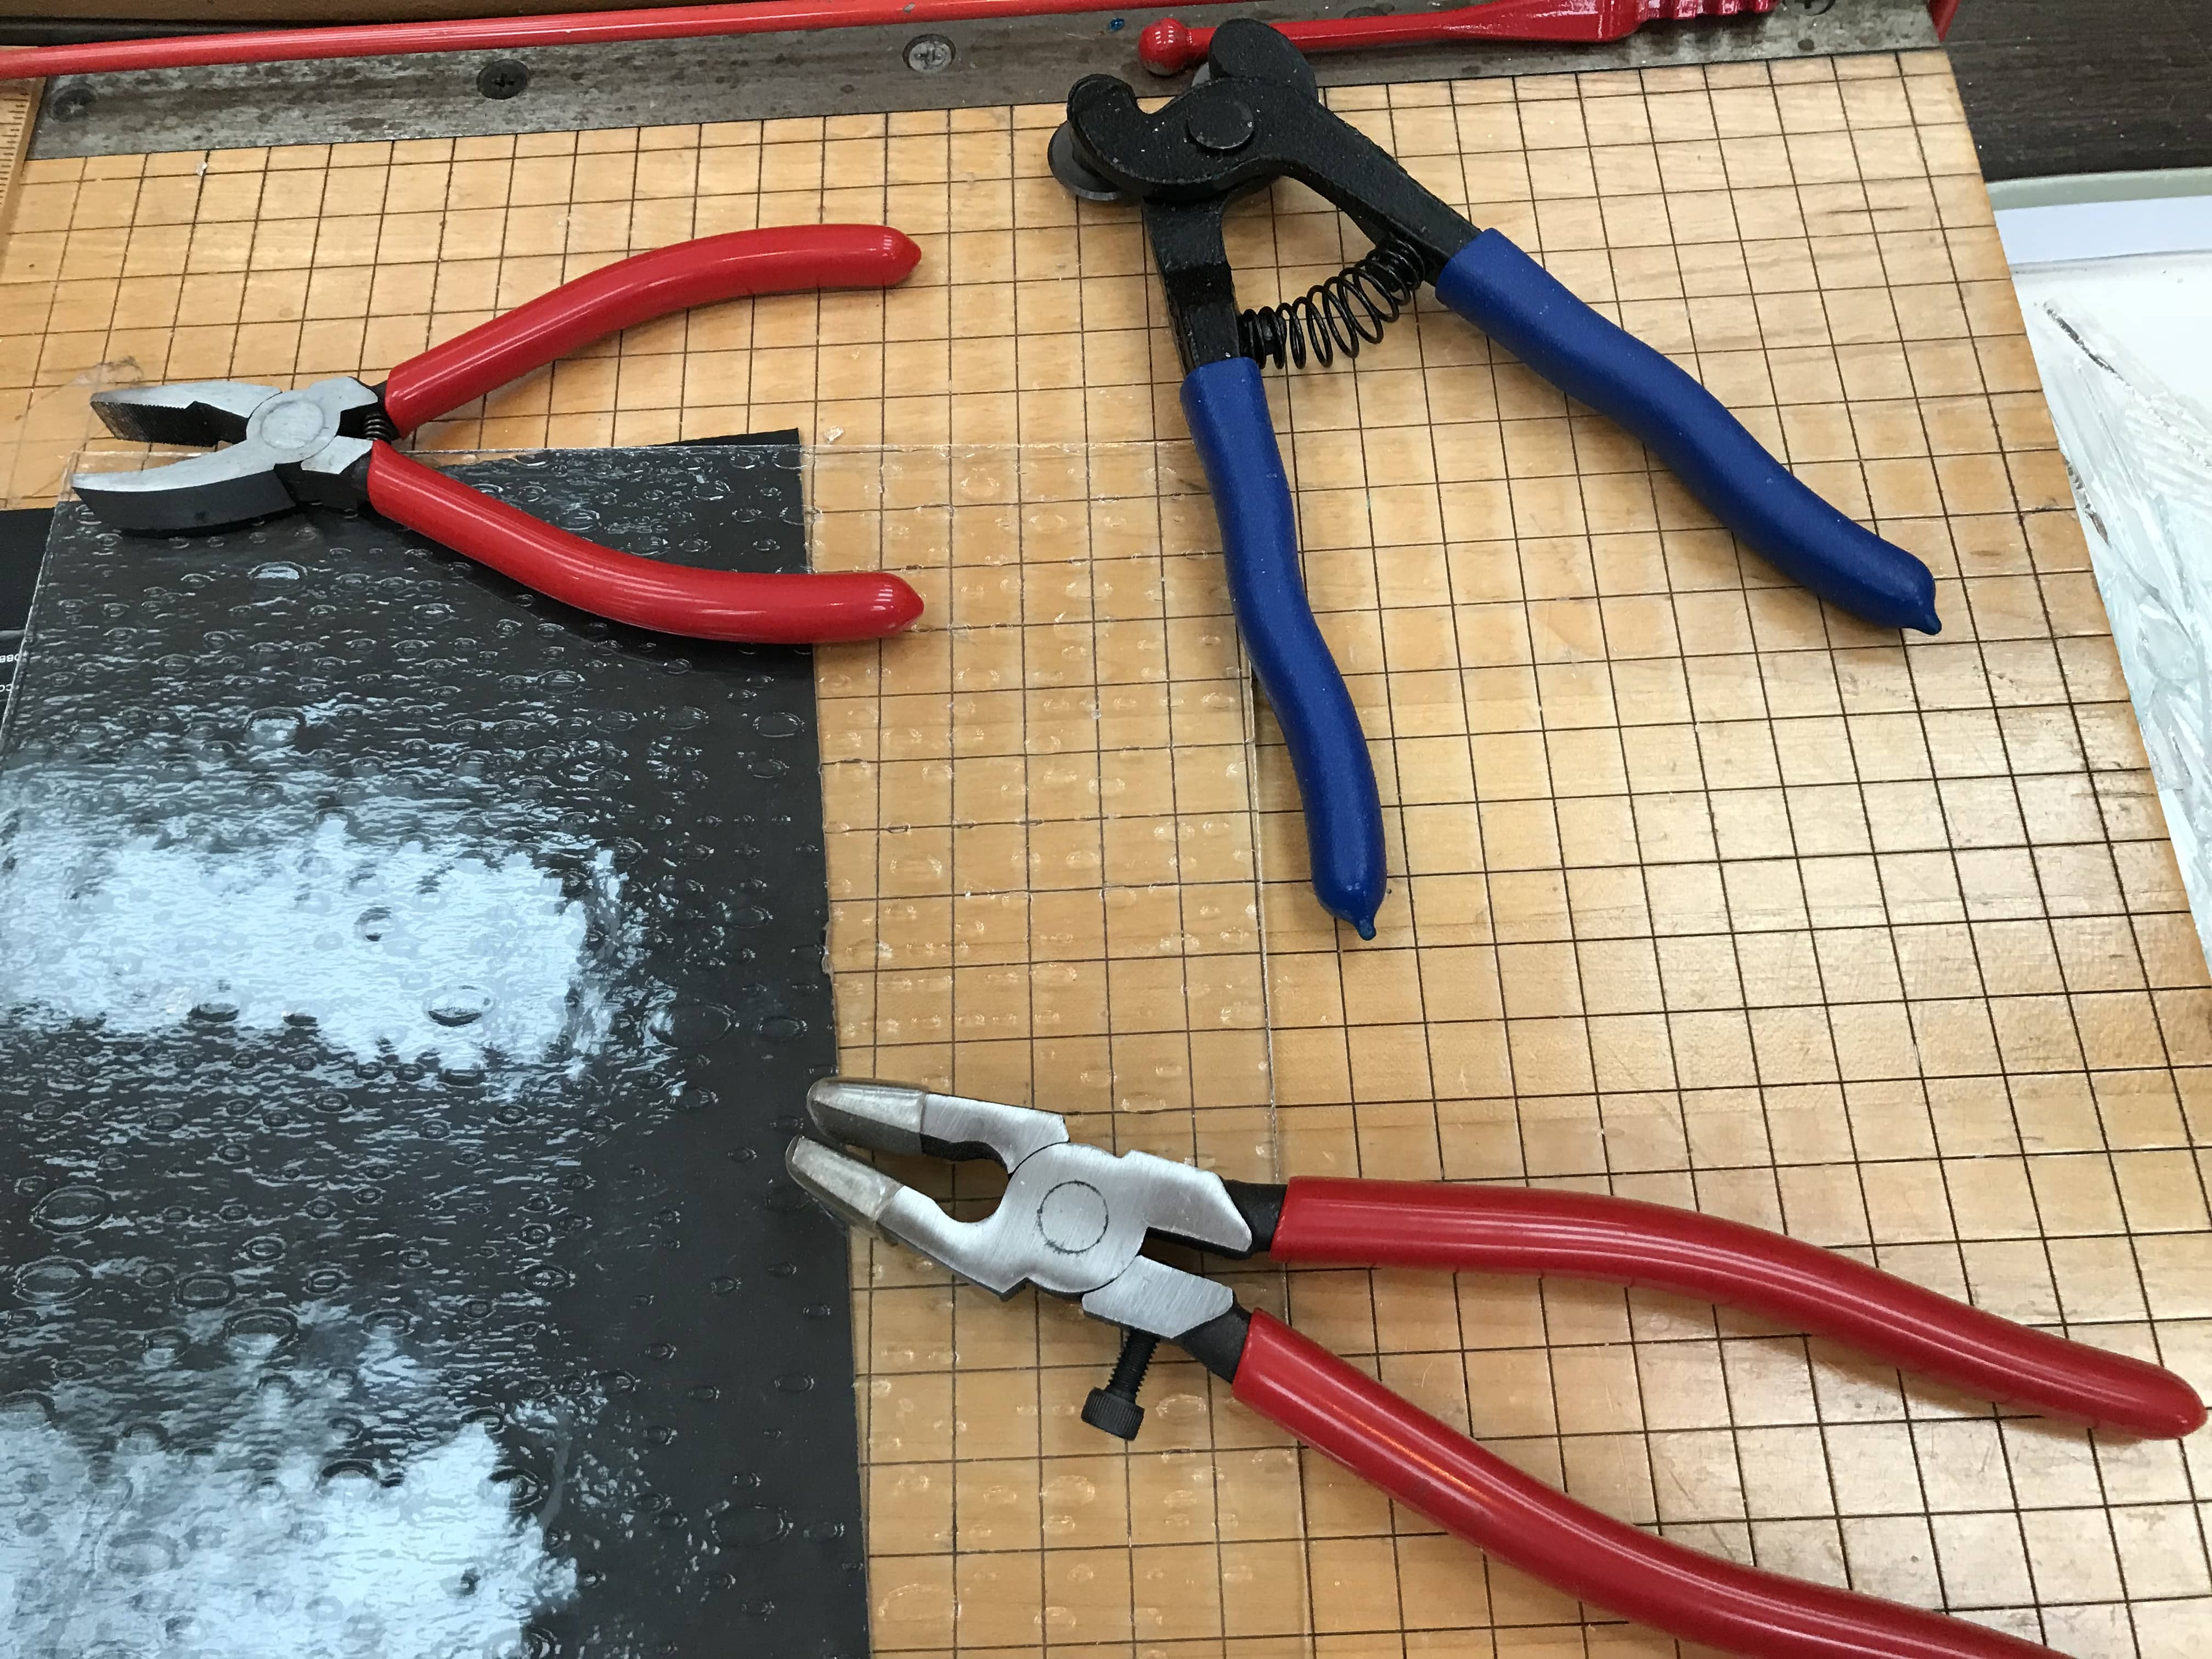
It such a joy when you snap a clean break (I mean, you just want to smoke a cigarette!), but many times you’ll end up with a jagged edge. To straighten this up you may use pliers or nippers (depending on the type of irregularity in the break). The red handles are pliers, and the blue handles are 2-wheel nippers.
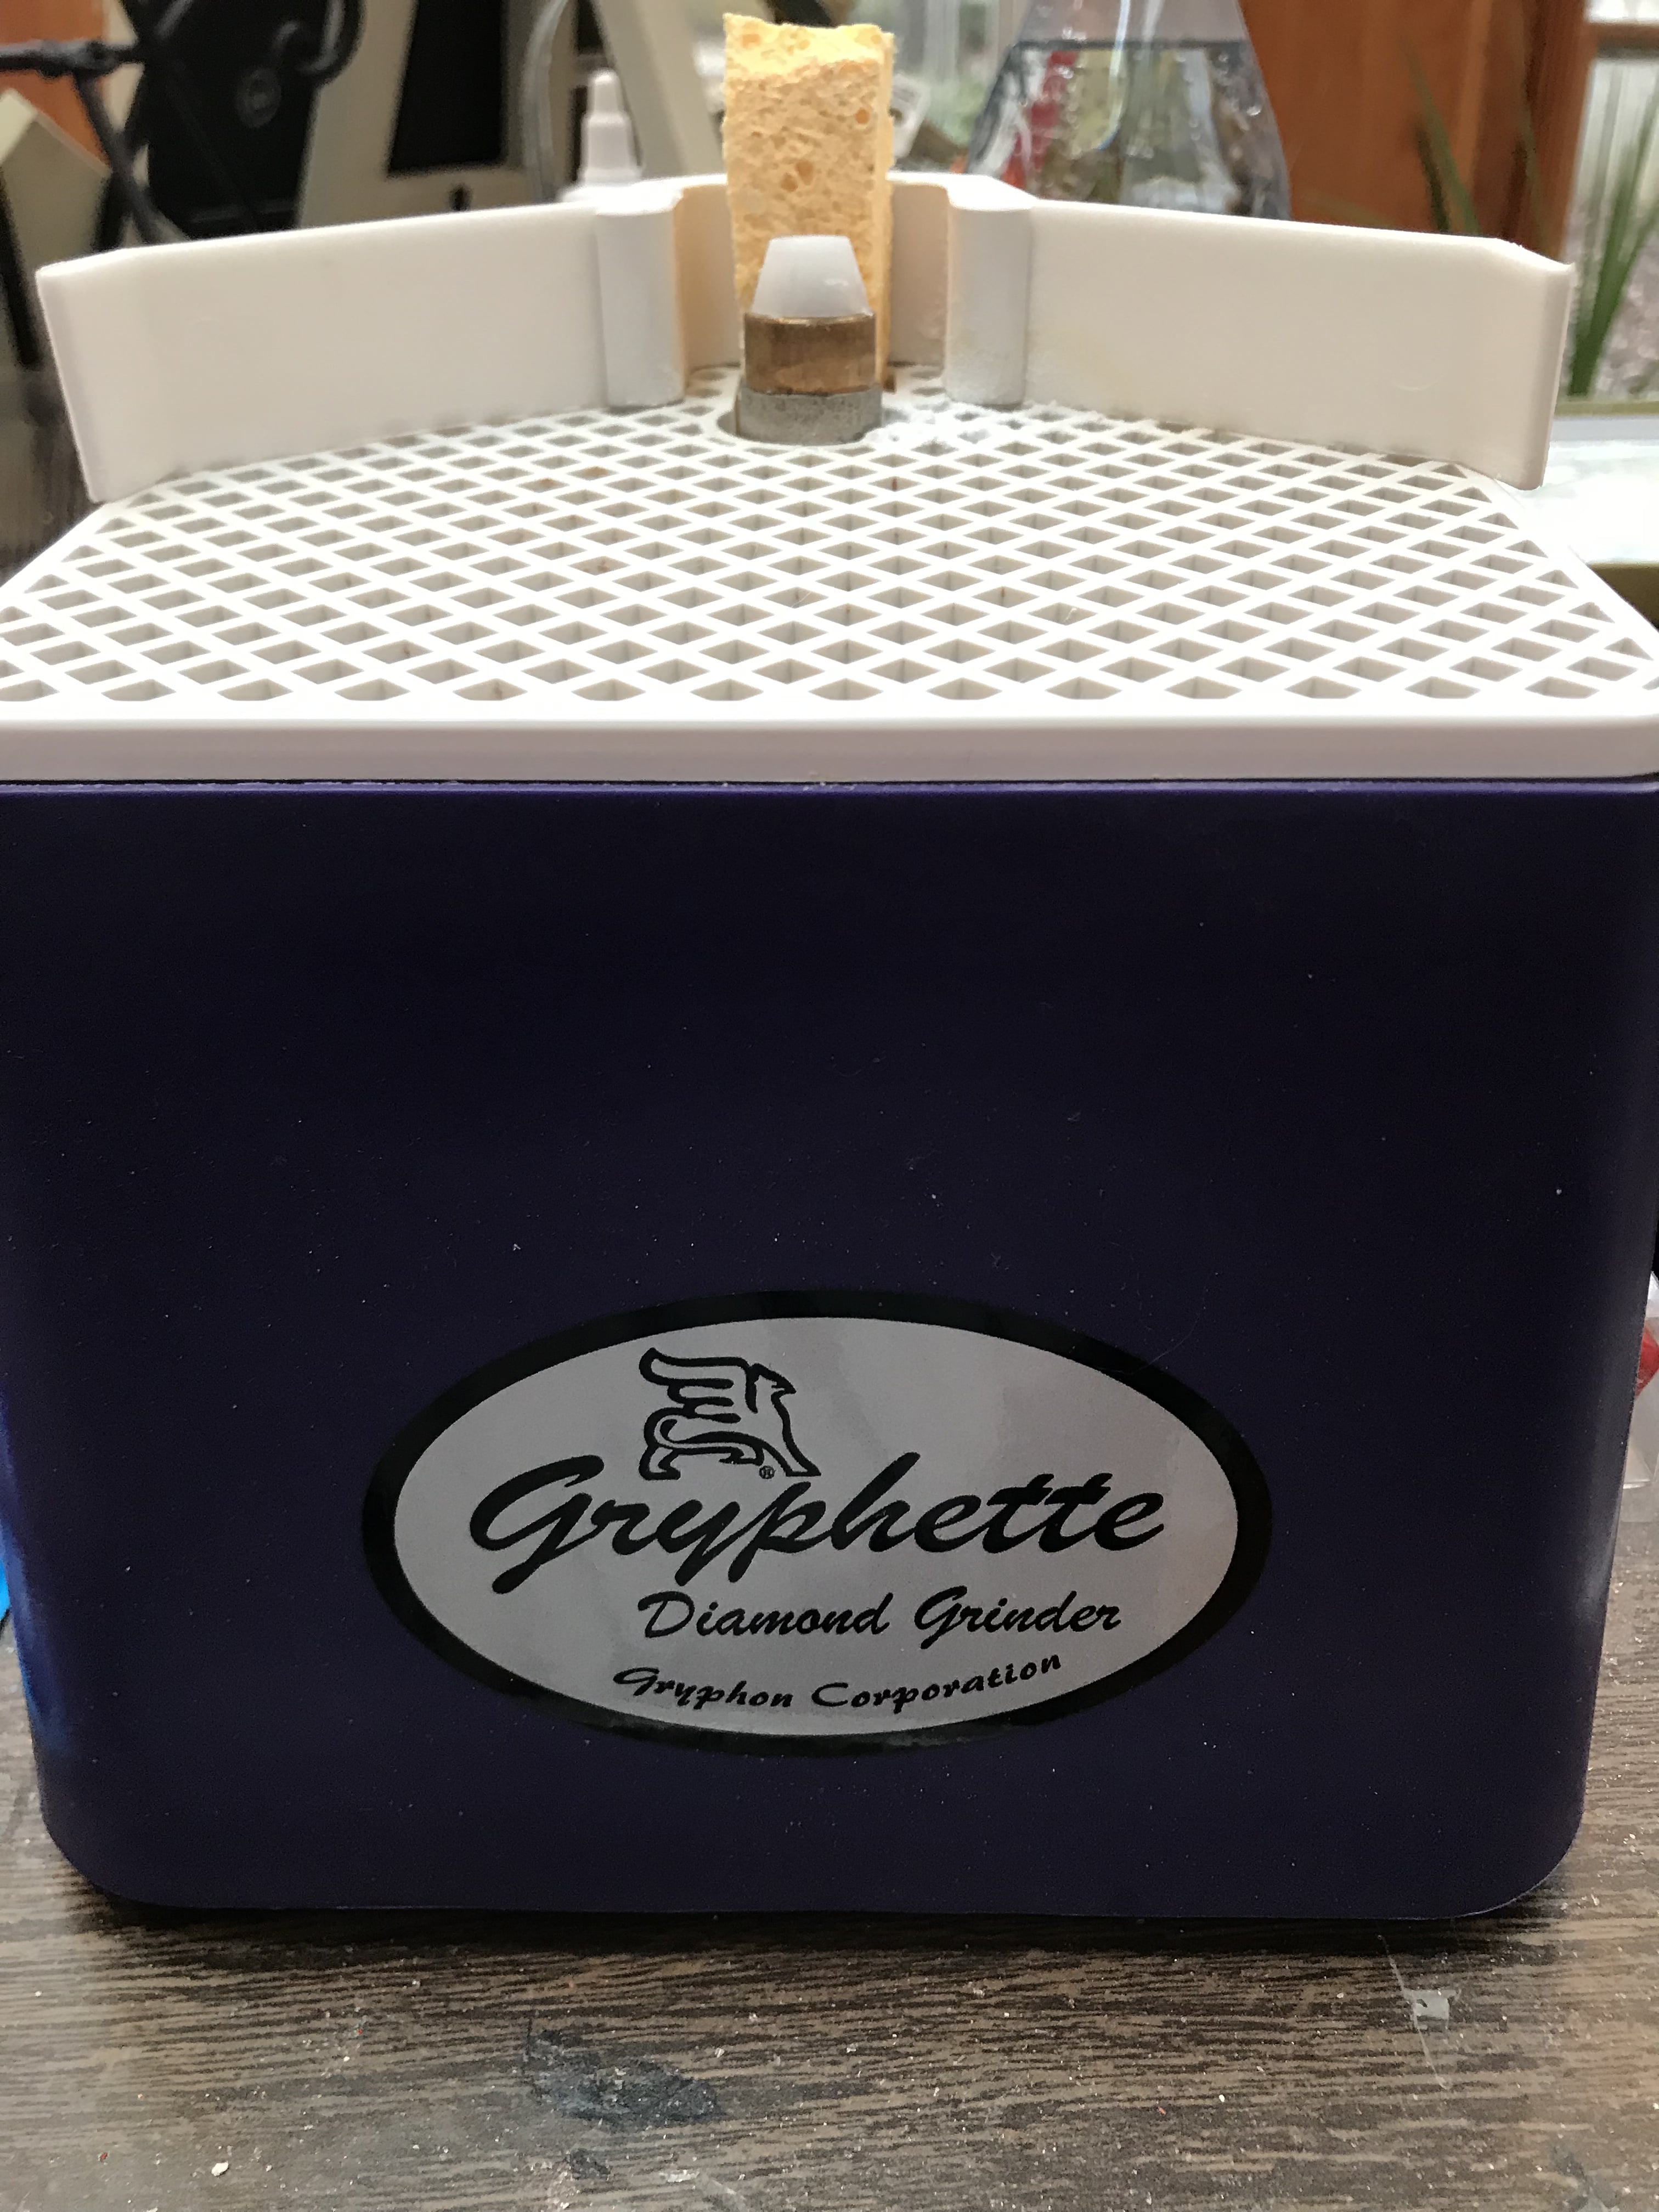
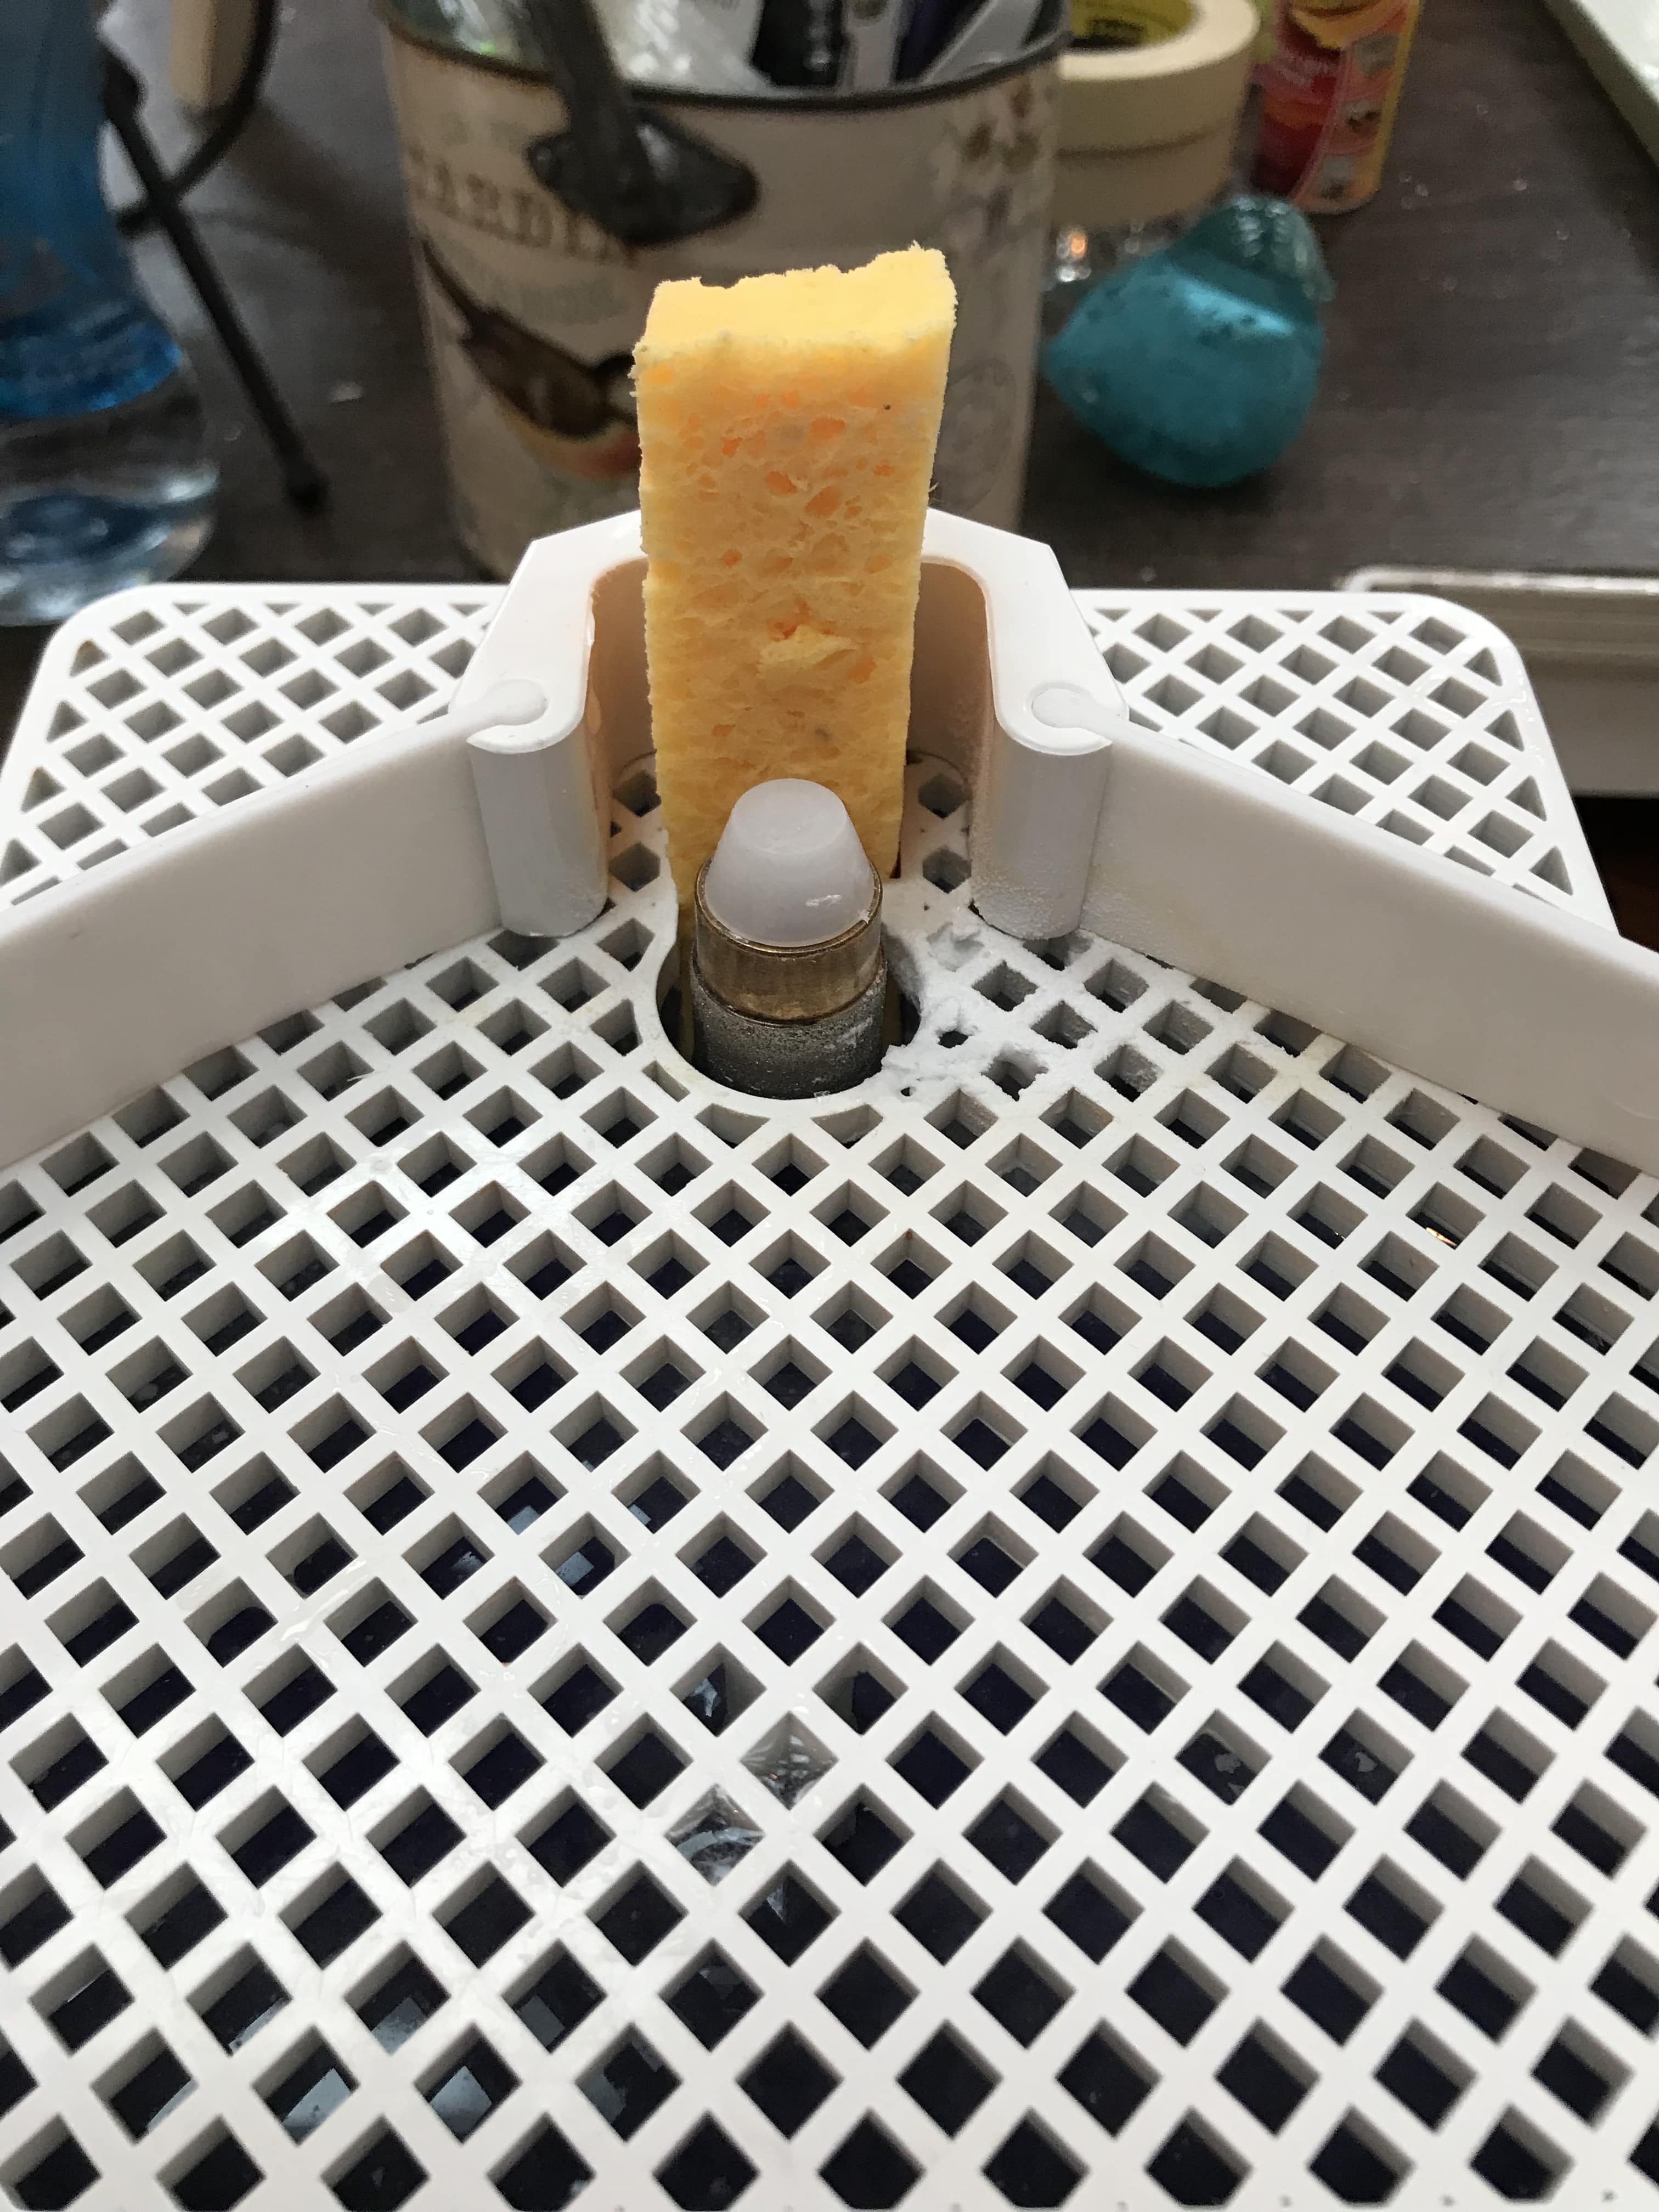
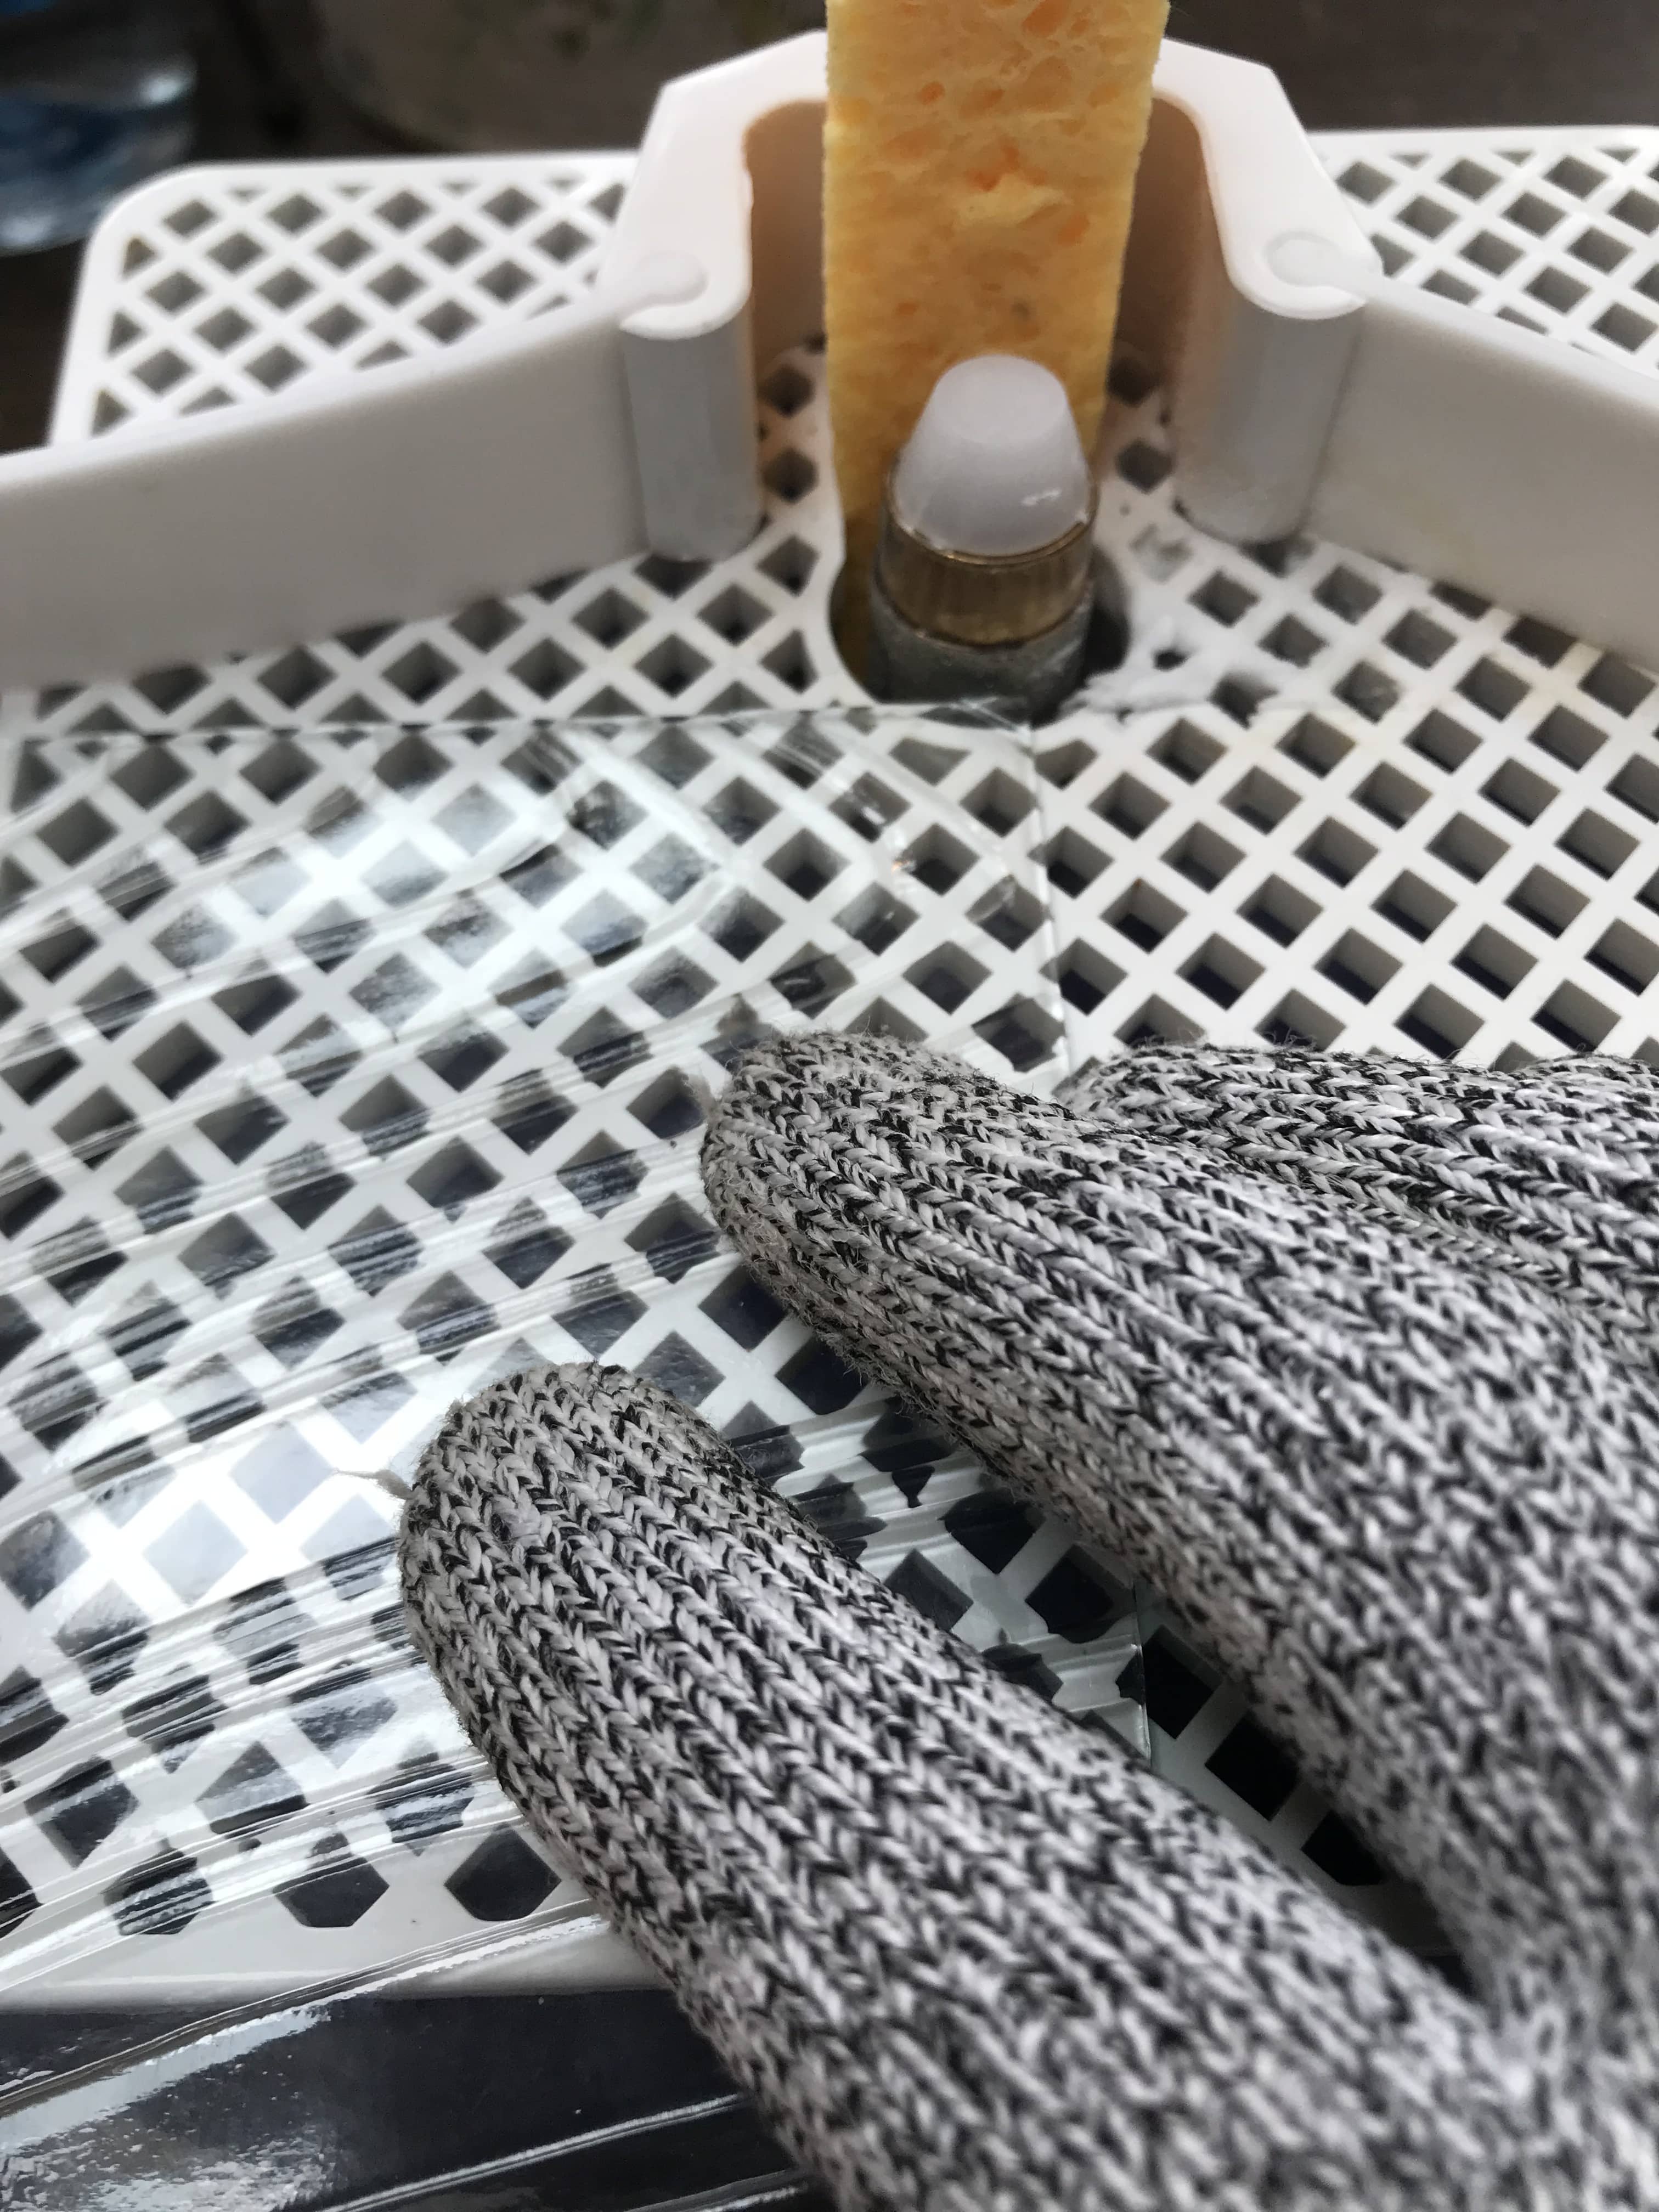
If the irregularity can’t neatly be taken off with pliers or a nipper, the grinder works well! Add a wet sponge to the sponge holder and place glass on the grinder (follow grinder instructions!). Clean up rough or uneven edges of pieces as needed. If you’ve never ground glass before, there are several instructional YouTube videos.
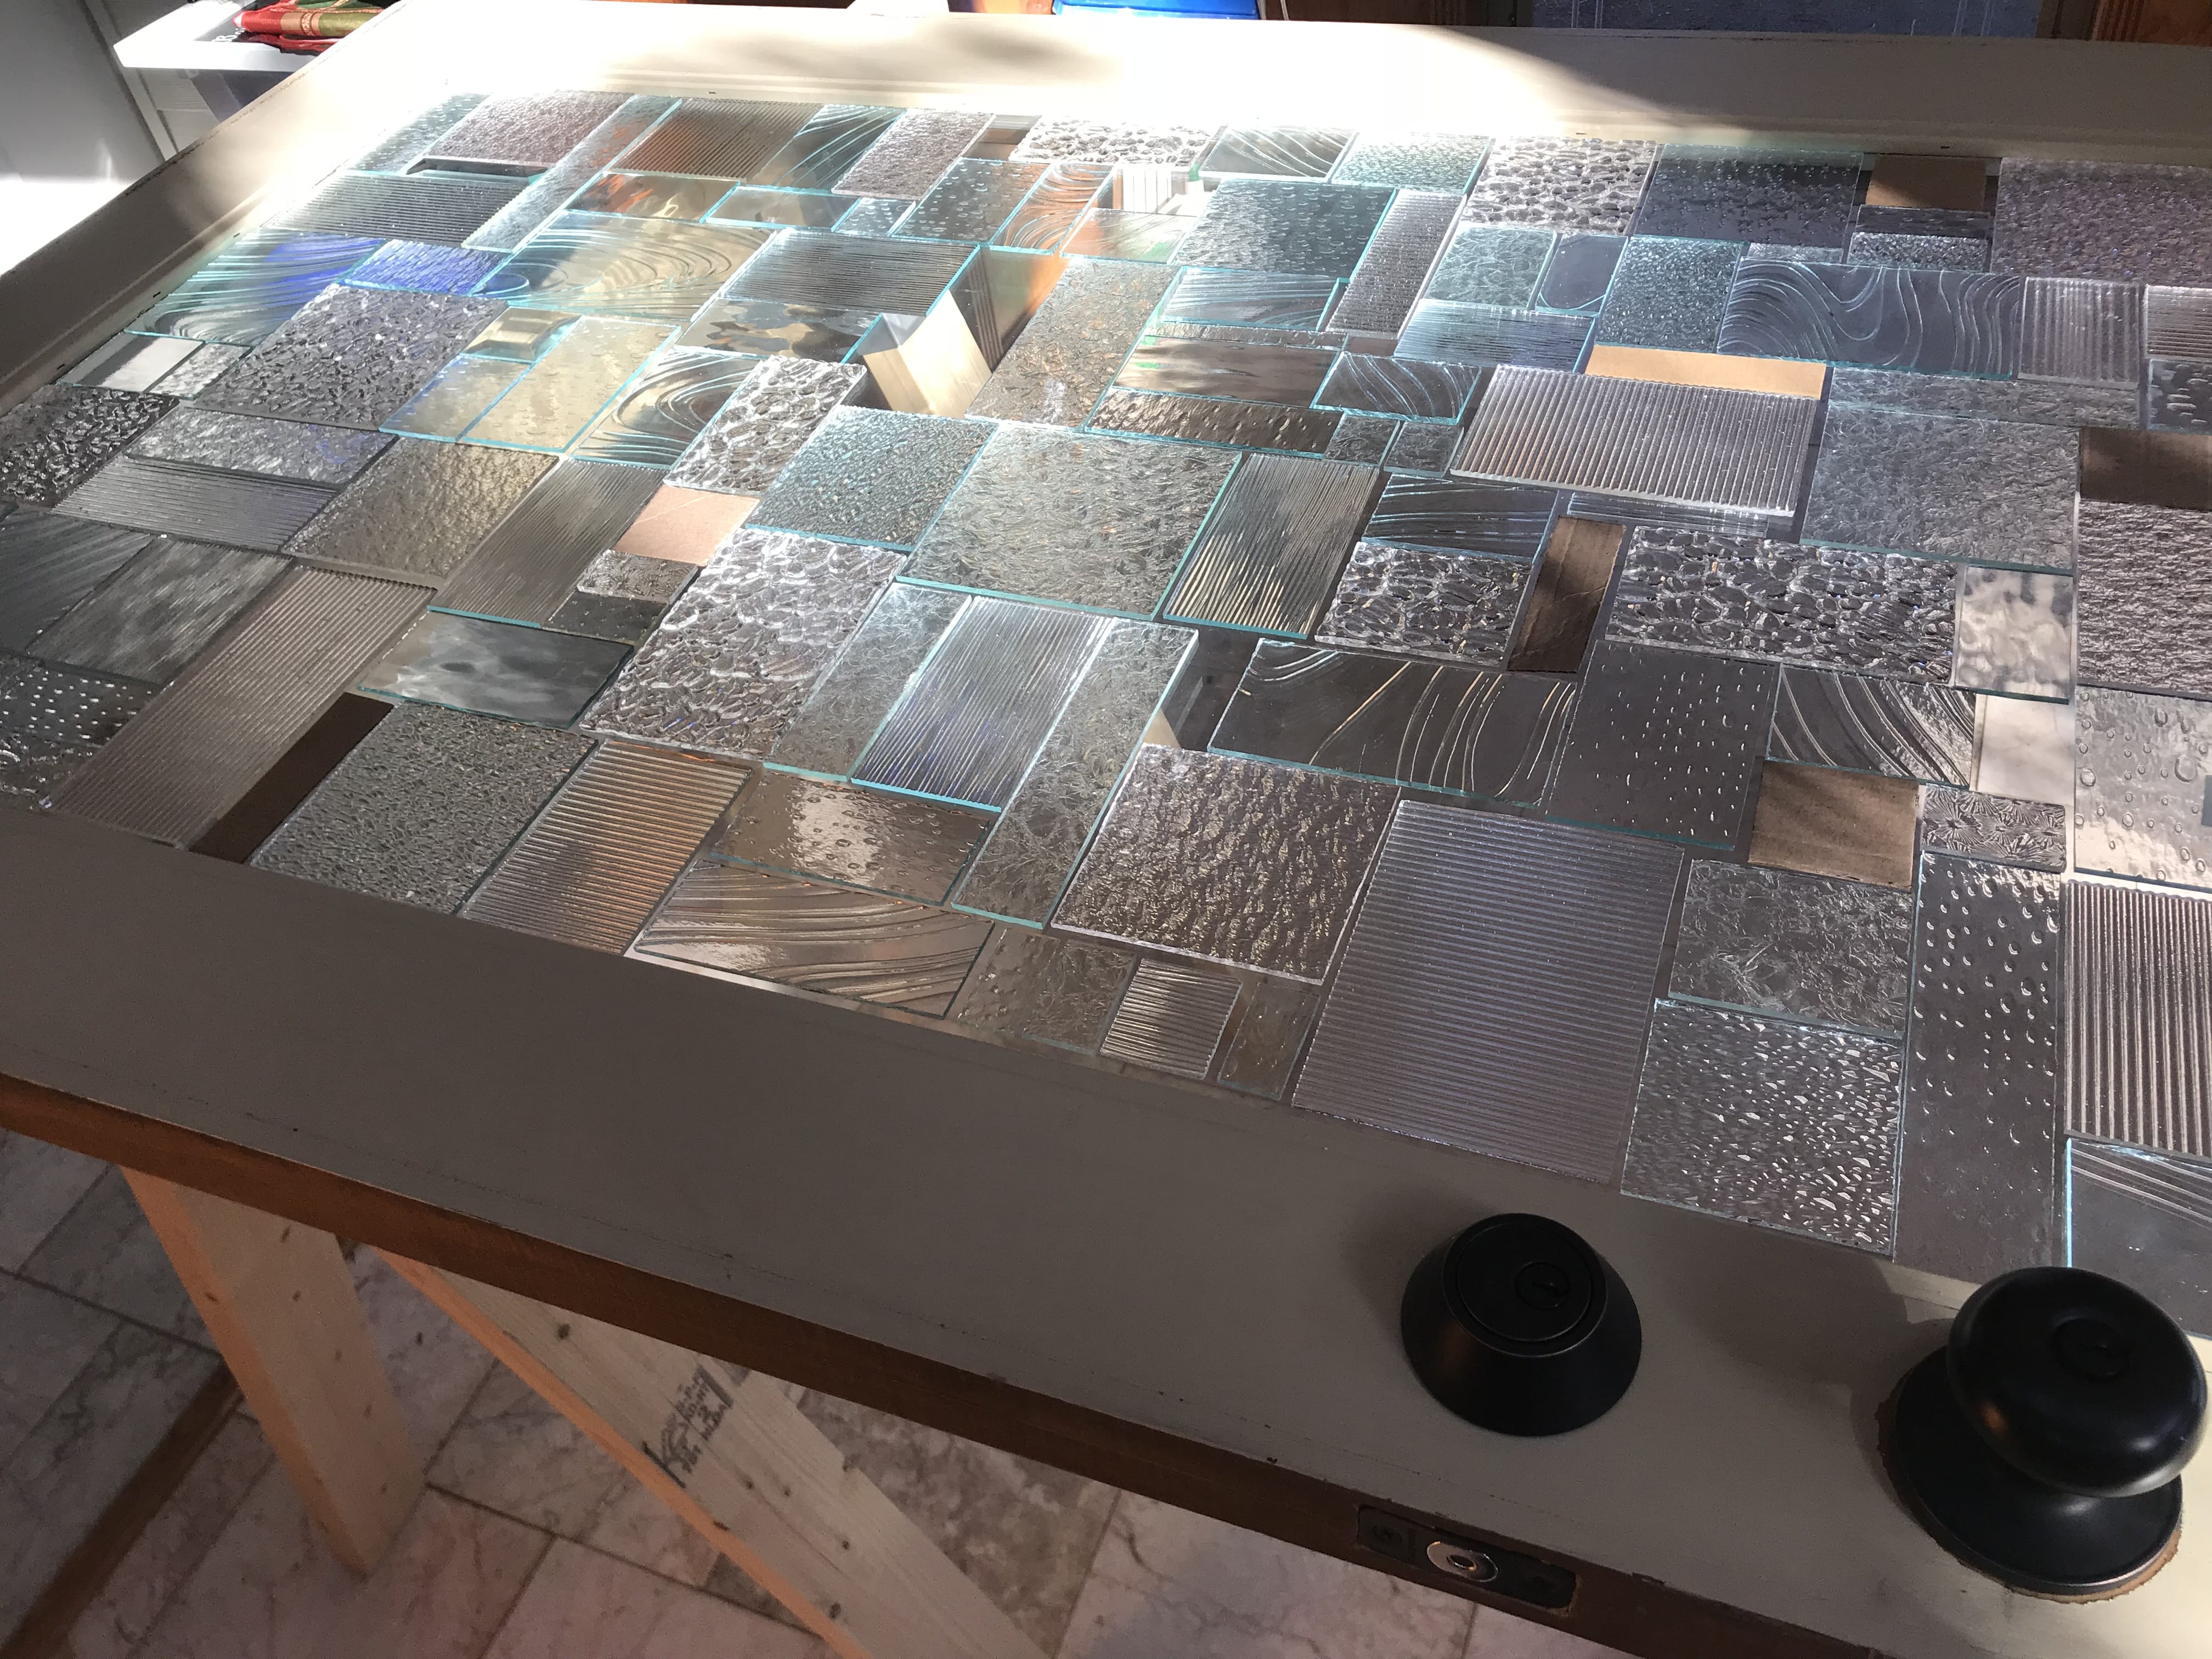
Here I started assembling the pieces from the top left corner of my door. I just worked my way across and down from the first piece.
Do not glue the pieces until you are finished putting all pieces down (you WILL change your mind as to the orientation and placement of many of the pieces as you go!)
I leave approximately ¼ inch of space between the pieces (you will not use grout, but the light coming through the empty spaces will become part of the “art”).
Take care to constantly evaluate whether your pieces look “straight.” The door frame, itself, is probably not perfectly straight, so be sure to assess angles and lines frequently…
In this photo you can see that there are still stickers on the surface of some of my pieces. Later, I will pick each piece up, clean it, and glue it back down.
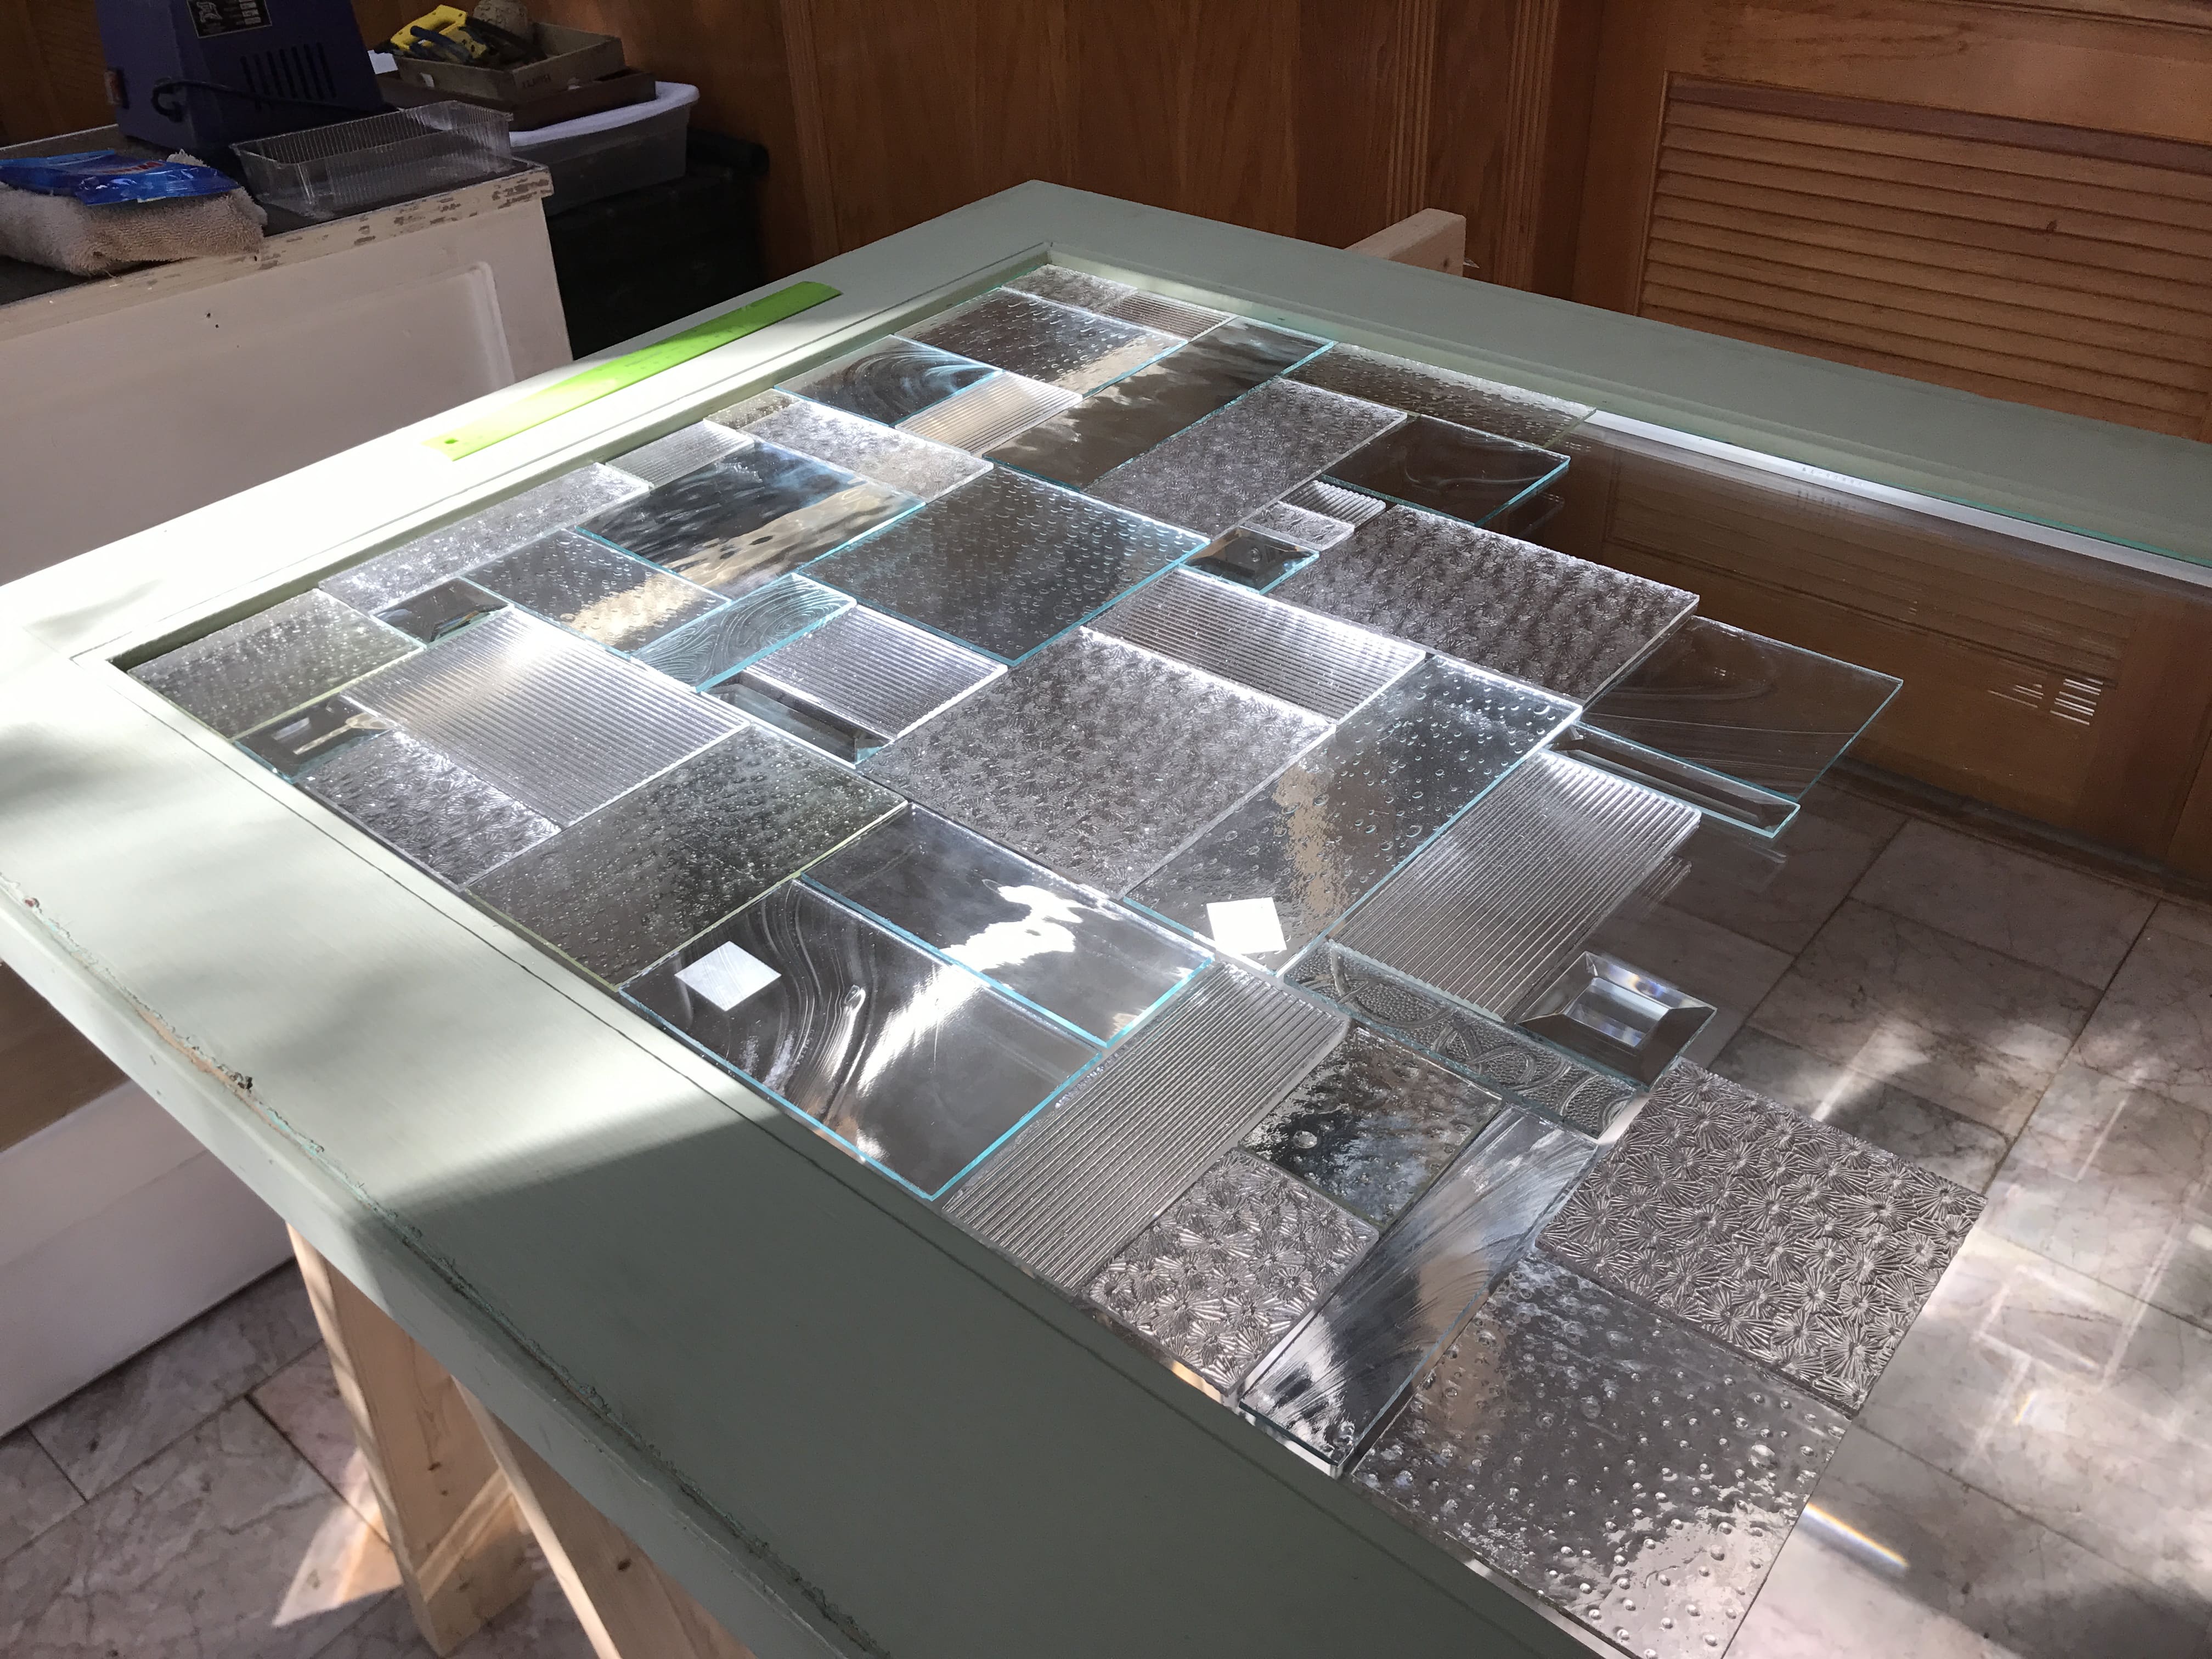
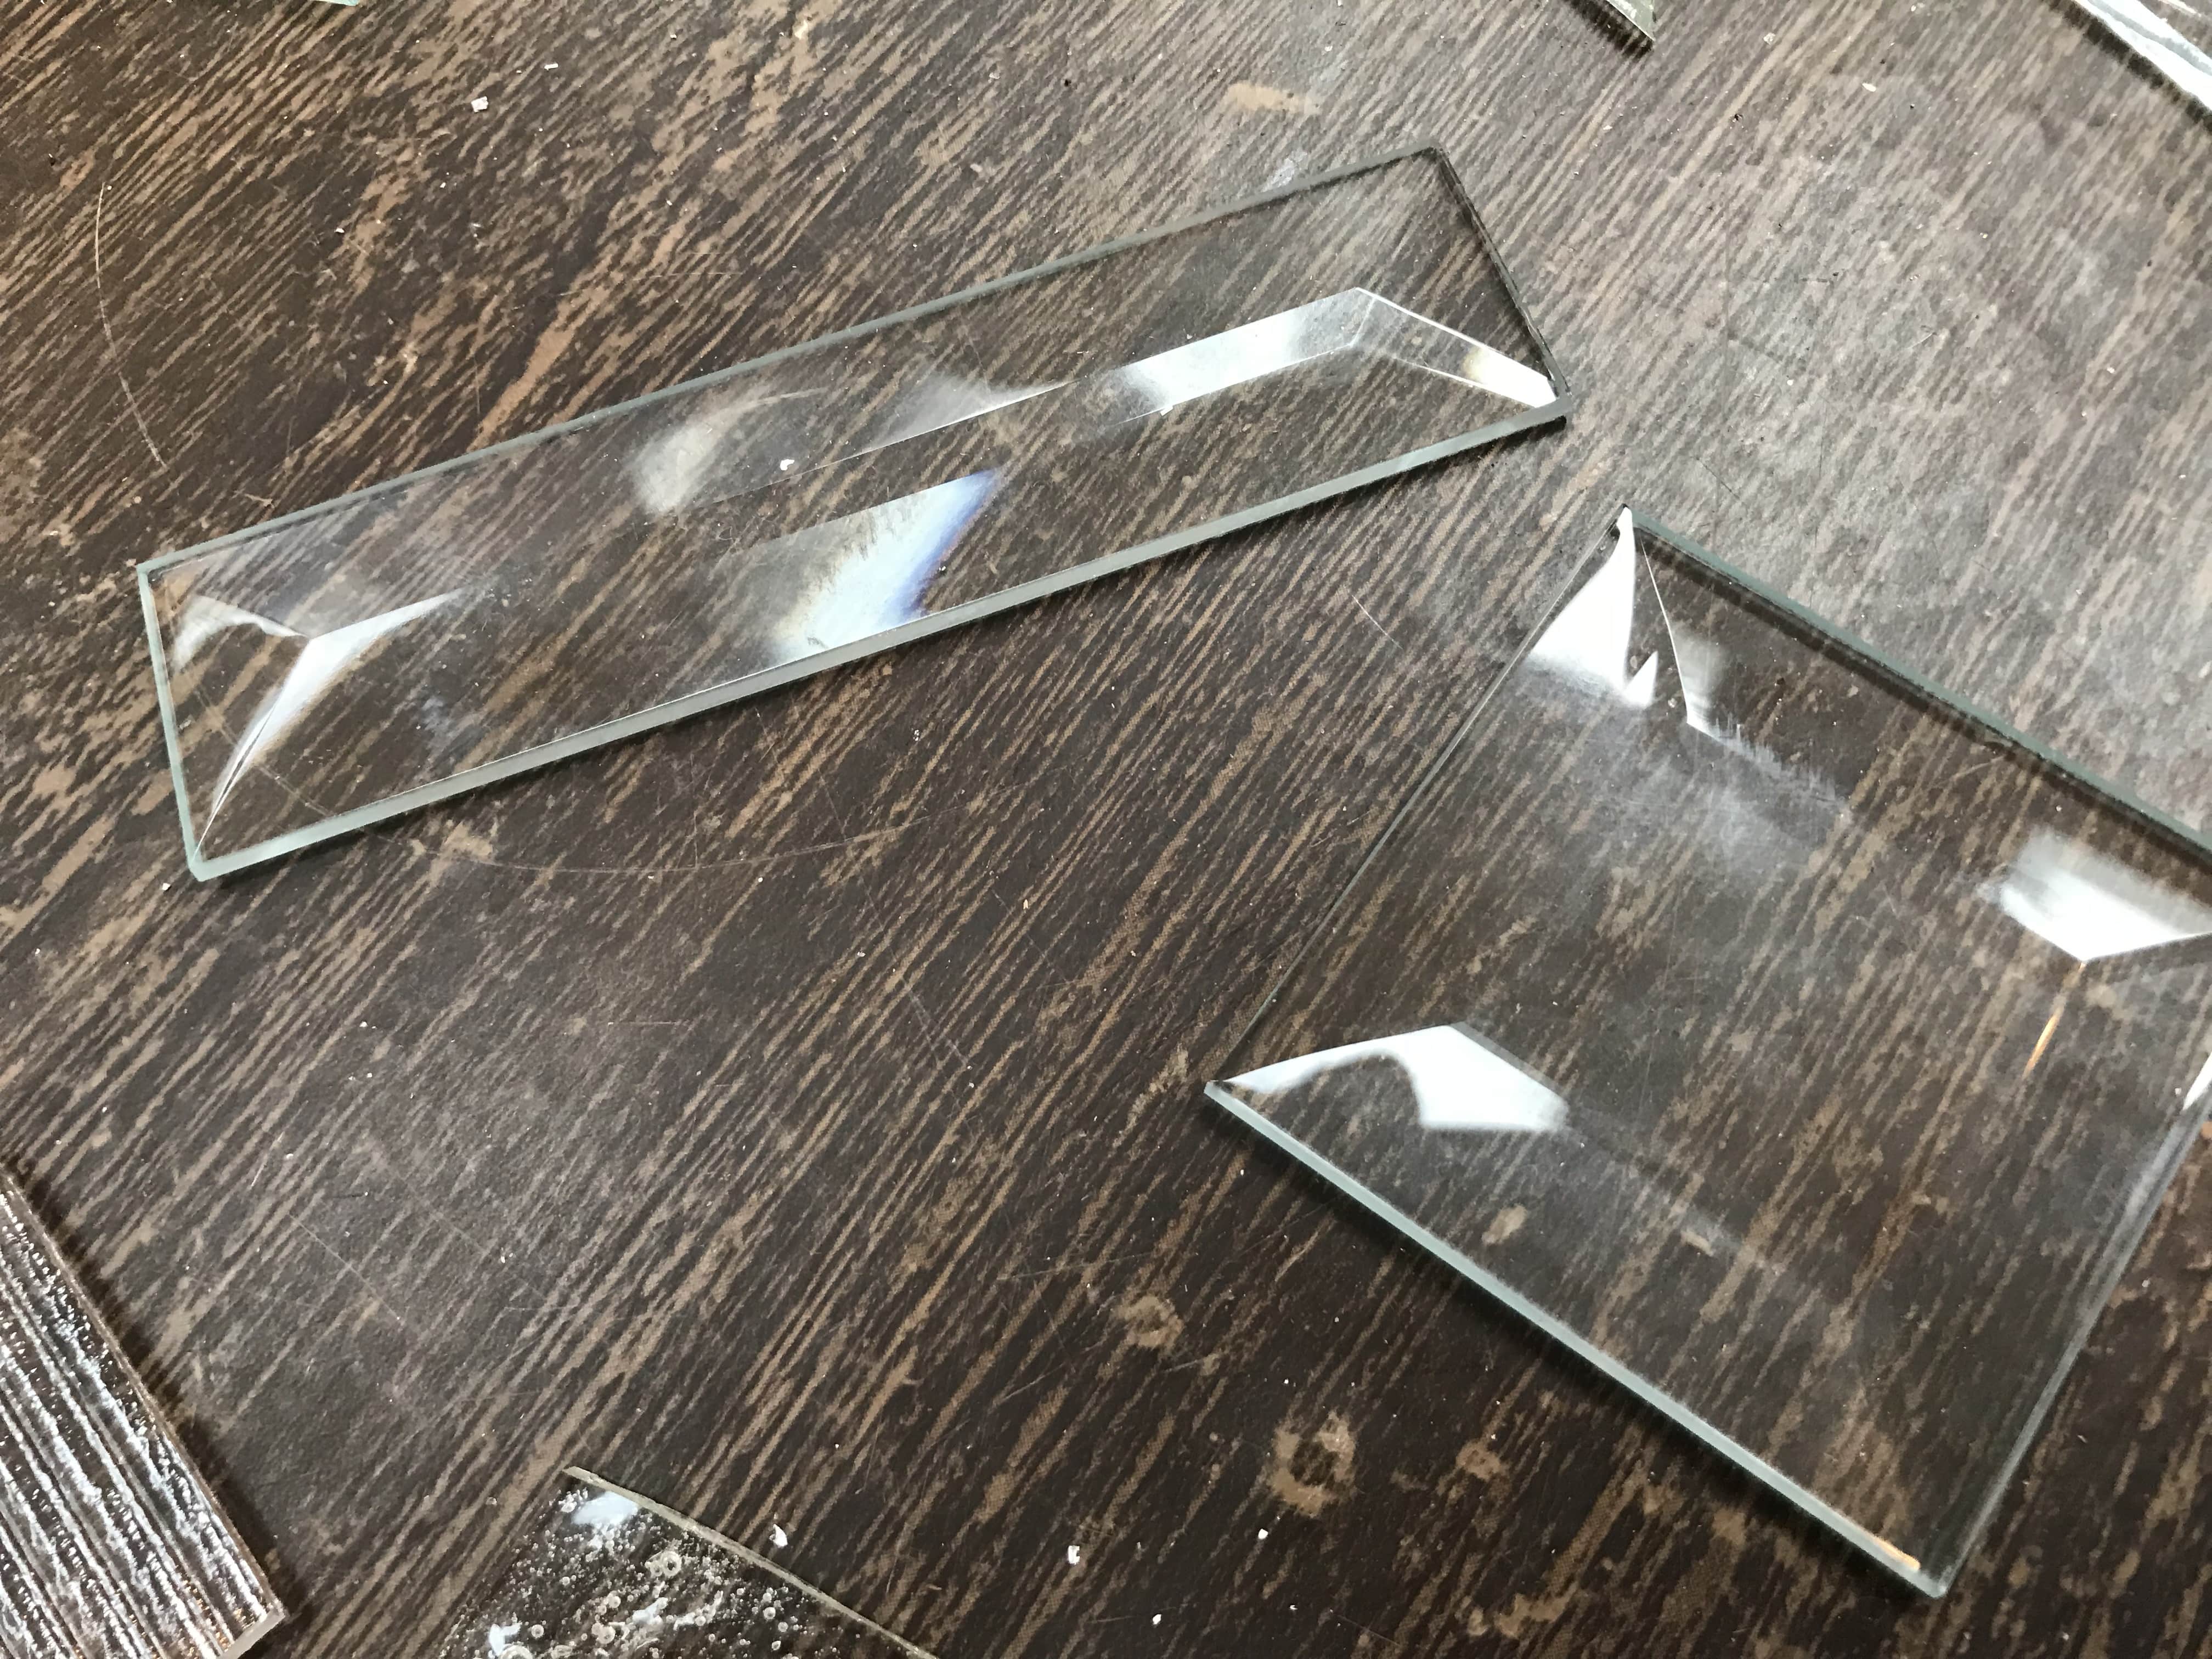
In addition to my custom-cut pieces, I like to supplement pre-cut beveled pieces as accents.
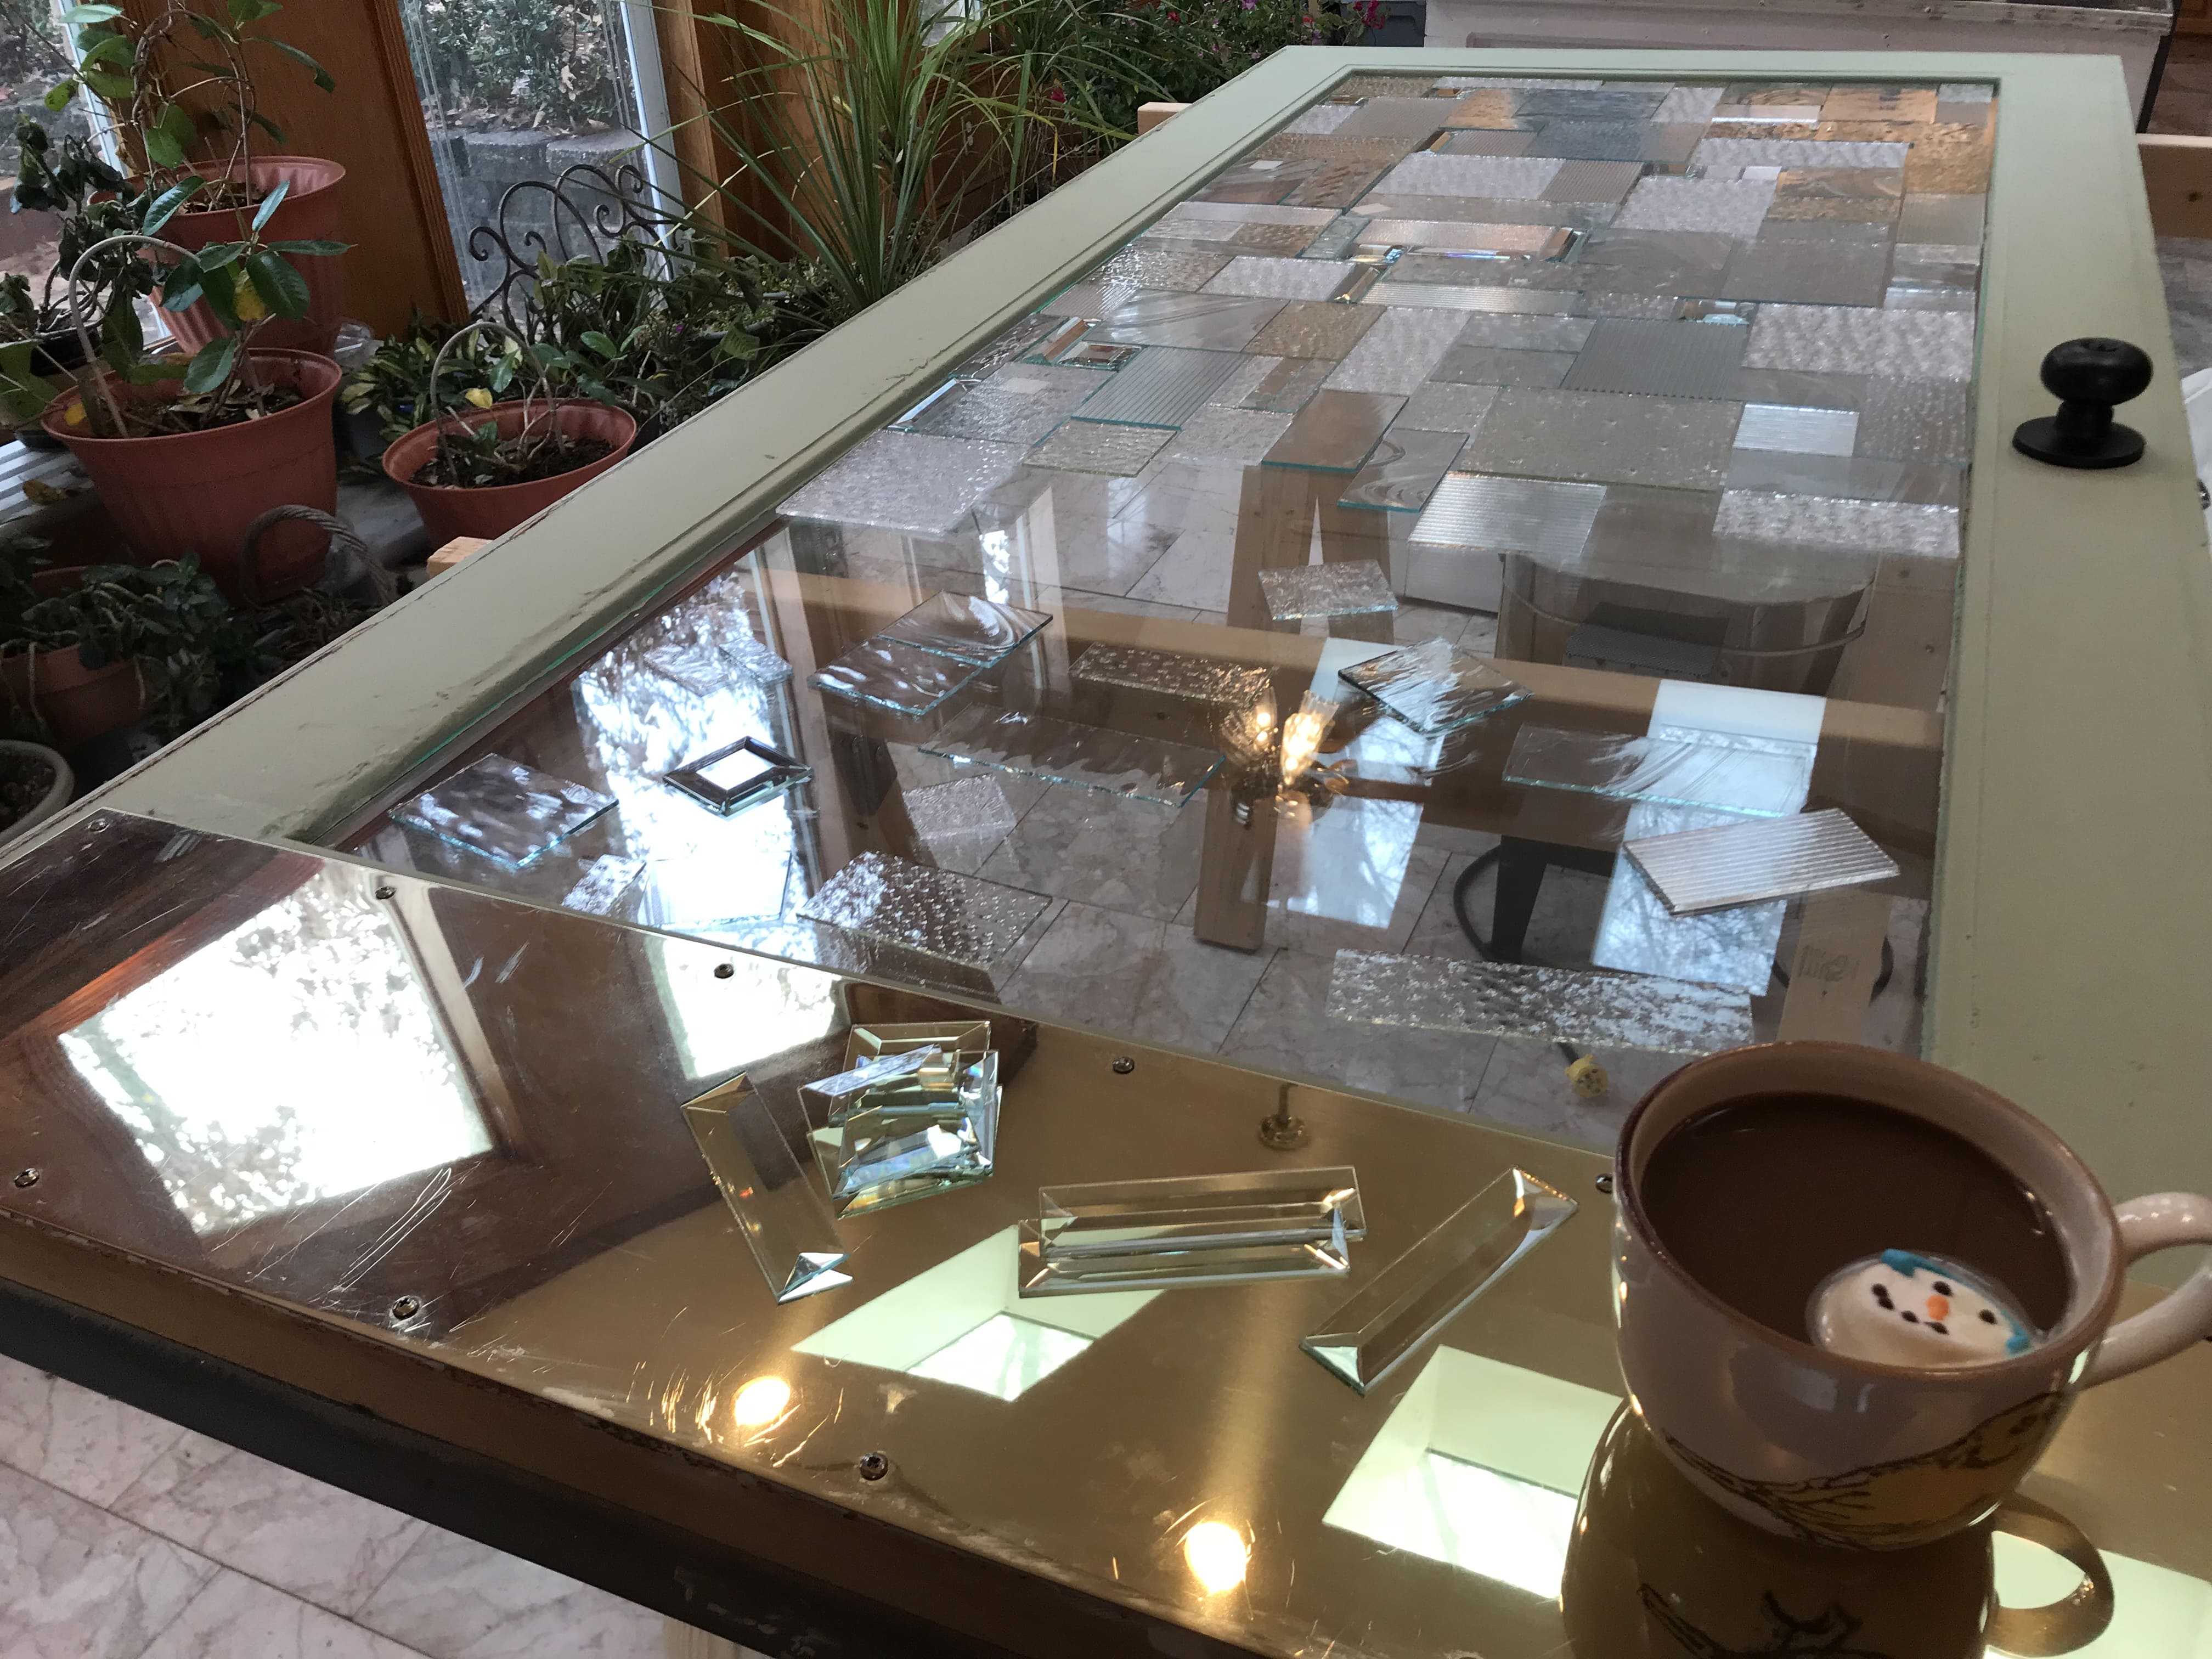
Once you’ve filled your base with you “puzzle pieces,” and you have the pieces where you want them, let the gluing begin!
First, remember that with each piece you are going to make sure the base and inside surface of the piece is clean.
Because glue dries quickly, and it is stringy and uncooperative, gluing is un-nerving. No way around it.
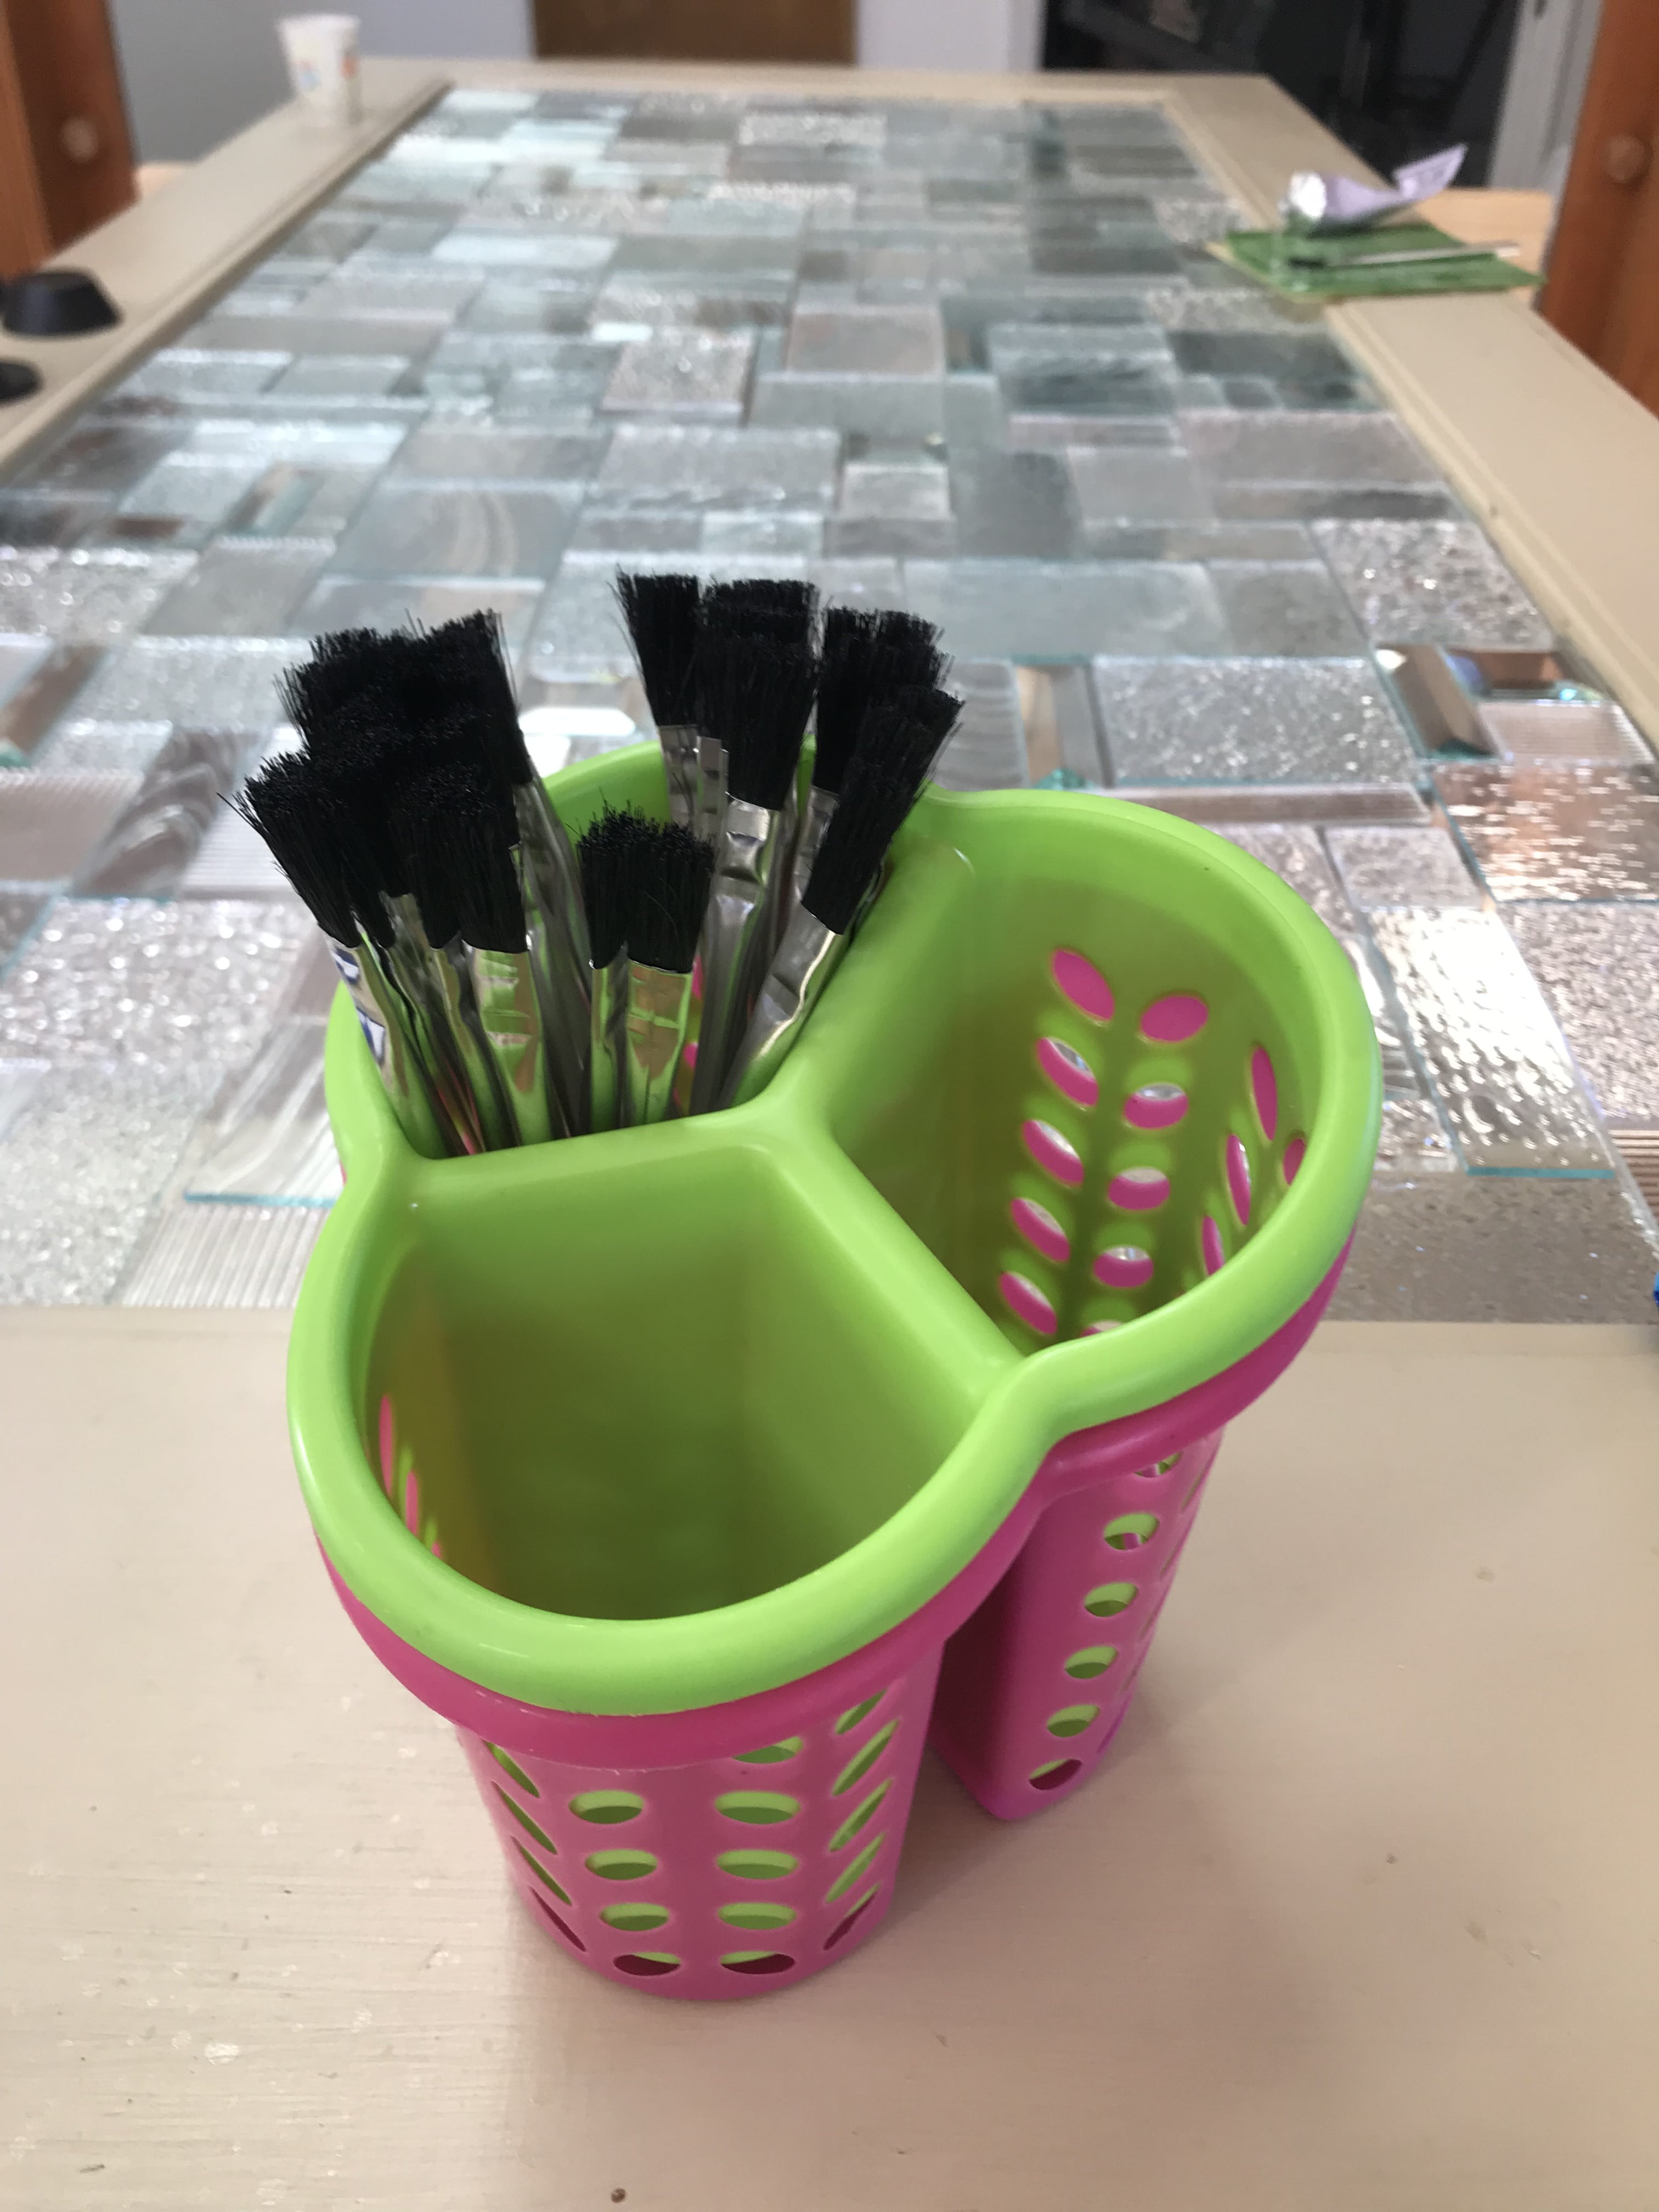
I squeeze glue (not too much!) on the inside center surface of the piece, then I use these little brushes to spread it around and out to the edges in a fairly smooth manner. Don’t get so much glue around the edge that it oozes out when you affix the piece to the base.
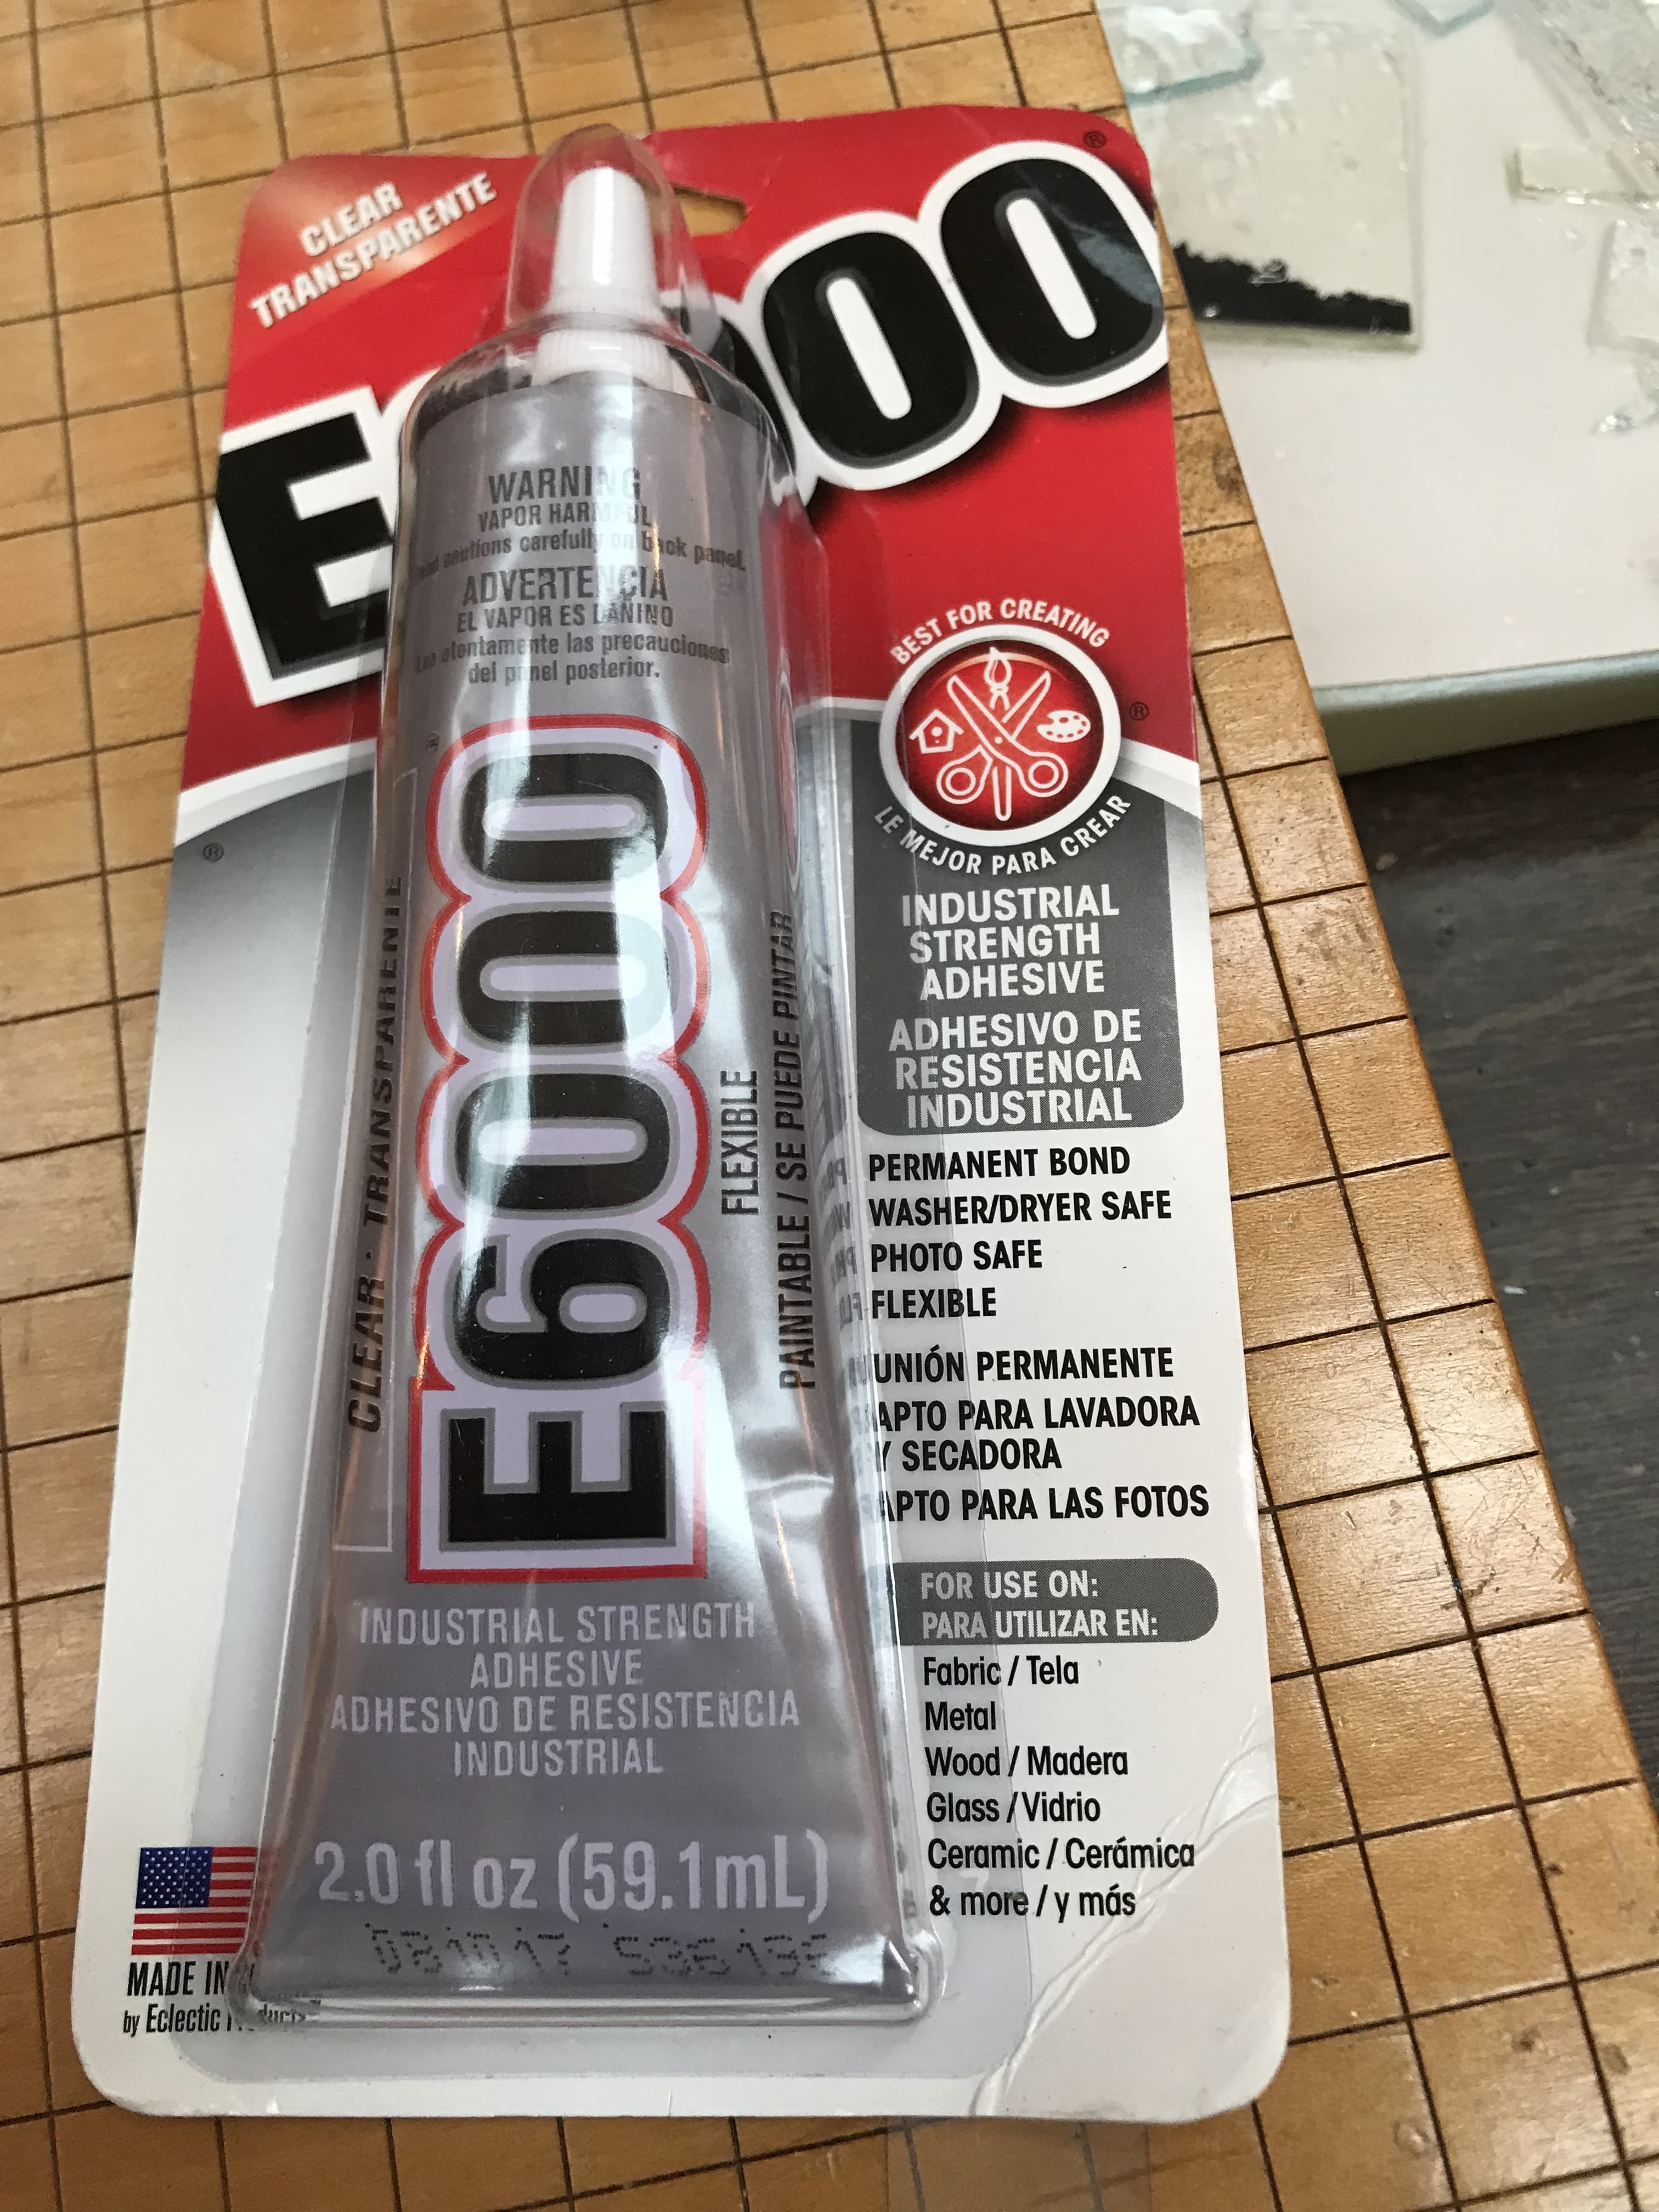
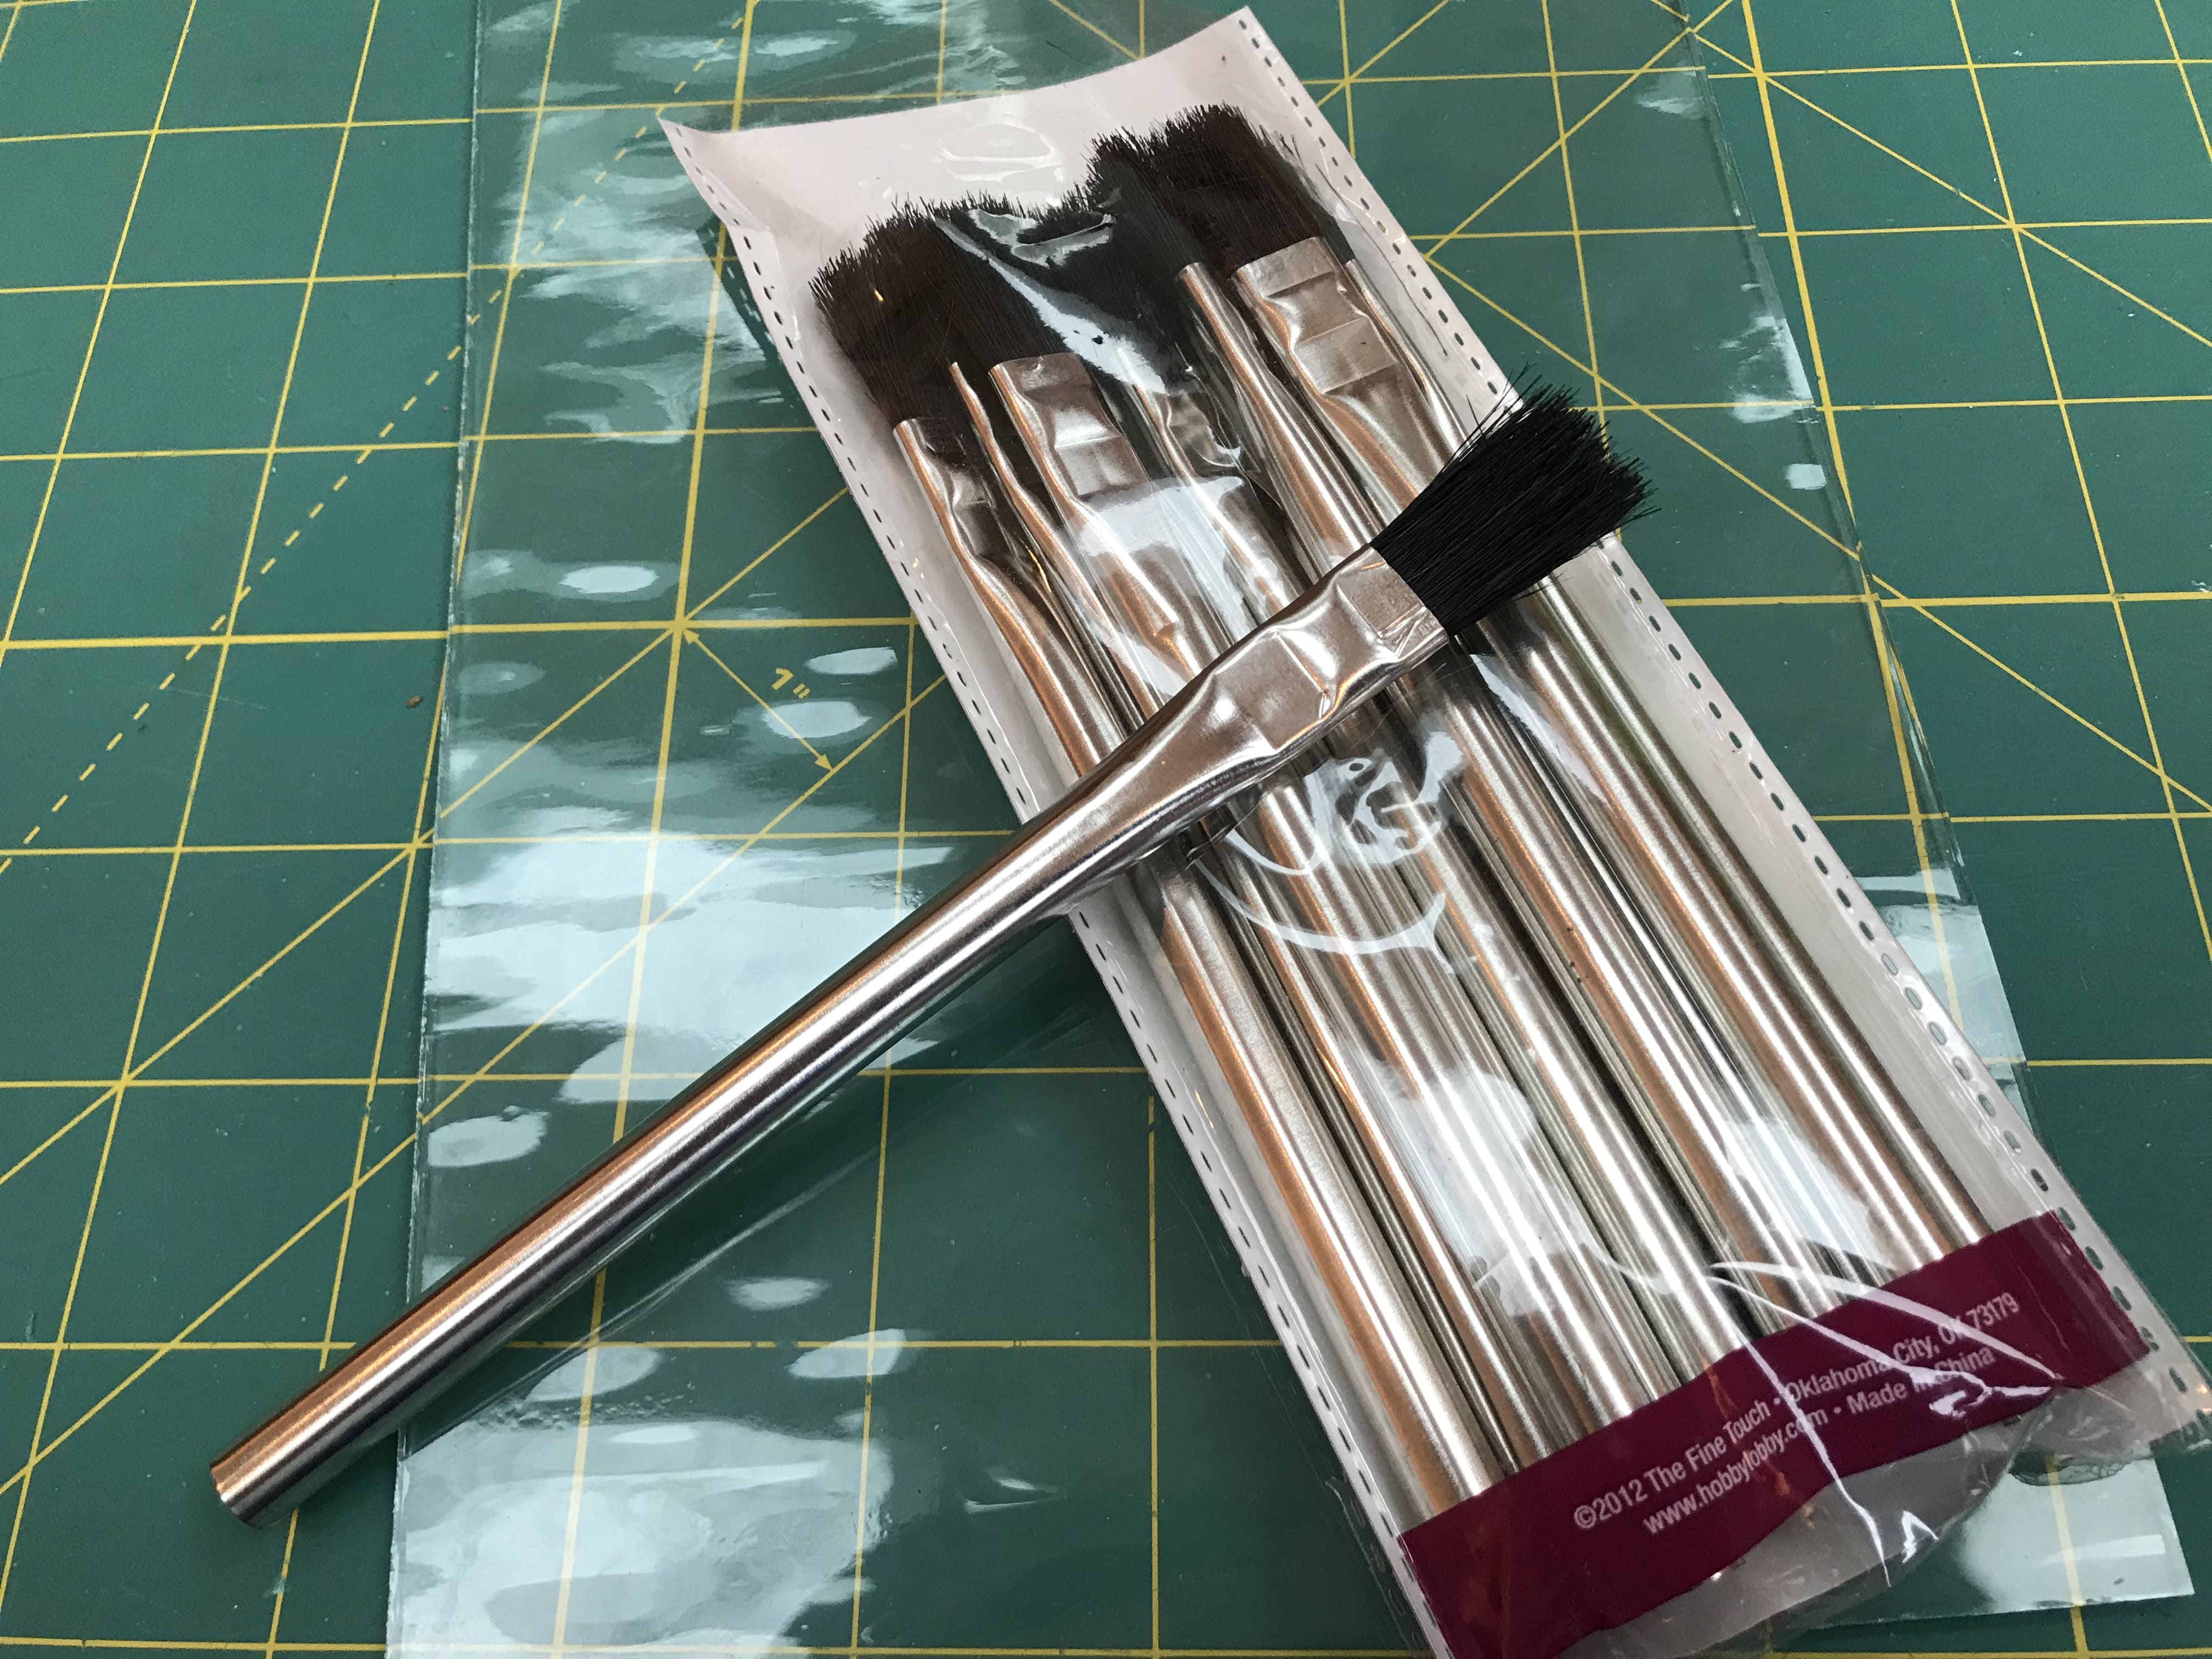
This glue has a very strong vapor, and the package instructions advise the use of a face mask as breathing the fumes may be hazardous.

You will find that you have to work fast, or the glue will dry on you. Don’t worry, you’ll get the hang of it with a little practice. Don’t freak out that you can see the glue. It will dry to mostly clear. Try not to panic. It will be okay. (I have yet to find a glue that completey lives up to it “dries clear” promise).
When gluing, the tube of glue will try to ooze out when you put it down. I made a palette from a scrap piece of glass to hold my tube and catch the drips. It also serves as a place to rest my sticky brush in between pieces.
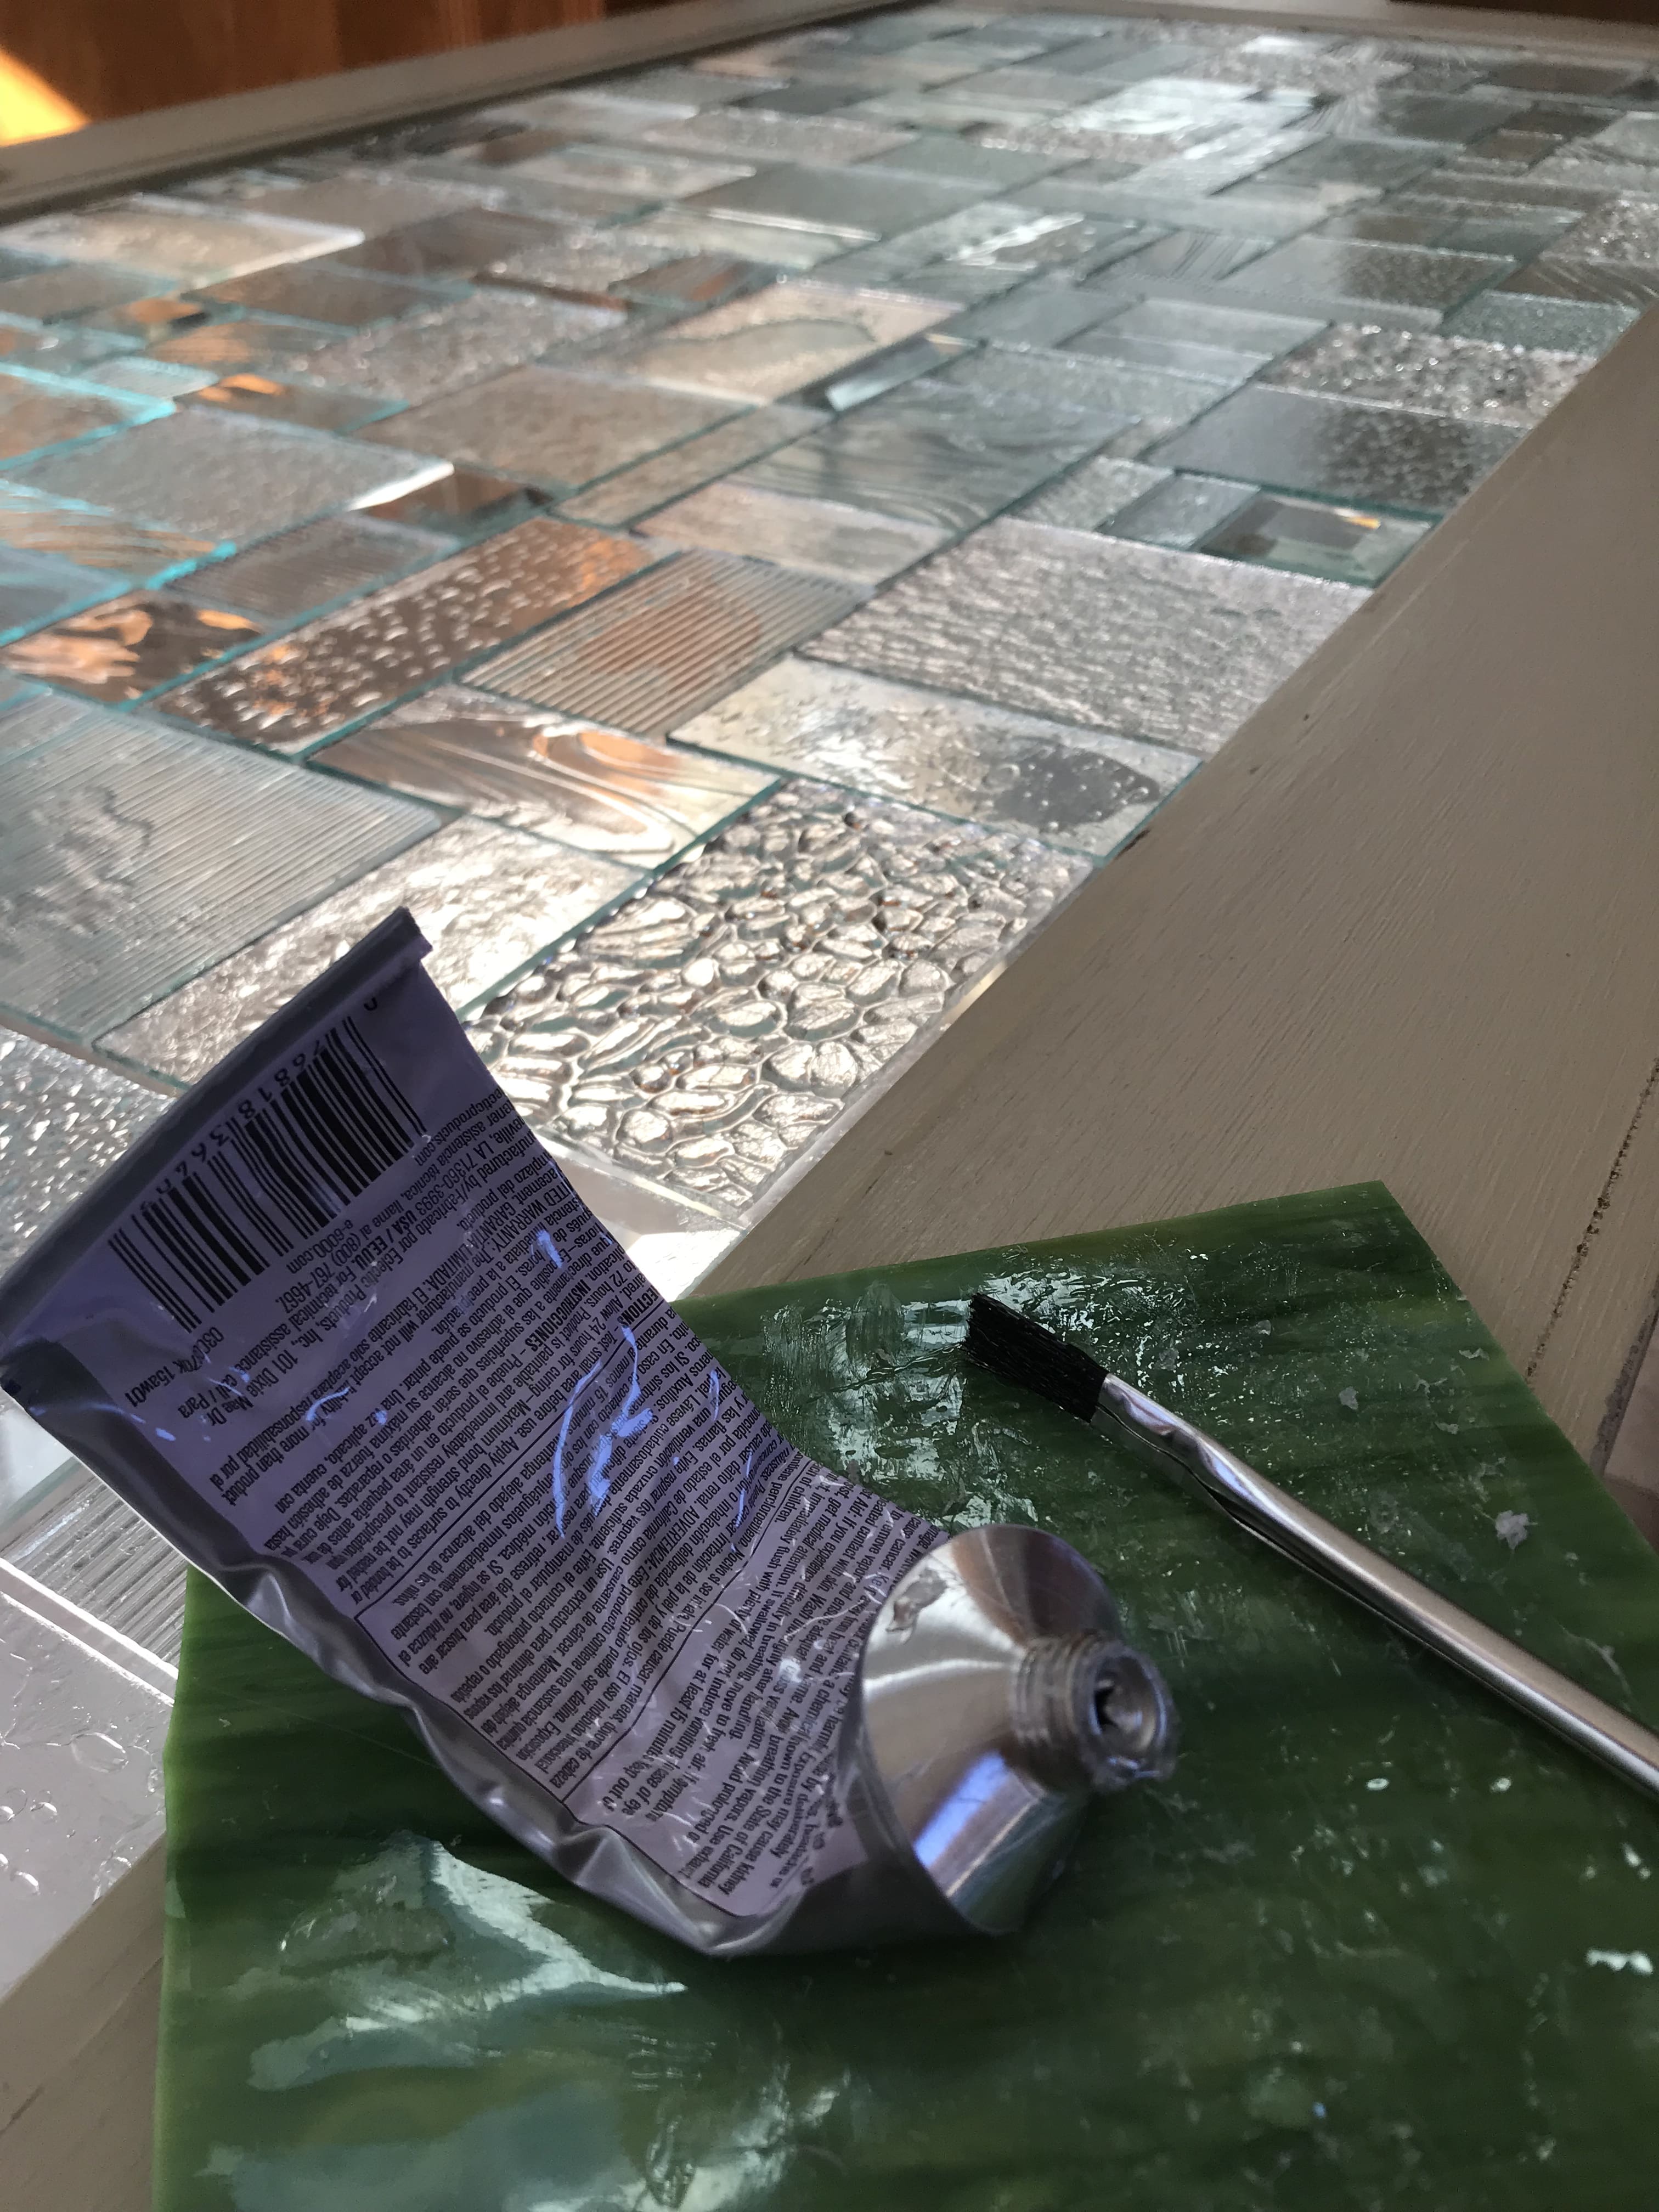
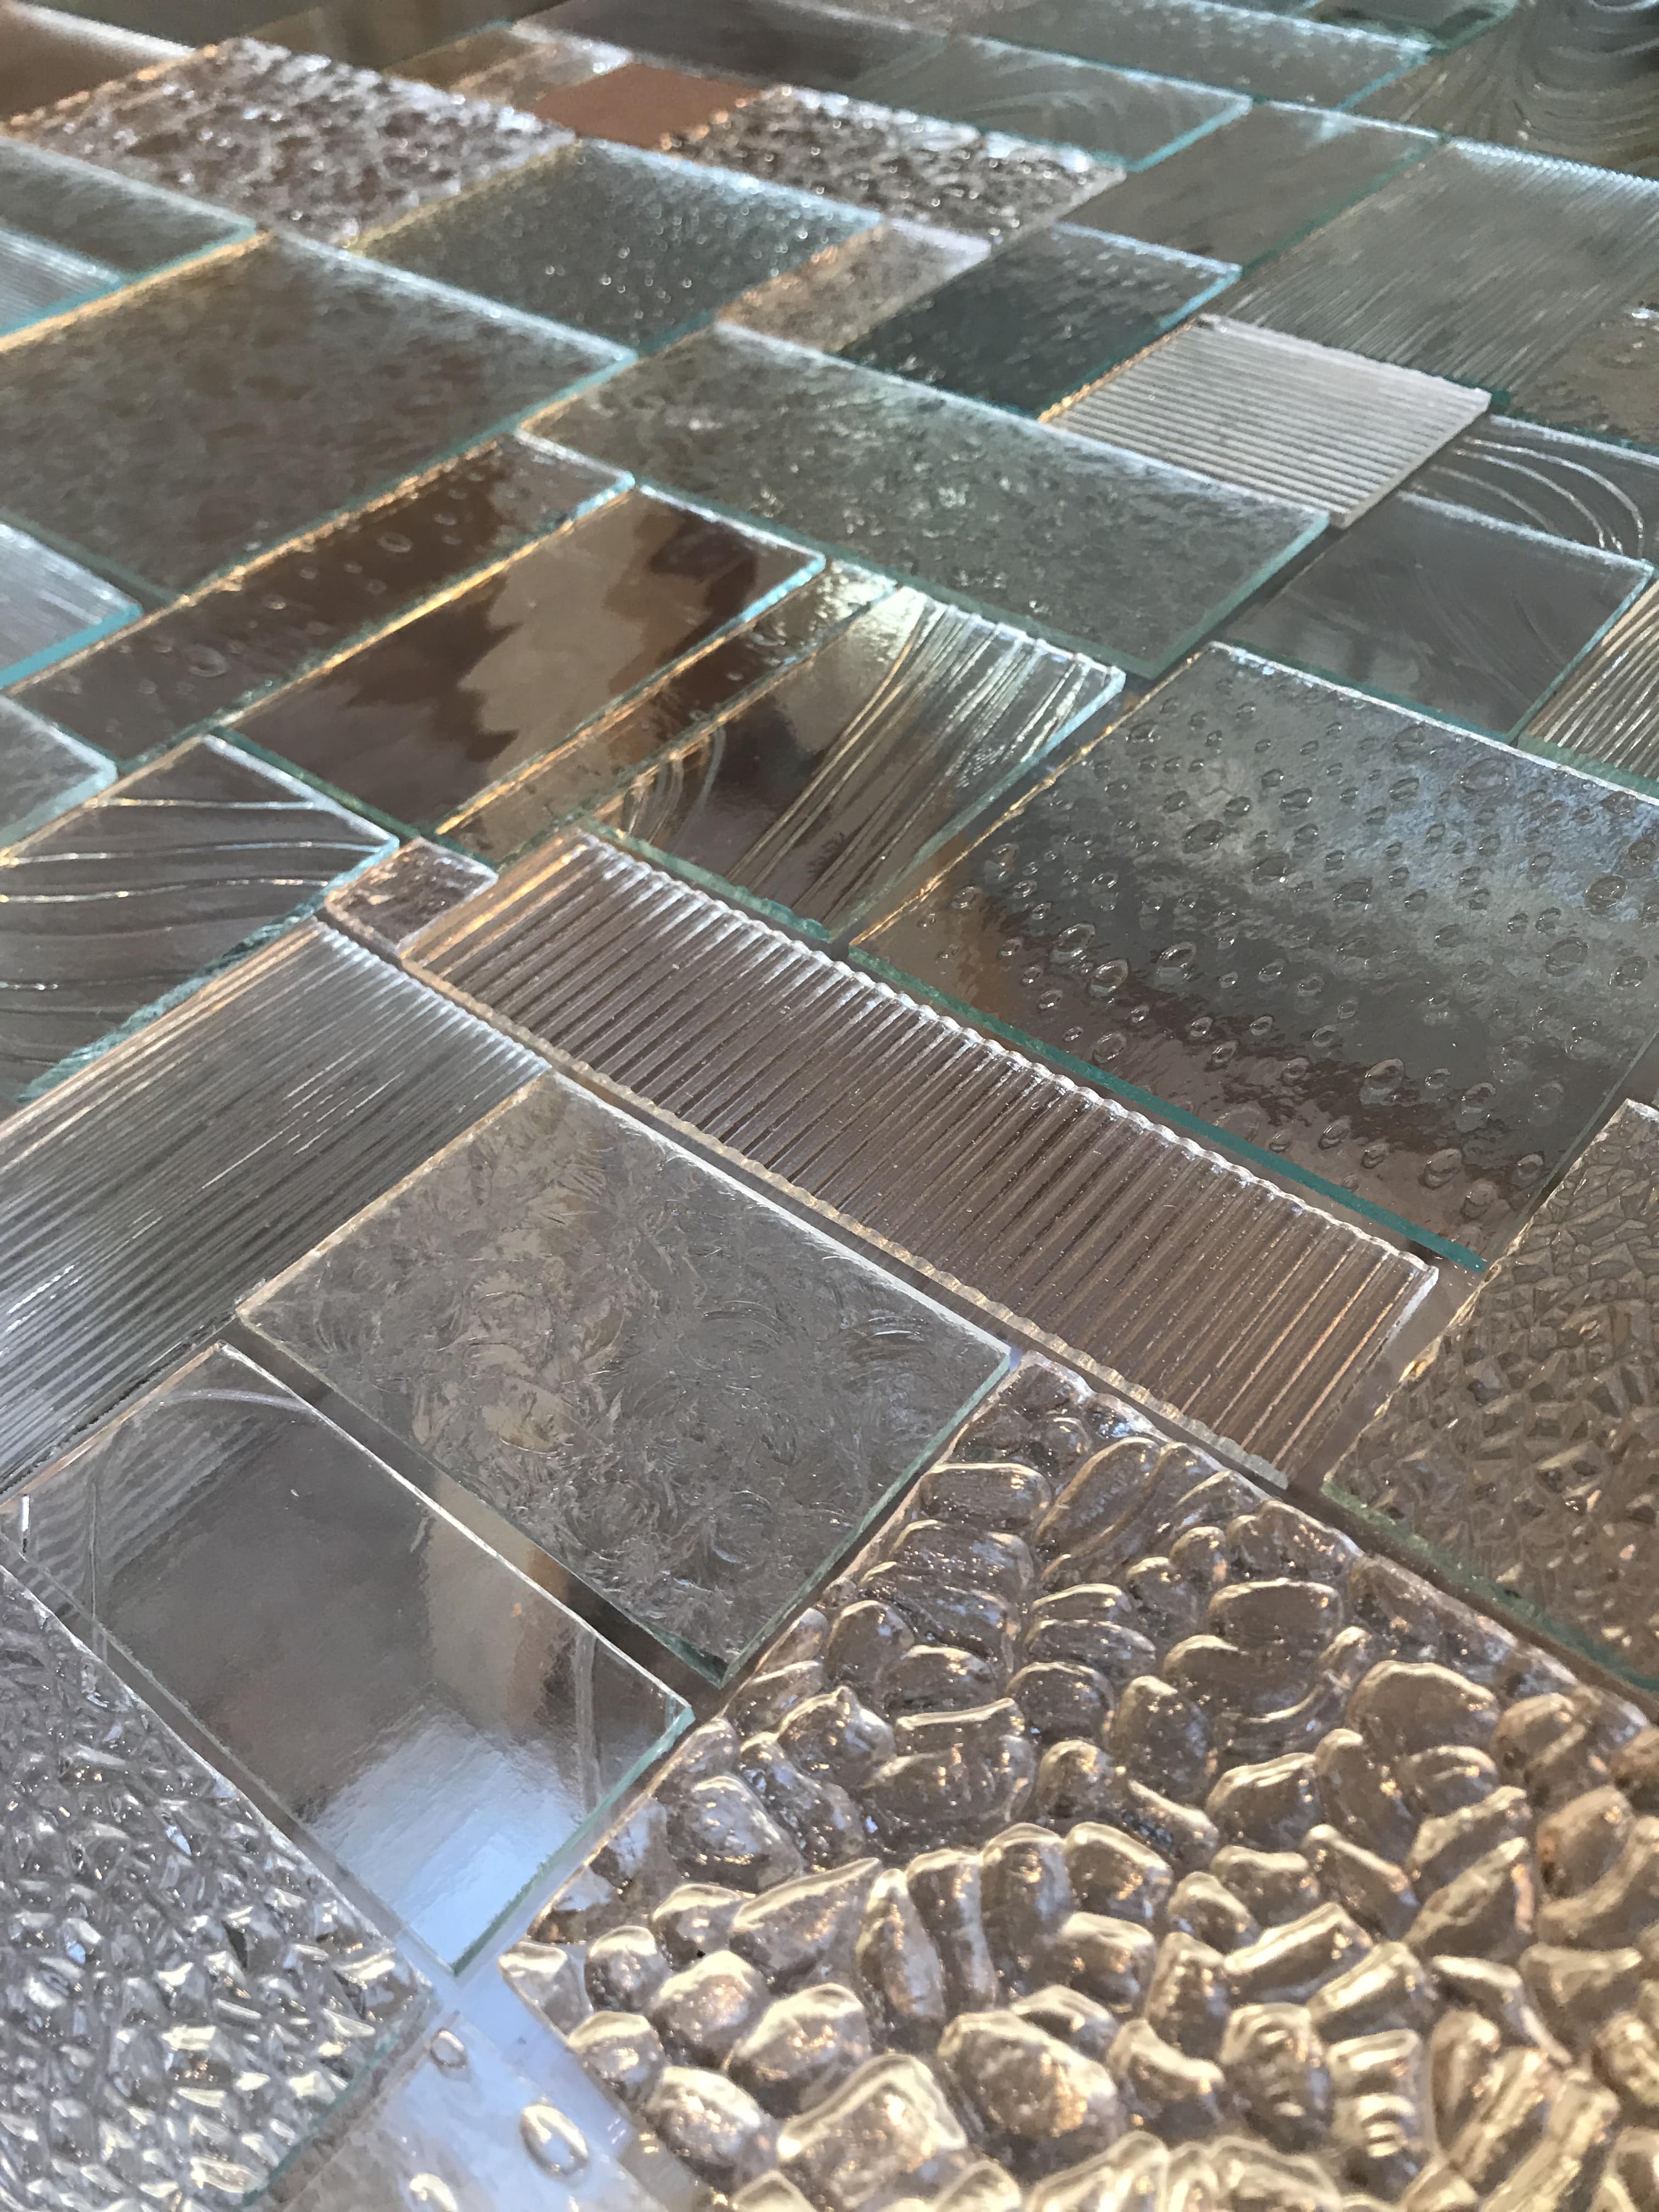
Also, your glass will likely have a smooth side and a bumpy side. Make sure you apply the glue to the smooth side and let the bumpy side face up! Make sure you do this with each piece! I have accidentally applied the glue to the bumpy side many times and had to toss that piece and cut another one! Uuuggg!
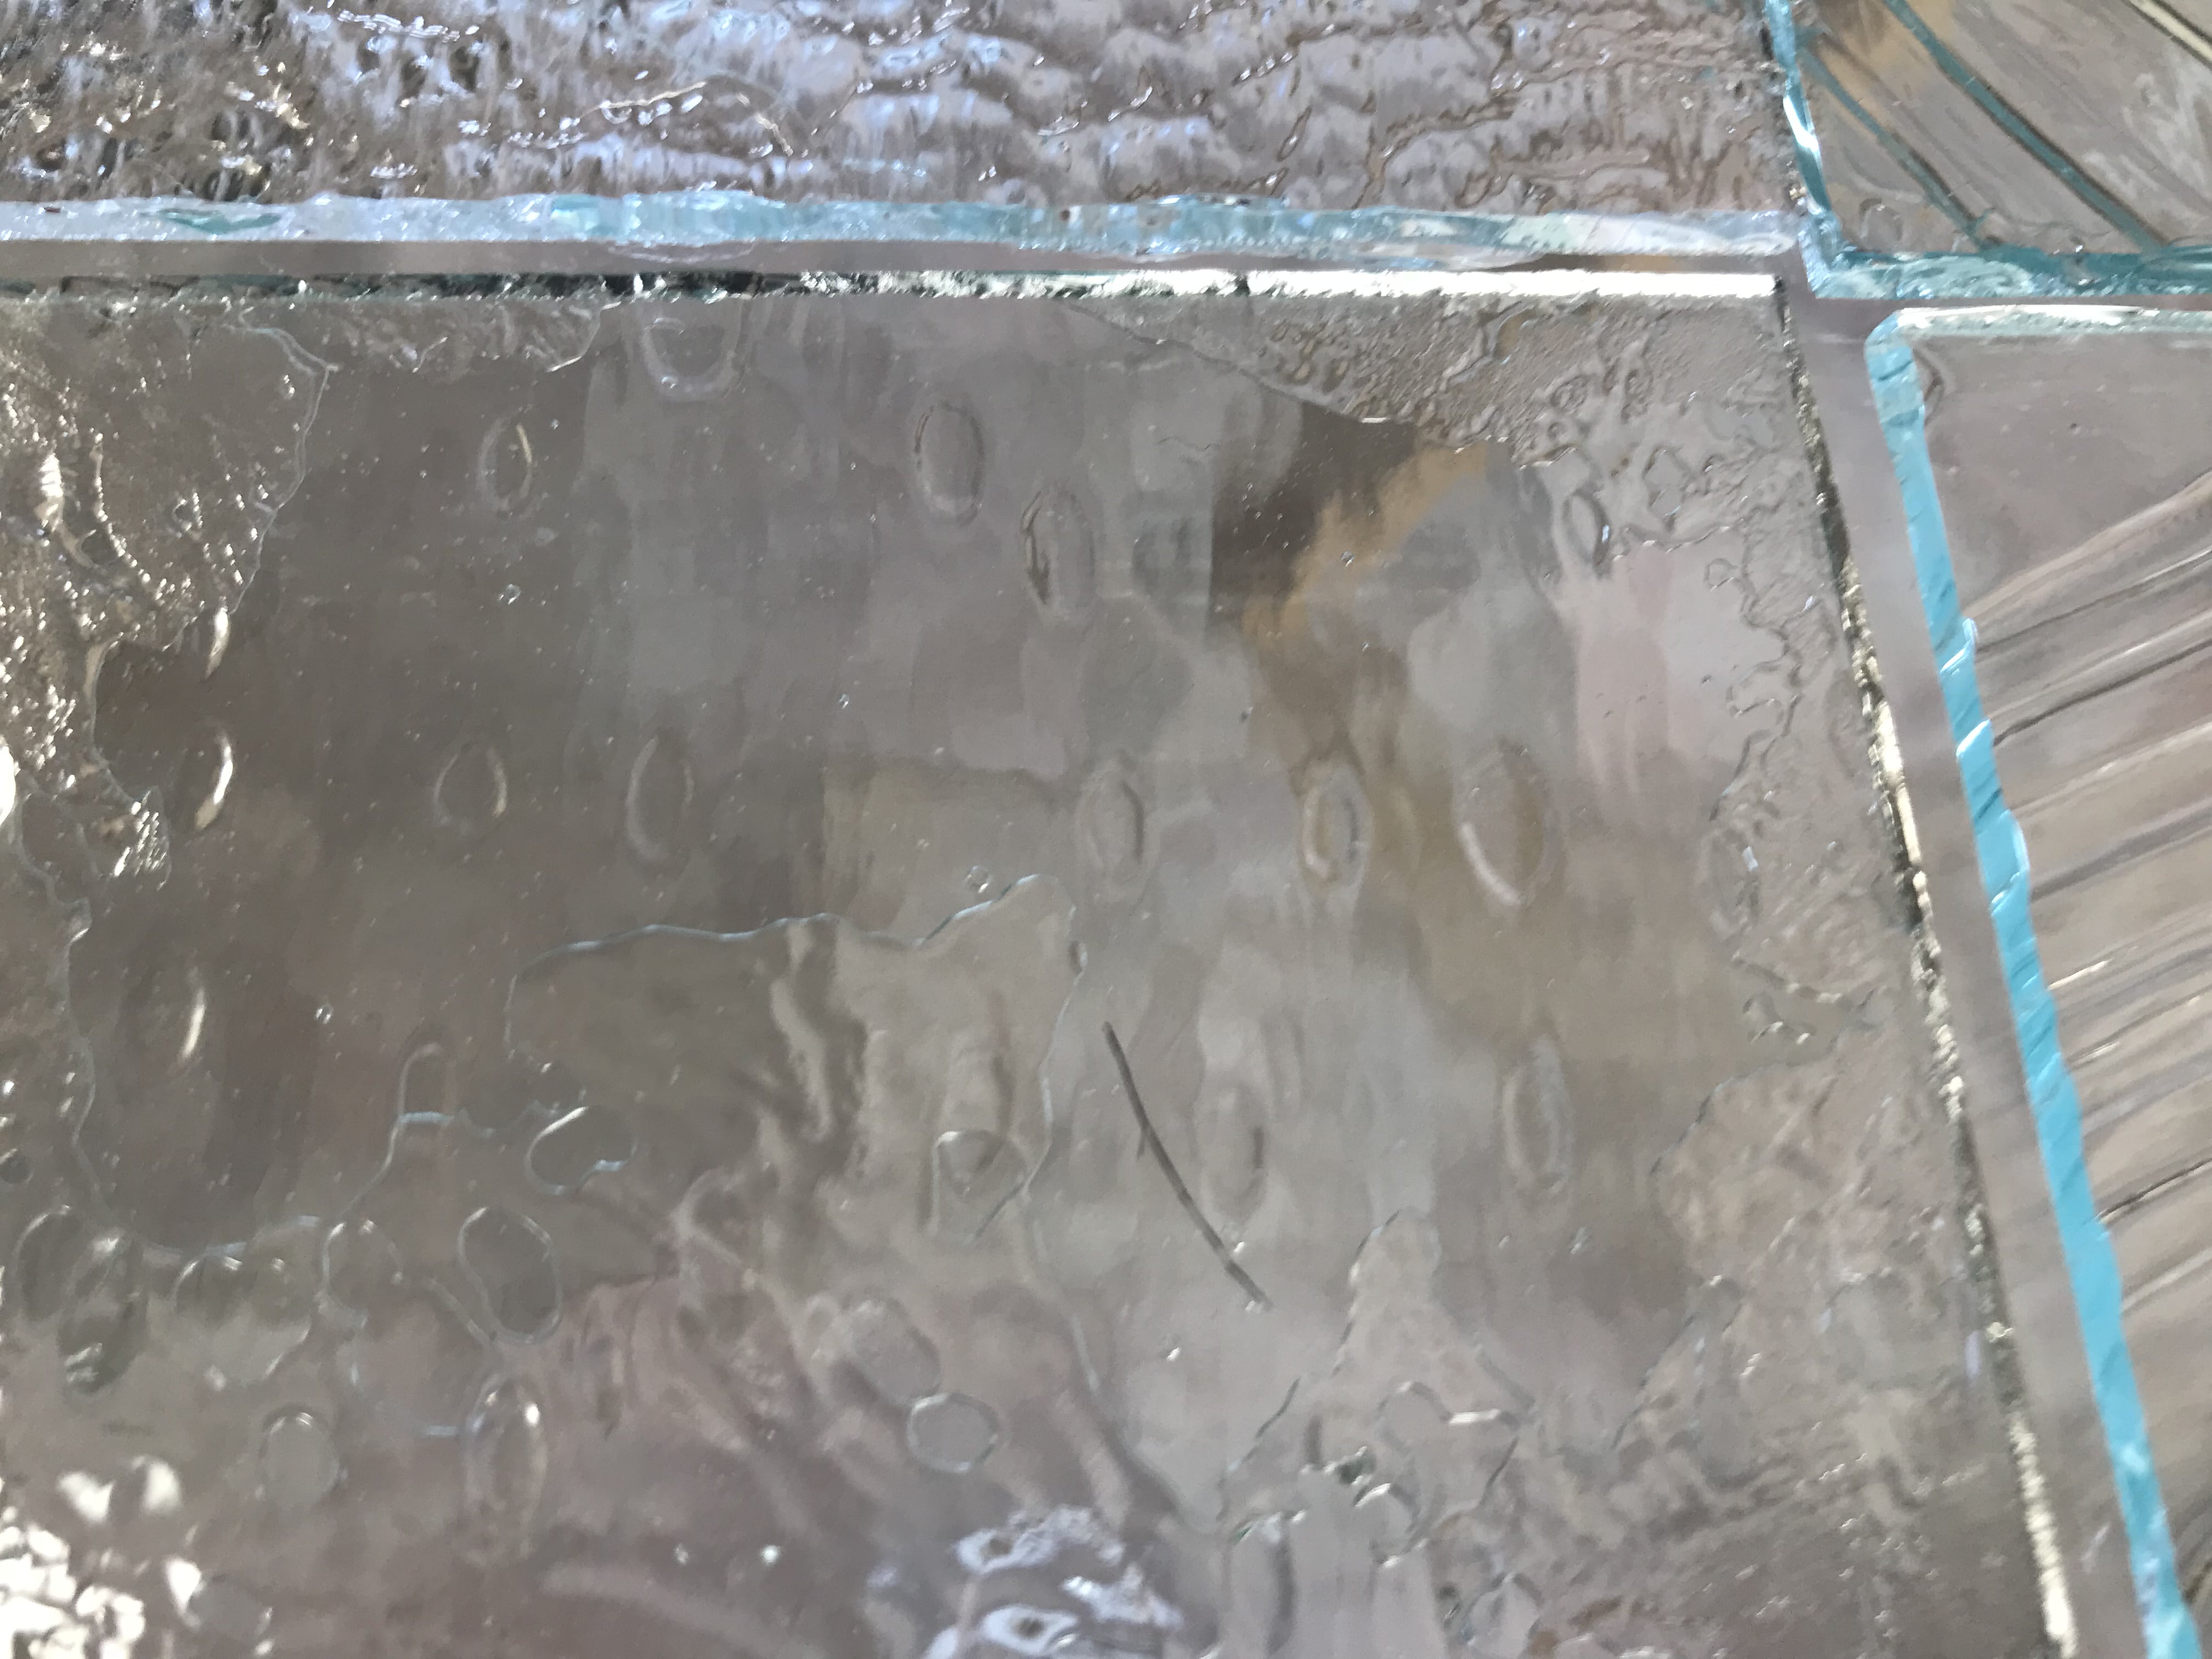
In addition to the application of glue being un-nerving, the brushes lose their hairs (can’t be avoided). You don’t want stray brush hairs making their way onto the project! Watch for these stray brush hairs and remove them before gluing your piece to the base! (Here’s where I missed one and glued it down with my piece…)
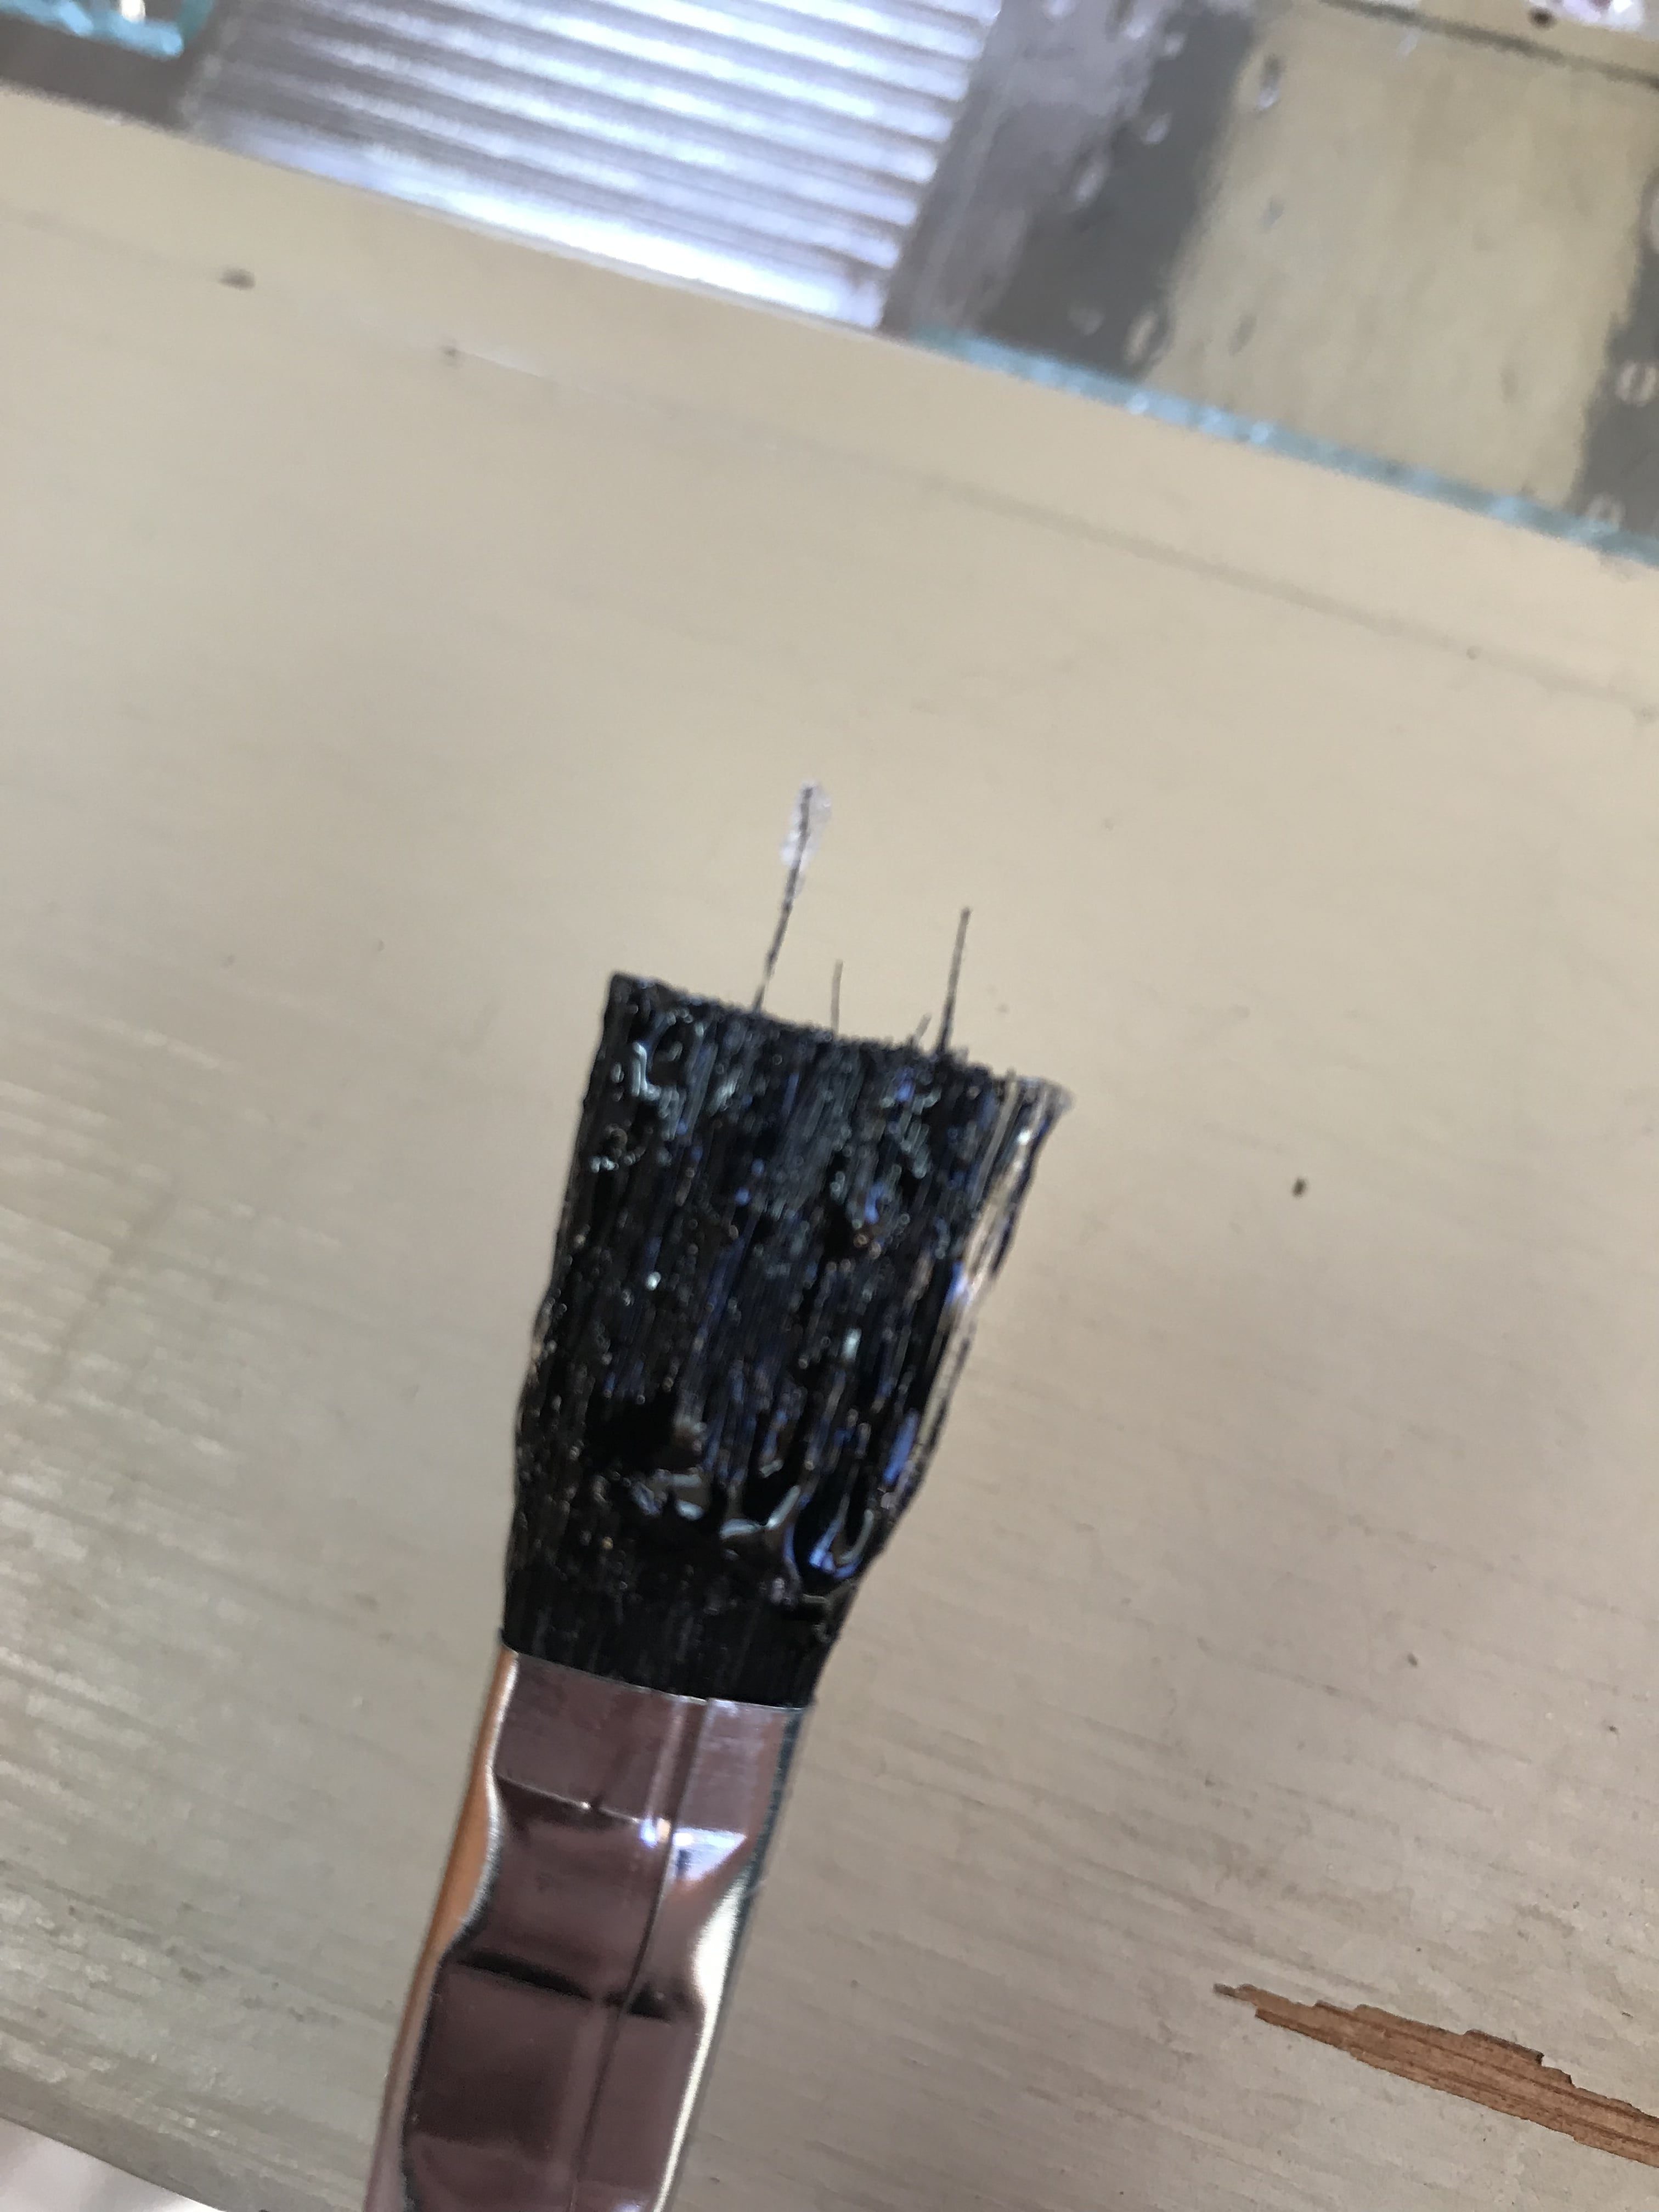
So, when the brush begins to fall apart, toss it and grab a new one. I keep them in a handy bin within reach.
Be sure and utilize your scraps for fill-in pieces! Shape them up and put them on your masterpiece! Little pieces will not only fill in gaps but will add interest to the final product!
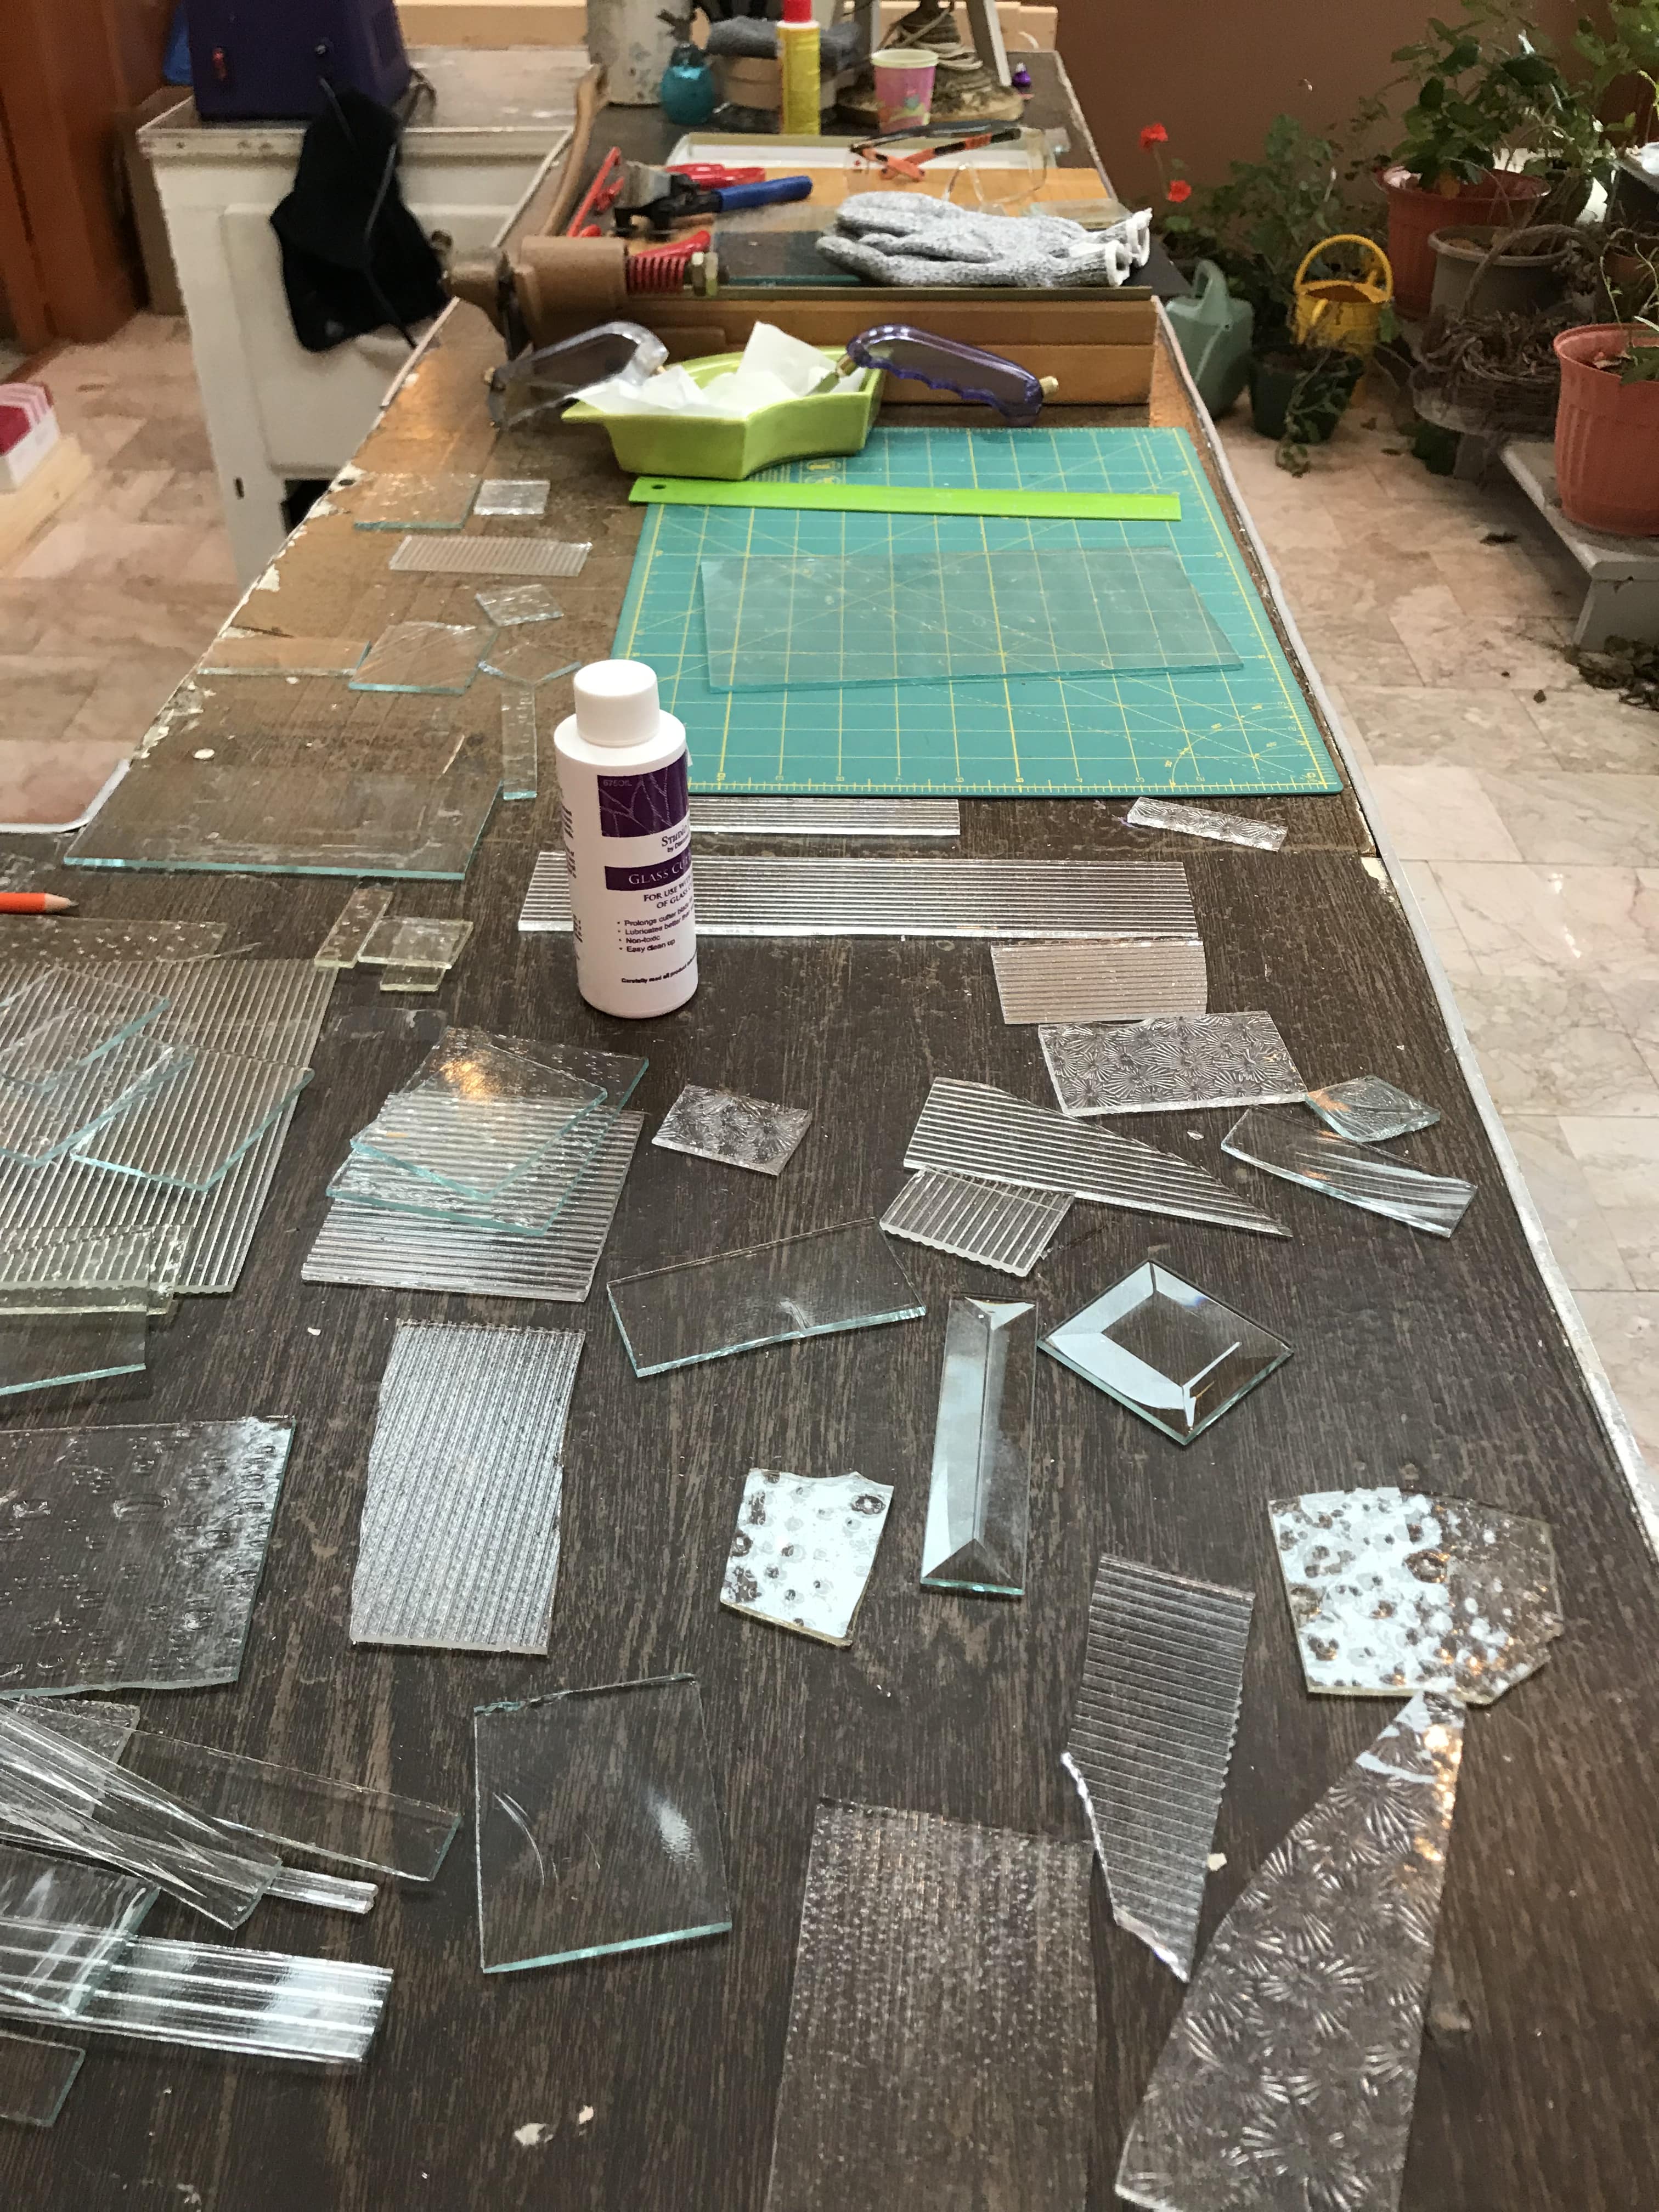
My Craft Studio in Action!
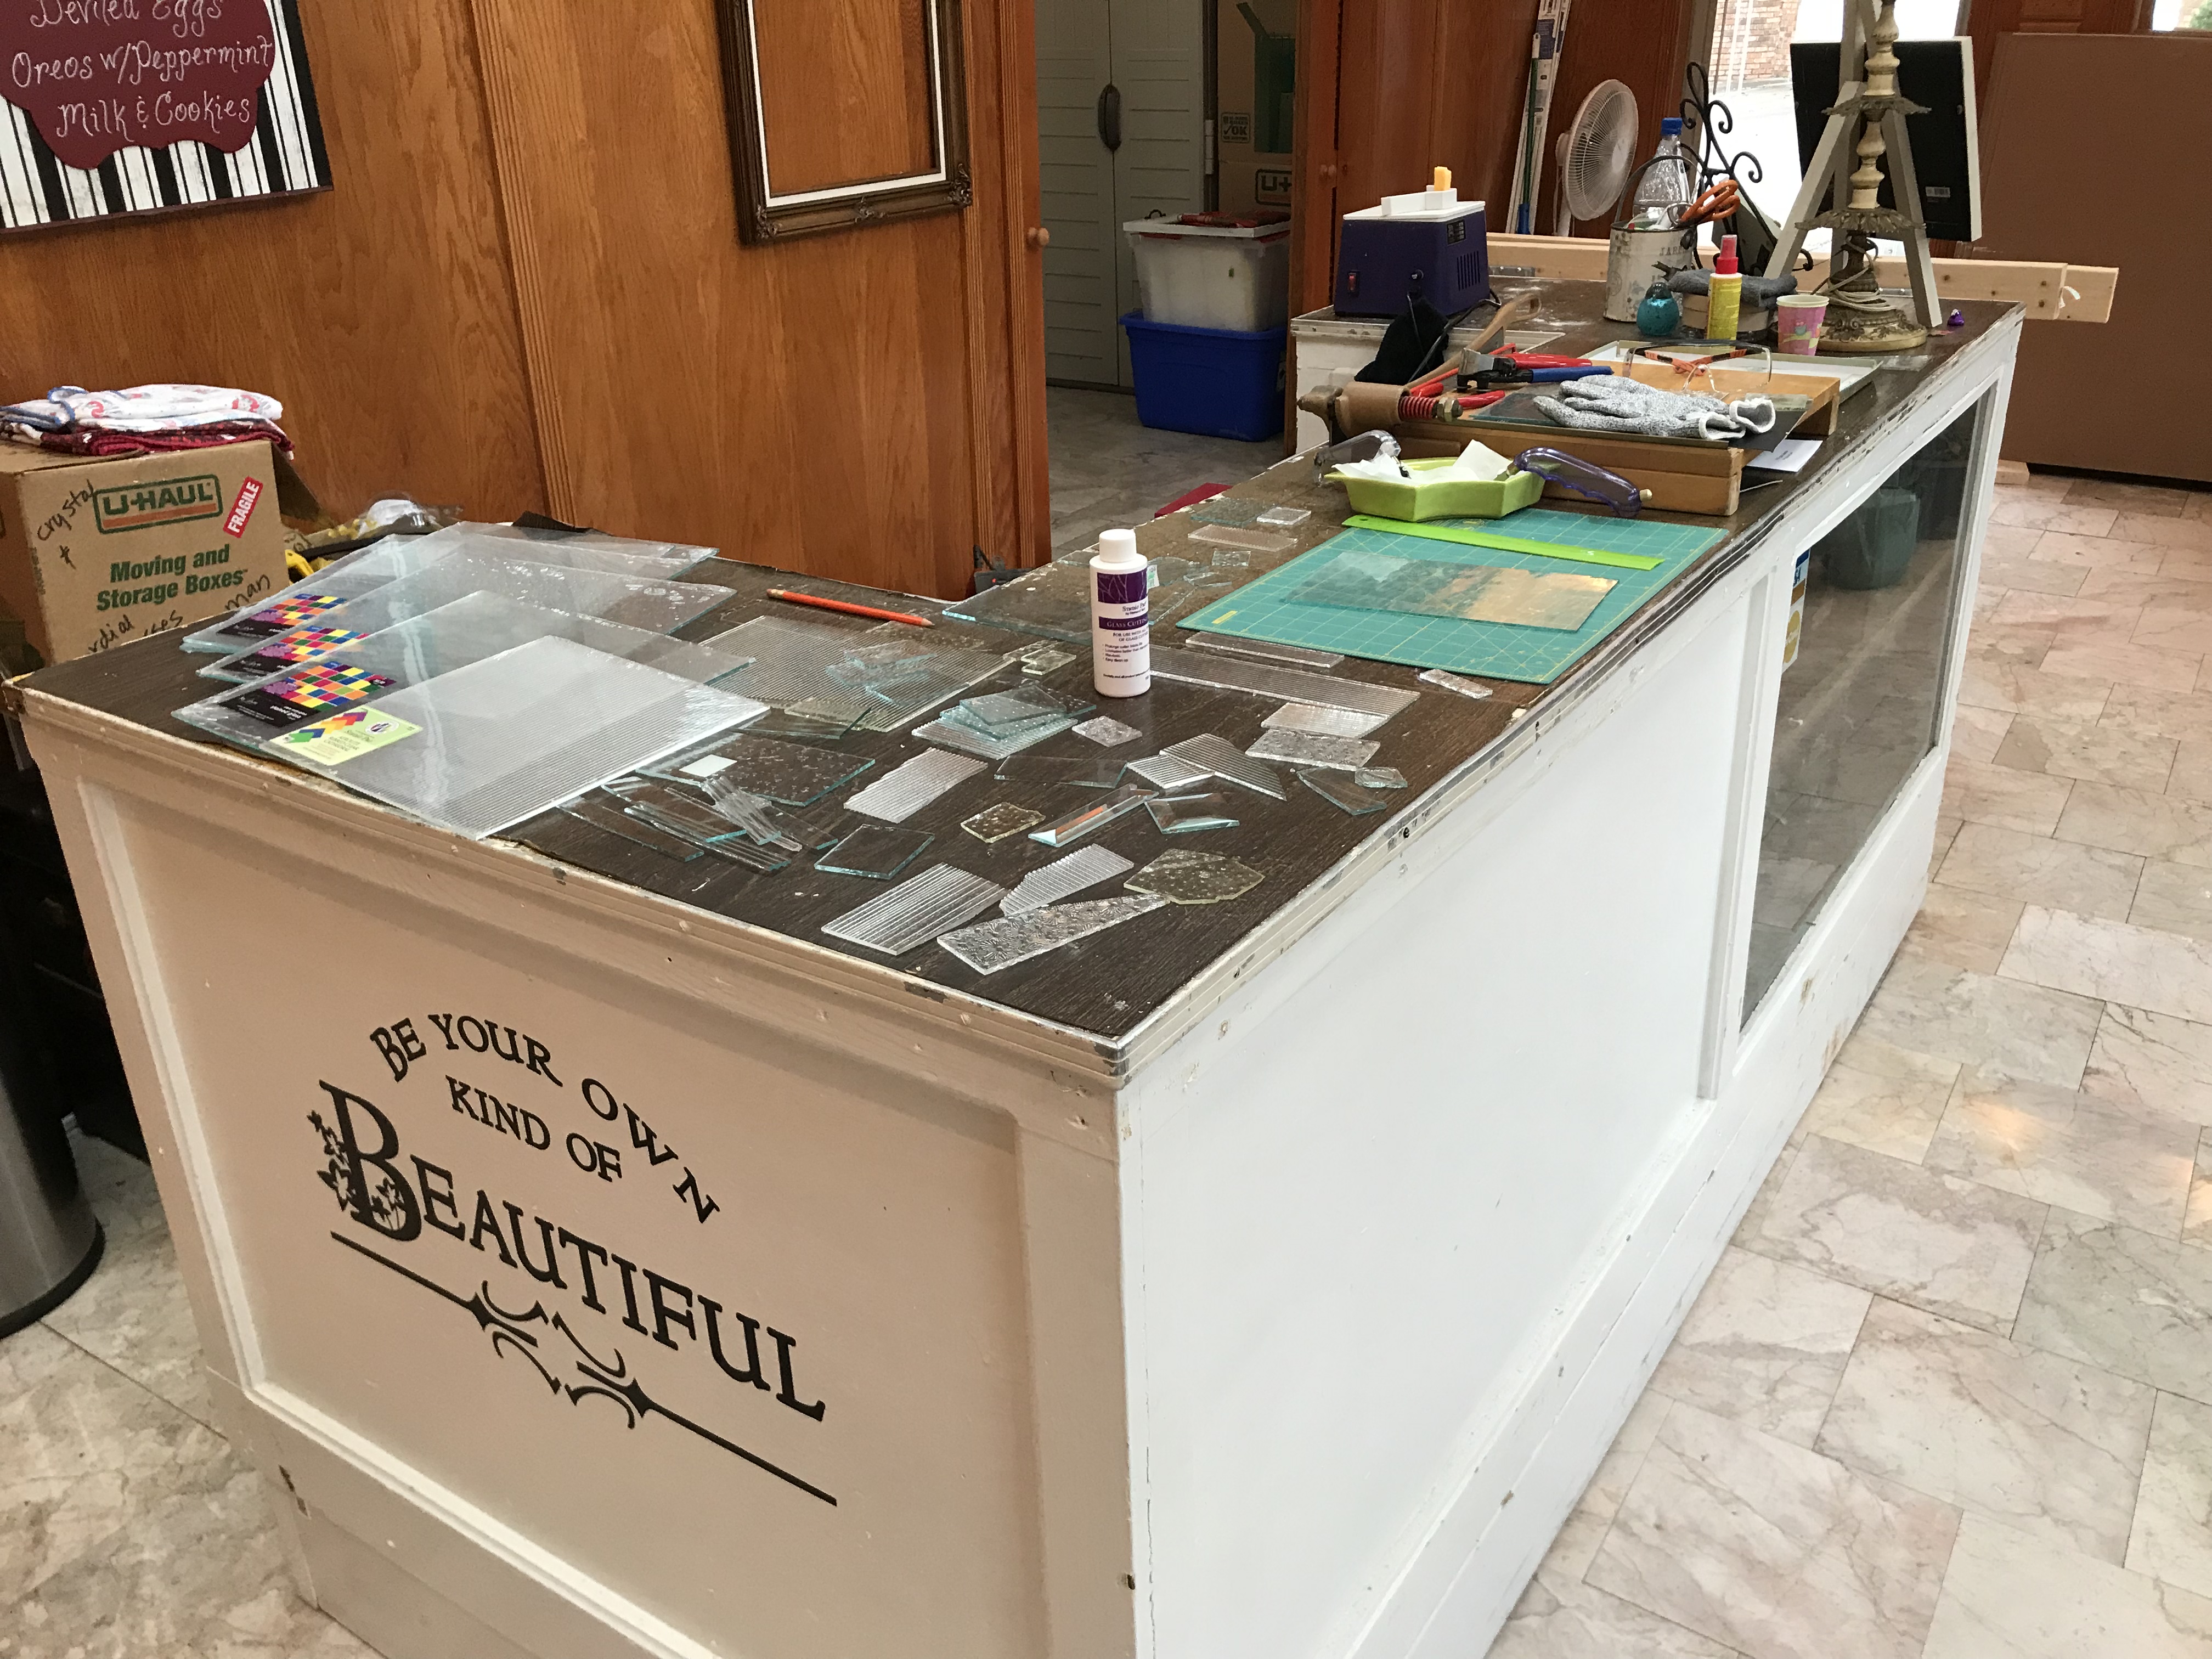
After you’ve glued everything in place let dry for at least 24-48 hours! The last thing you want is for all your hard work to come sliding off when you re-hang your door! Trust me, once dry, this glue will hold like nobody’s business!
Note: the glue holds so well that there will be no flexibility in the door. So, if you’re like me, and you have tight door jams, your precious glass is going to crack!
Oh no!
Oh yes.
This happened to me, and I was heartbroken!
If any pressure has to be applied to open or close the door, then your glass will crack under the pressure. Mine cracked glass did not come off the door (it was glued tight!) so replacing broken pieces with a new piece was not an option. My husband repaired the cracks in the glass pieces with a windshield repair kit, and it looks almost as good as new! Avoid this problem in the first place by ensuring that your door opens and closes easily!
Finished!

You are A GREAT teacher!!! I enjoyed watching and reading this!! It helped sooo much!!! I am fixing to begin my New Journey with stained glass.
===Questions: (1) Do you ever use lead came on any of your glass projects—the kind that you DO NOT have to solder. I am trying to find this on internet. I saw it one time and didn’t write the name of the place to purchase it. Yes—you do this without soldering. Do you have any idea of where I can find this?Do you spray any type of clear g loss or matte spray and let it dry—before you start on the glass???
(3( Do you—by any chance—sell any of your scrap glass??? If you do—can you email me what you would sell to me and what the cost would be??? Thank you so much!!! I am on fixed income–Social Security and I just want to do this to fill in some of my spare time. I am really looking forward to hearing back from you. Thank you –again!! Kaye
Hi Kaye! Thanks so much for your kind words! I am so glad my instruction proved helpful! I have never tried using lead, with or without soldering, and I will check out my scrap glass to see if I have enough to send. Enjoy your new creative journey! 💜
What do you use for the small gaps between the class pieces. Do you use a clear filler, grout or lead light?
Hi Cristin! Once I used a white grout on one of my earlier projects. It really detracted from the beauty of the glass, so I just leave the gaps clear now. Nothing in between. Thanks for asking!